DIY Chip and Crack Support
MULTI-LANGUAGE

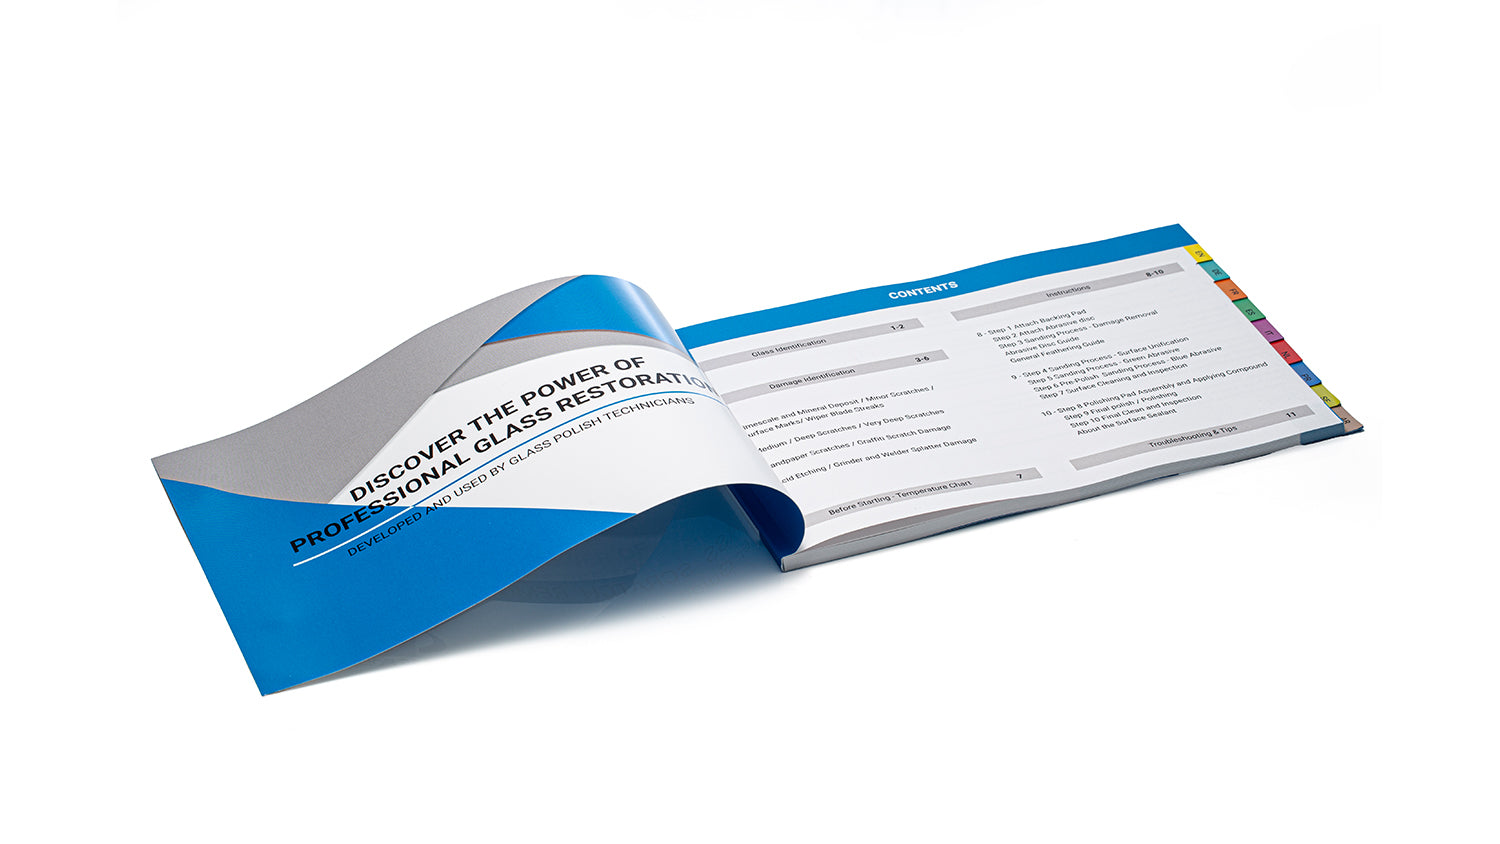
HOW TO USE

SAFETY DATA SHEET
How To Use Chip and Crack Repair Kit
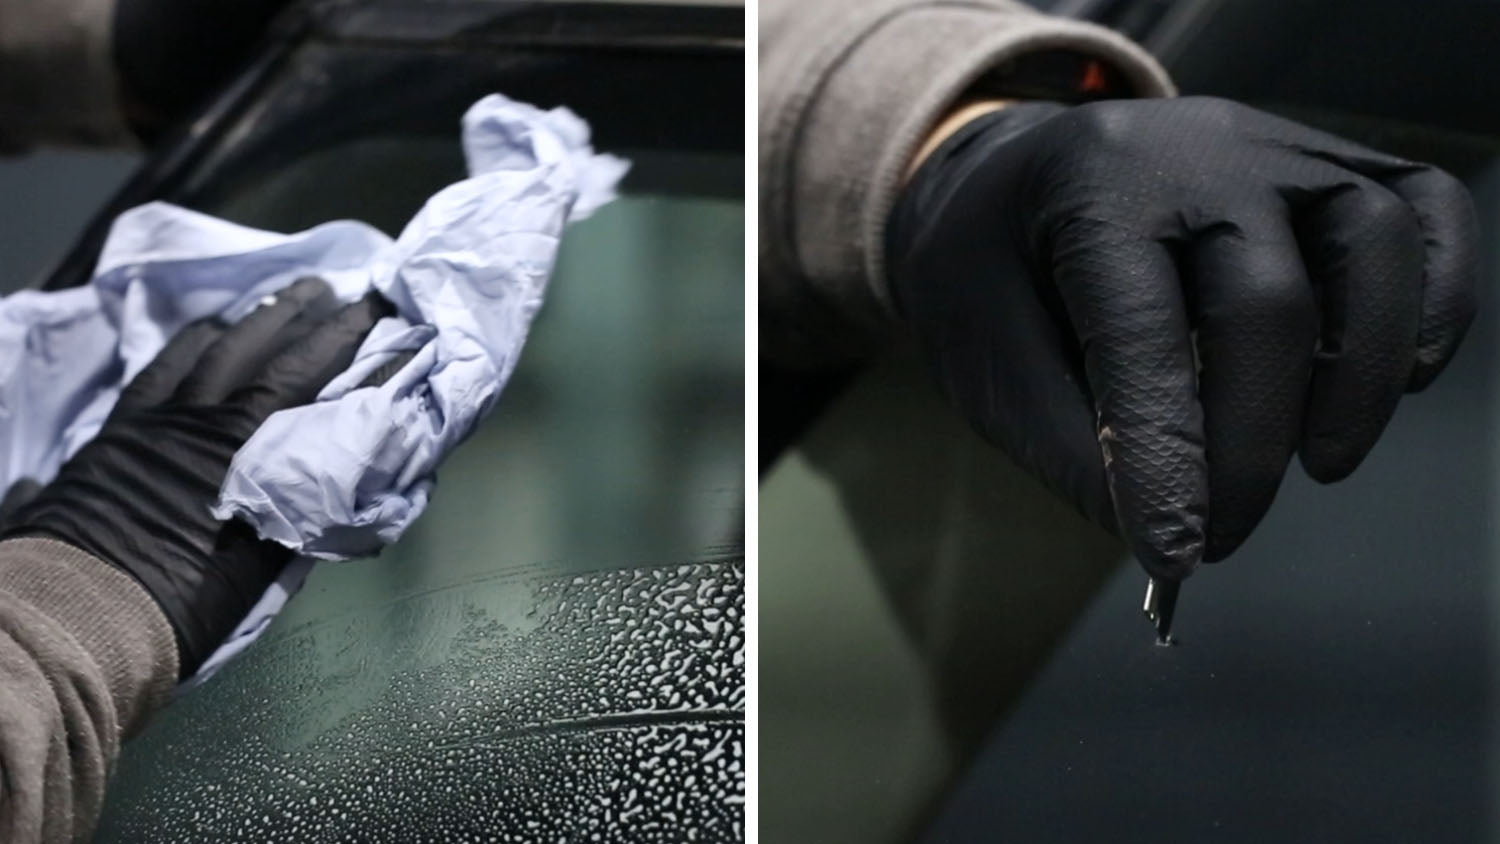
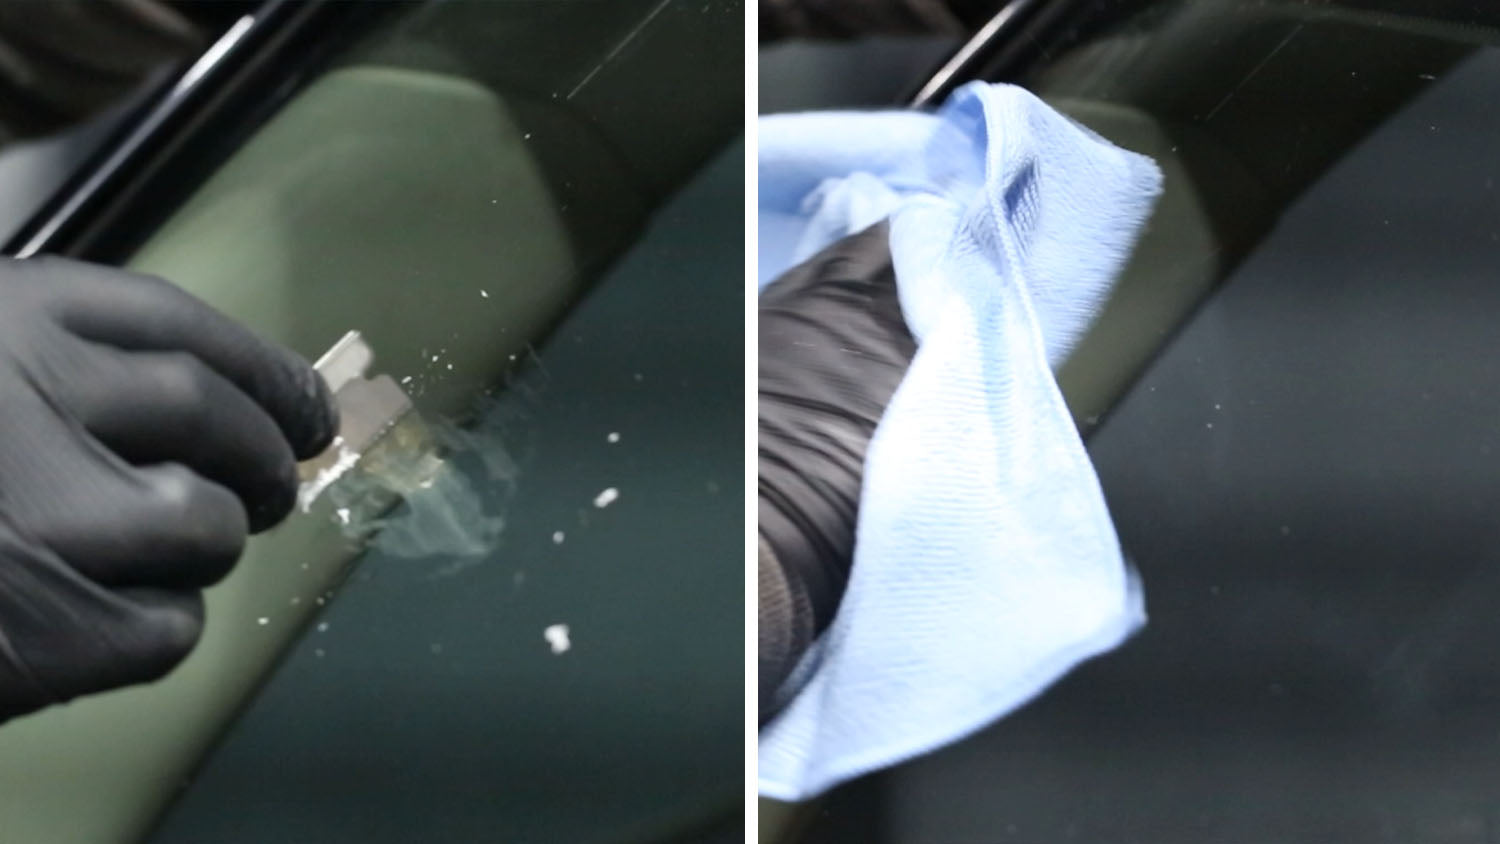
STEP 1: Cleaning
Clean the glass and remove loose fragments using razor blade.
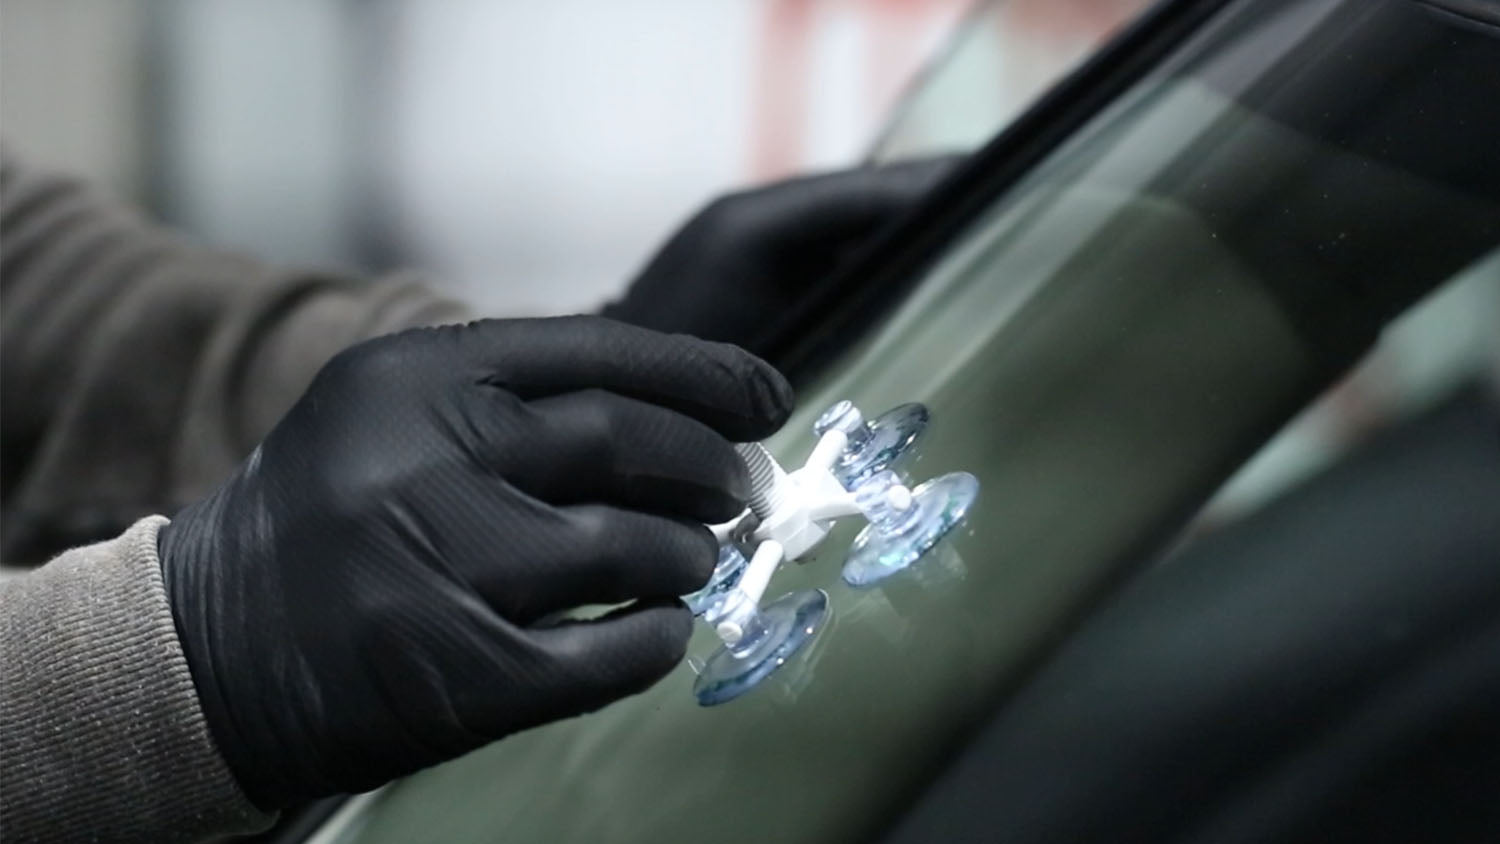
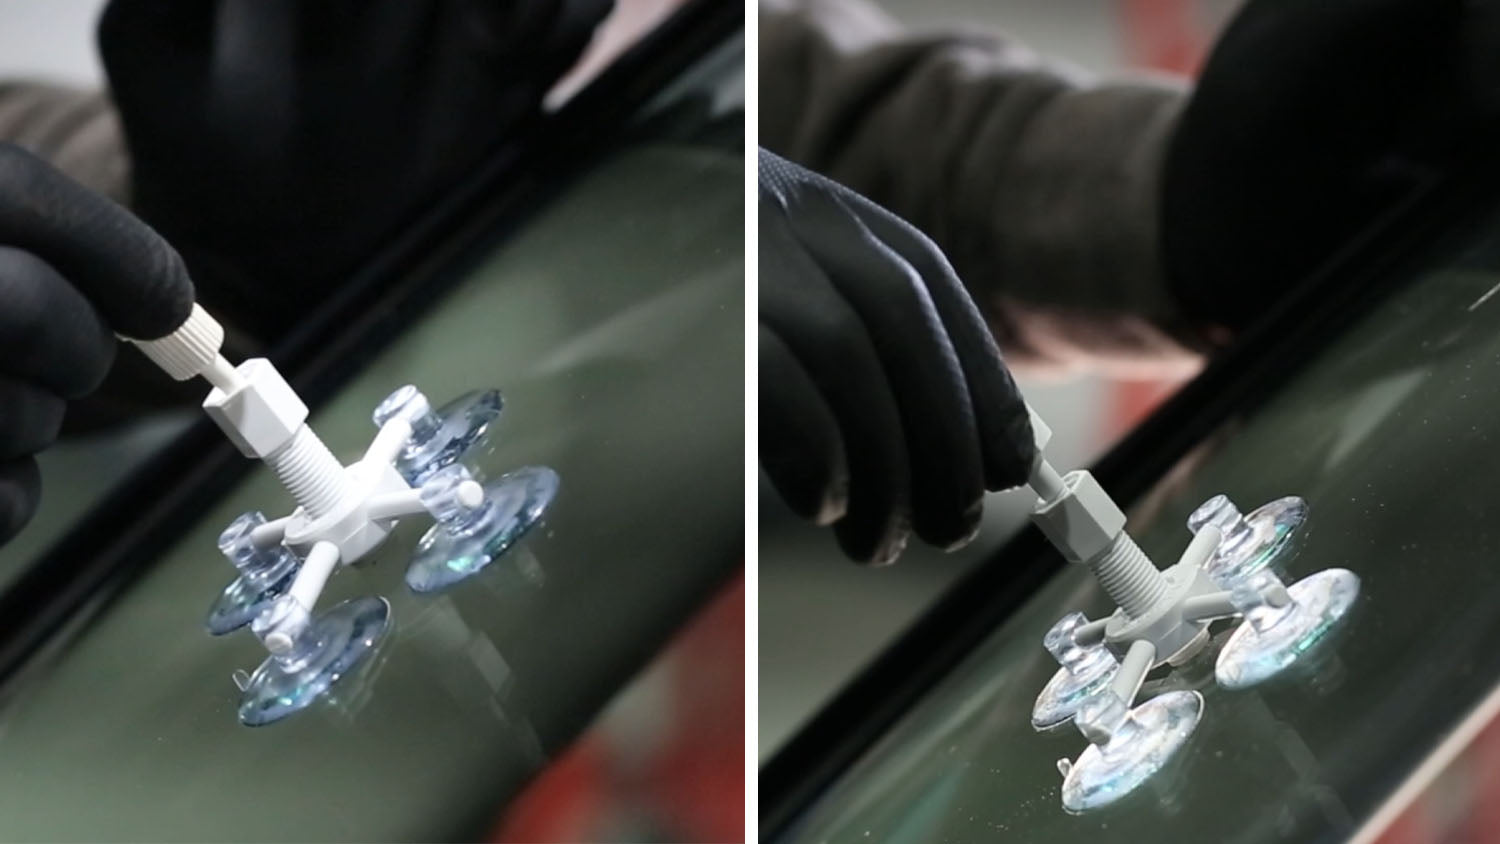
STEP 2: Bridge Assembly
Attach the applicator base to the windshield.
STEP 3: Resin
Squeeze resin into the chamber and screw the pressure driver.
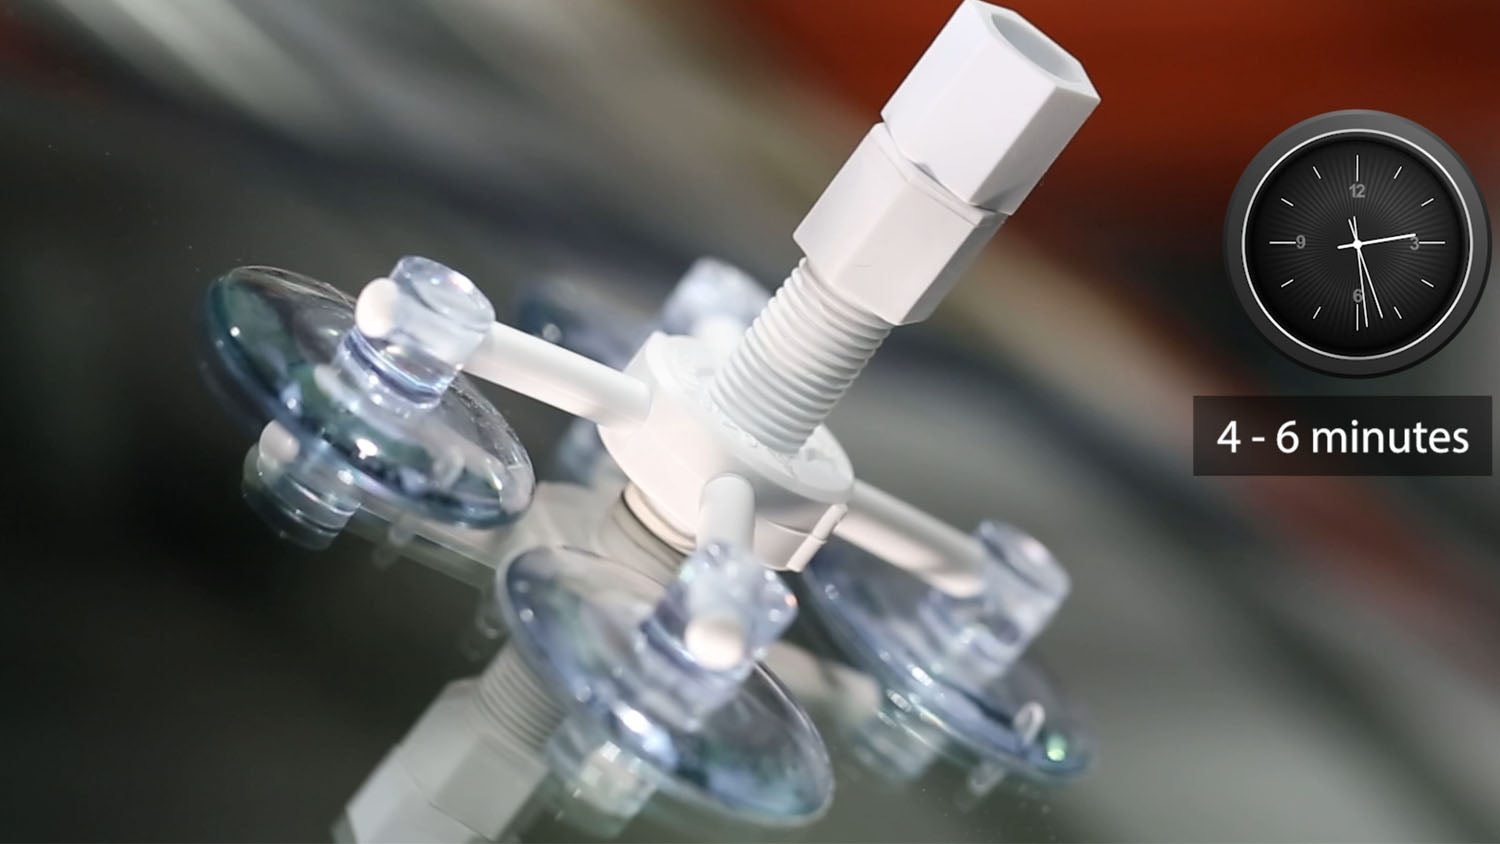
STEP 4: Wait few minutes
Allow the resin to absorb into the break.
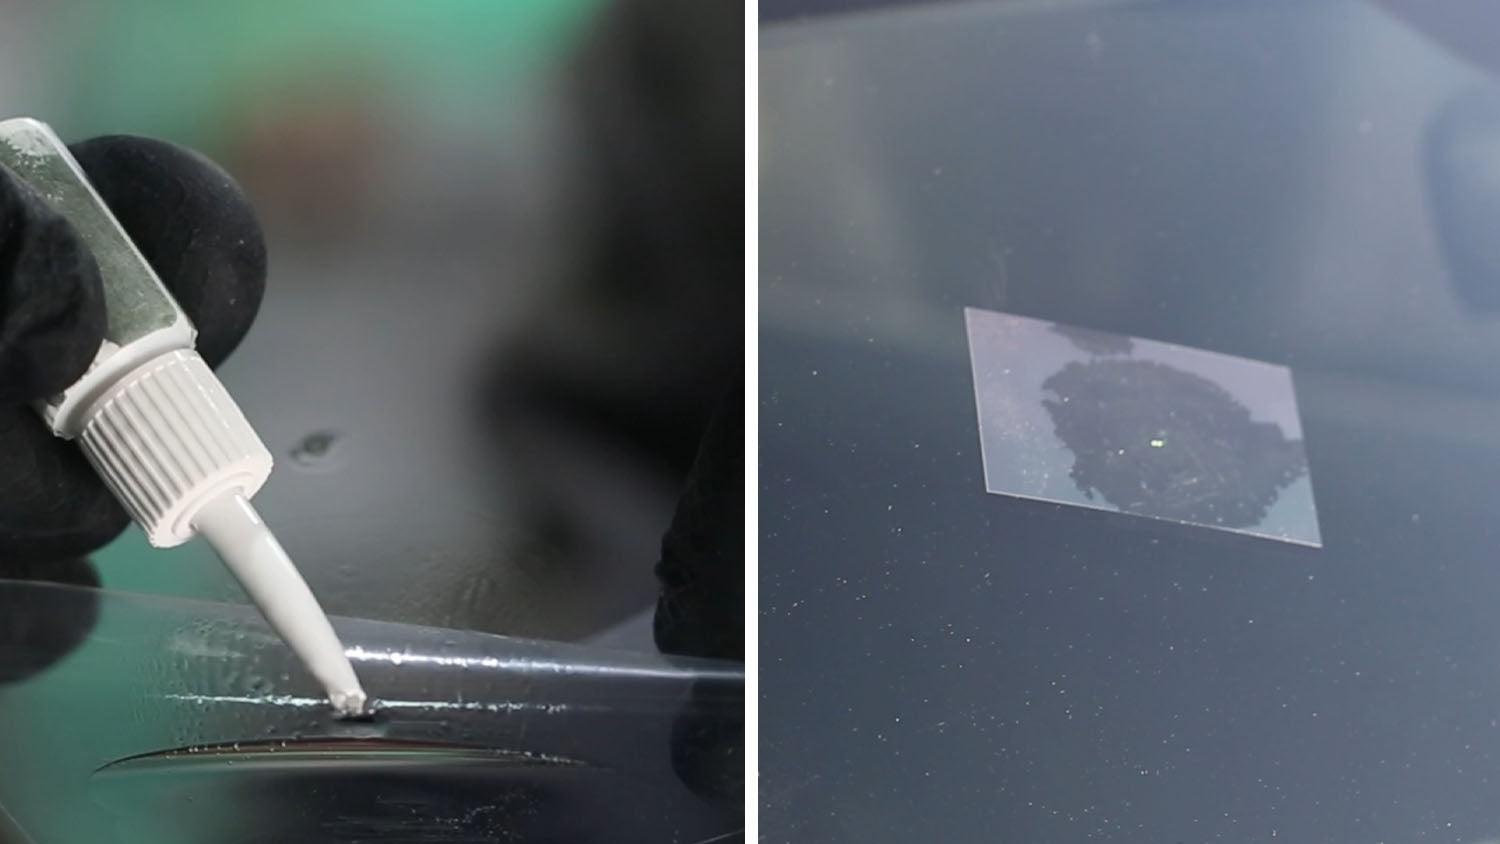
STEP 5: Curring
Add few drops of resin onto damaged area, cover with curing strip and move the car into direct sunlight.
STEP 6: Final Inspection
Remove excess resin, clean the glass and inspect.
Polishing Tips
✅ Clean the glass first. Remove any dust, wax, or loose fragments before applying the resin.
✅ Work in the shade on cool glass. Direct sunlight or hot glass can cause resin to cure too quickly.
✅ Center the applicator over the damage. Ensure the seal is tight around the chip or crack to prevent leaks.
✅ Inject resin slowly. Apply light, steady pressure to fill the break completely without creating air bubbles.
✅ Allow full curing under UV light or sunlight. Do not remove curing film until the resin is fully hardened.
✅ Scrape off excess resin. Use the included razor blade at a shallow angle for a smooth, flush surface.
✅ Inspect your work. If small marks remain, repeat the process to improve clarity and finish.
Frequently Asked Questions
What type of damage can this kit repair?
It is designed to repair small chips, bullseyes, and short cracks (up to 15 cm) on automotive and household glass.
Is the repair permanent?
Yes. Once cured, the resin bonds with the glass and prevents cracks from spreading while restoring optical clarity.
Can I use this kit on tinted or laminated glass?
Yes, it’s safe for laminated automotive glass (windscreens), but not for tempered glass such as side or rear car windows.
How long does the repair process take?
Most repairs can be completed within 30–45 minutes, depending on temperature and light conditions.
Will the repaired area be invisible?
The repair will greatly reduce visibility of the damage and restore strength, but minor marks may remain — especially for older or deep cracks.
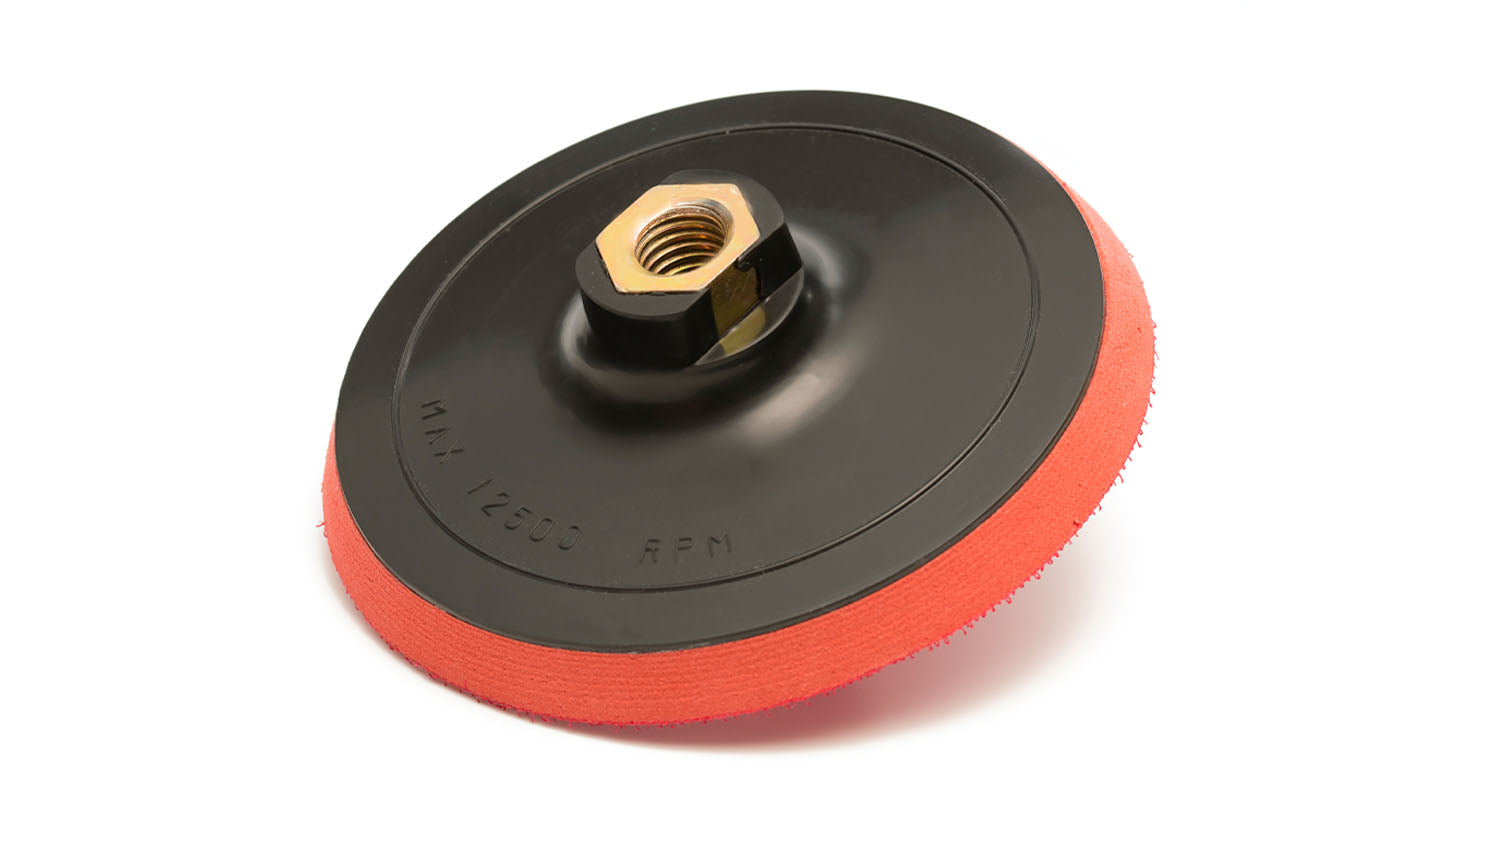
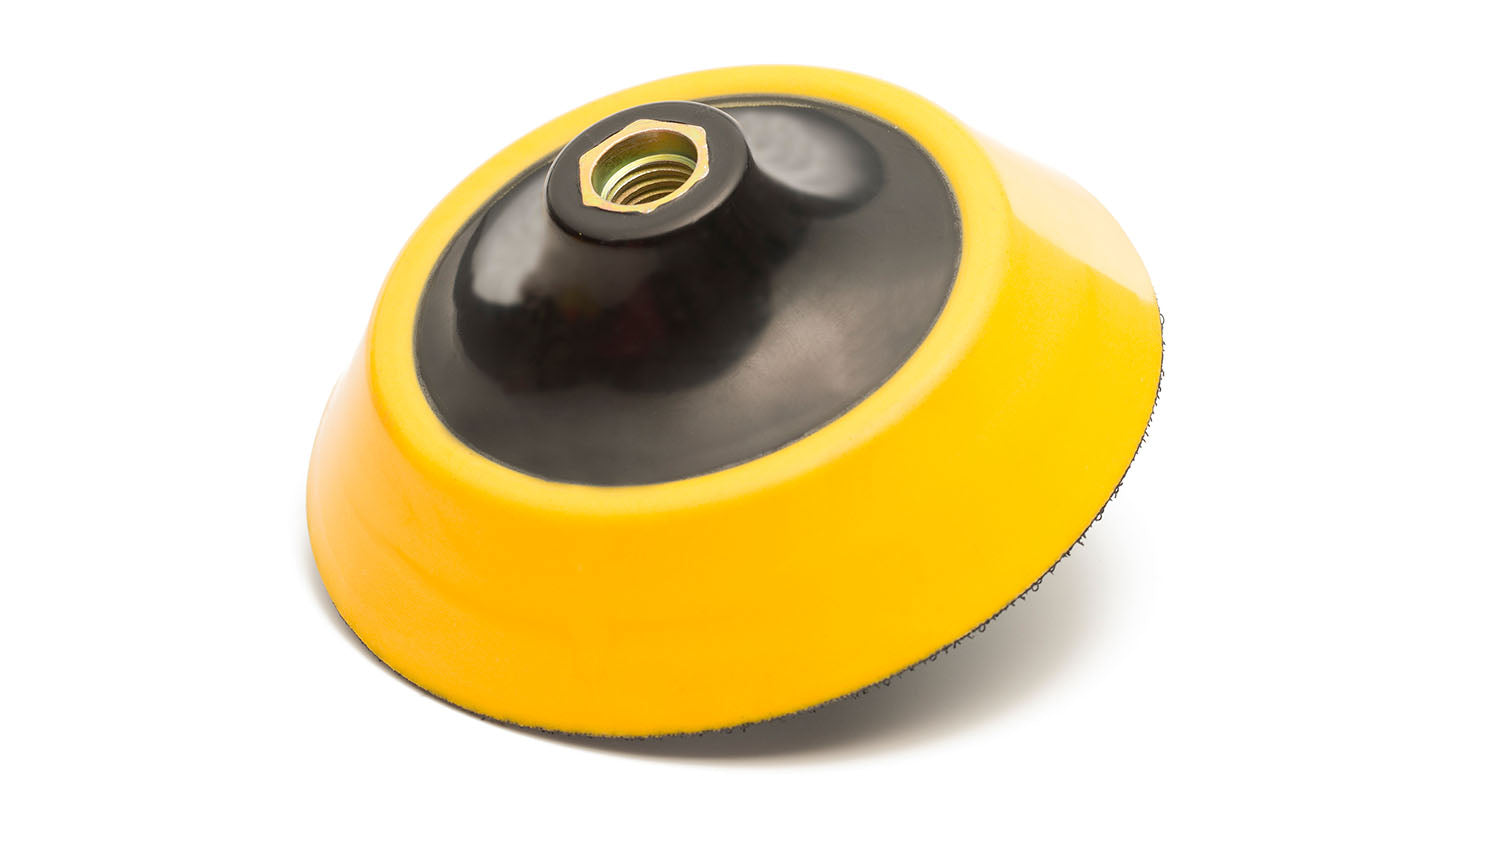
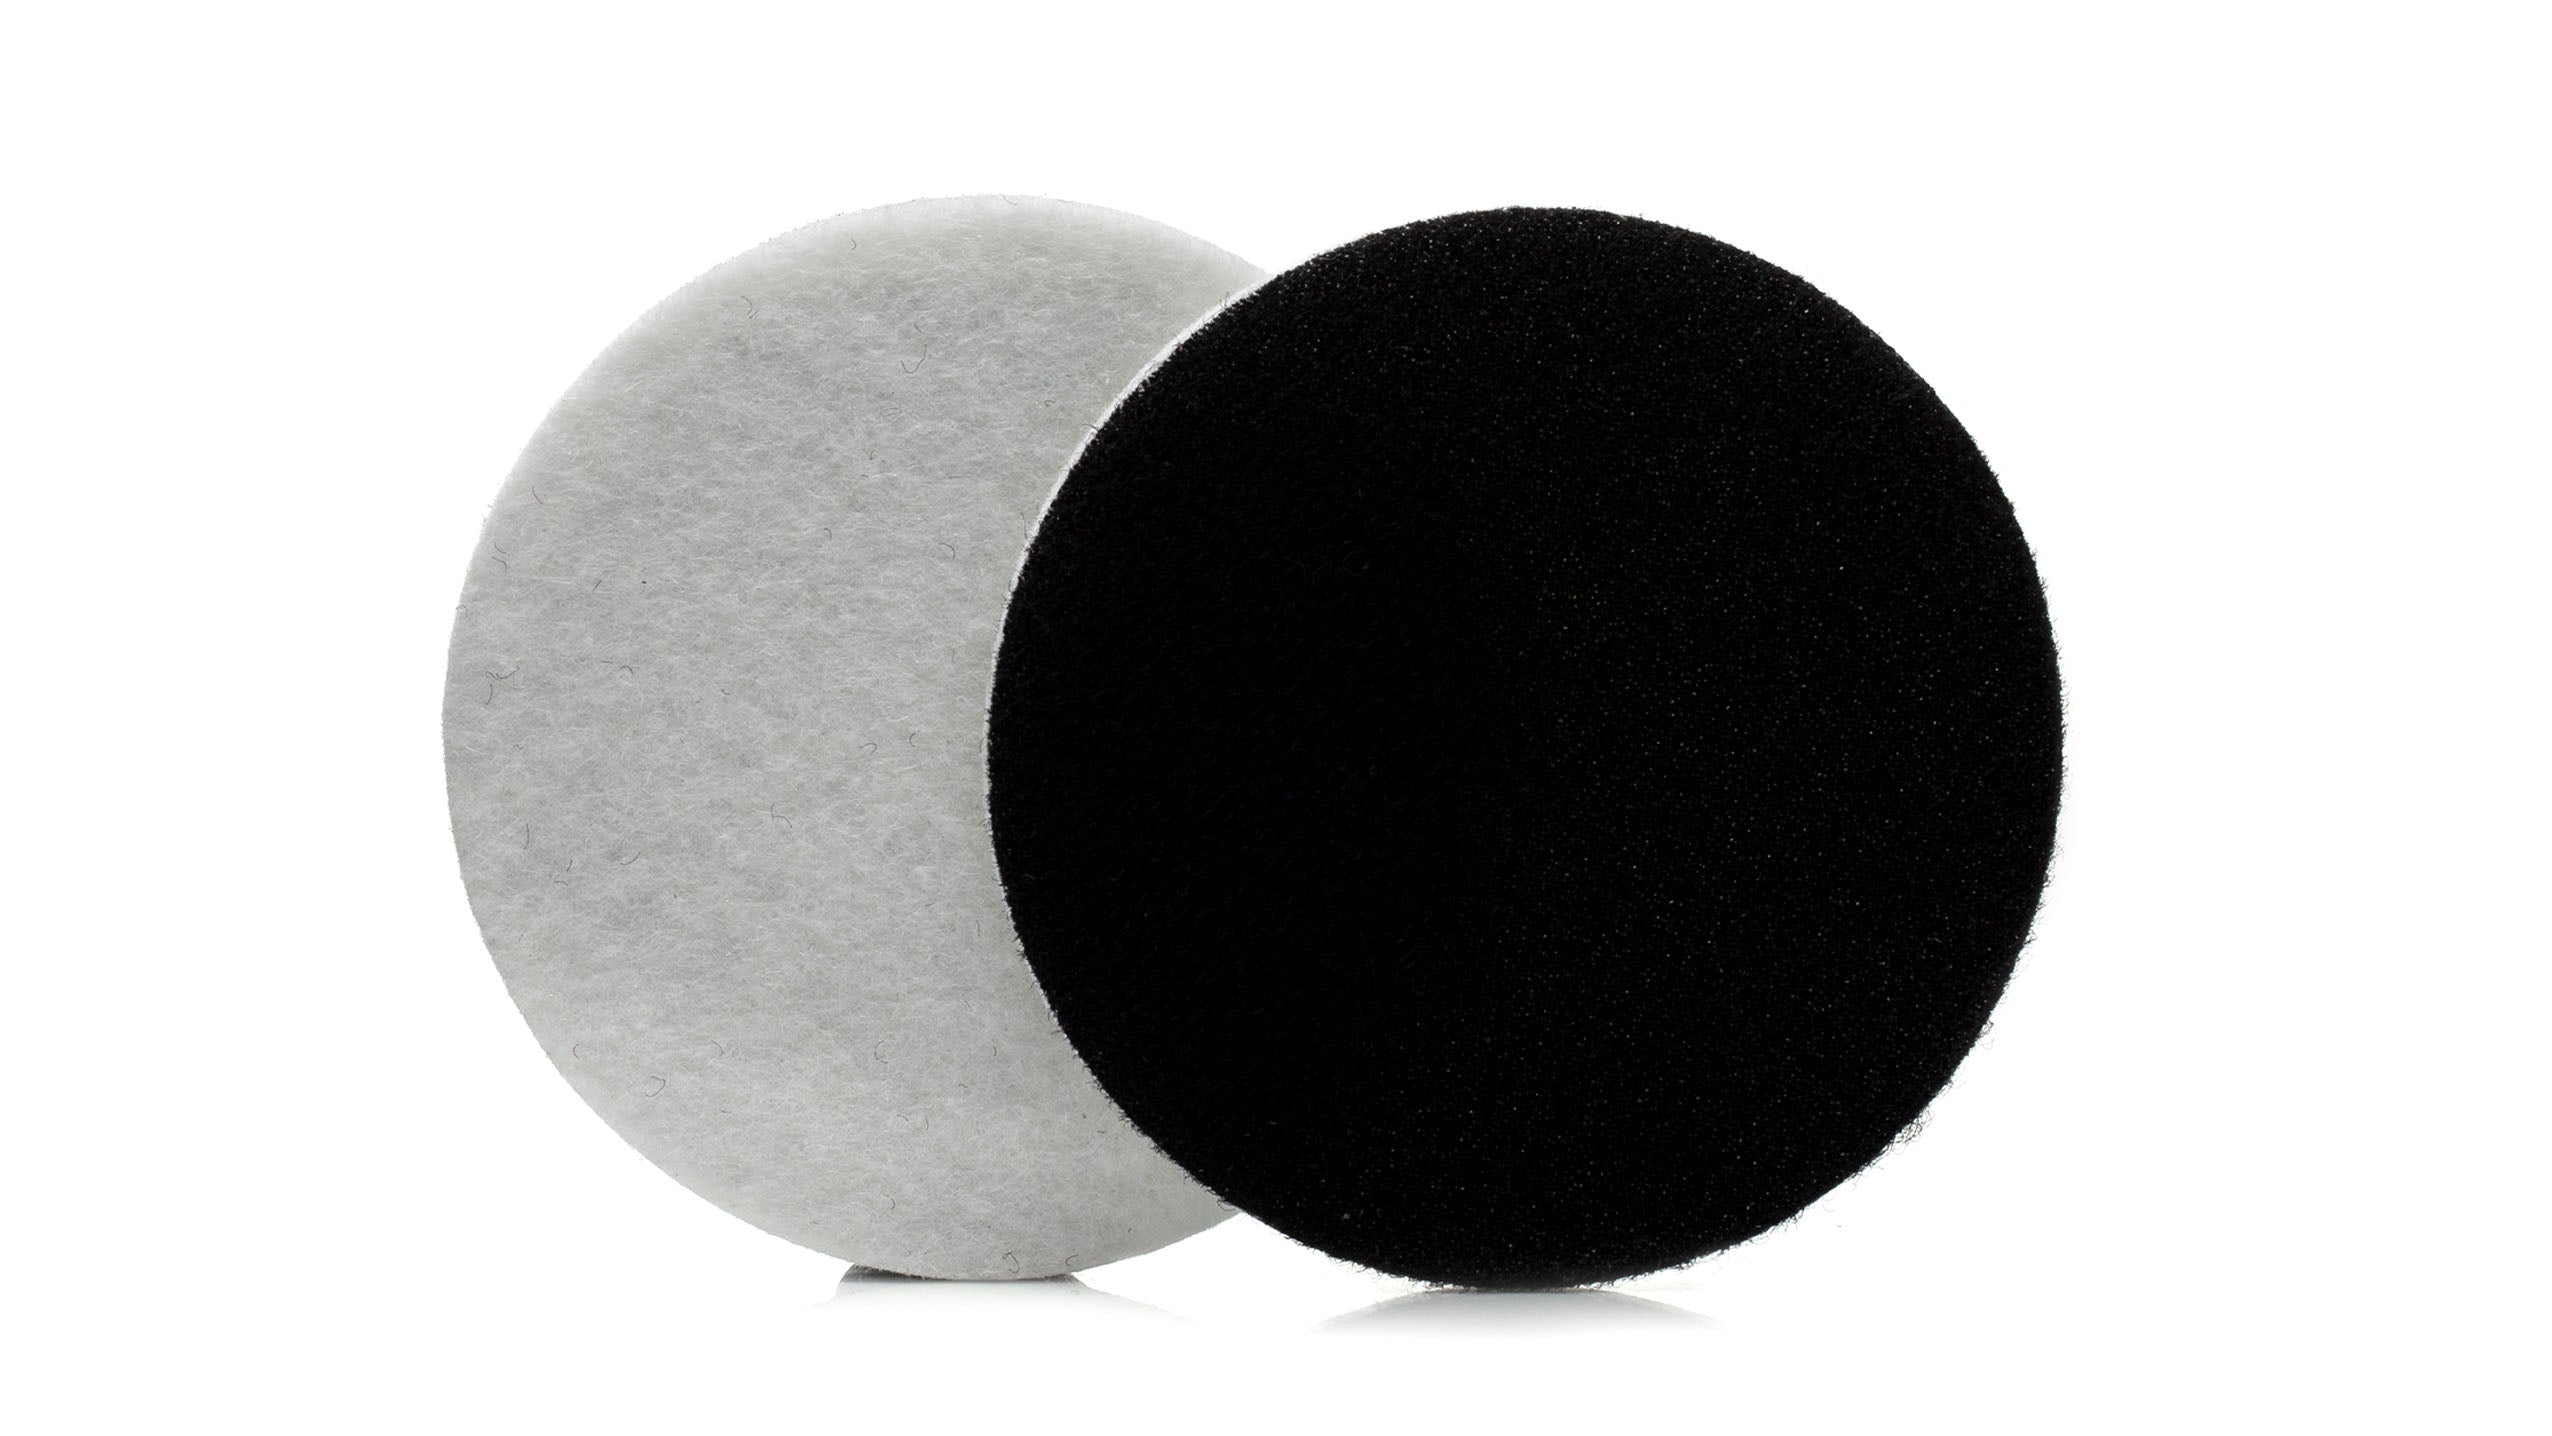
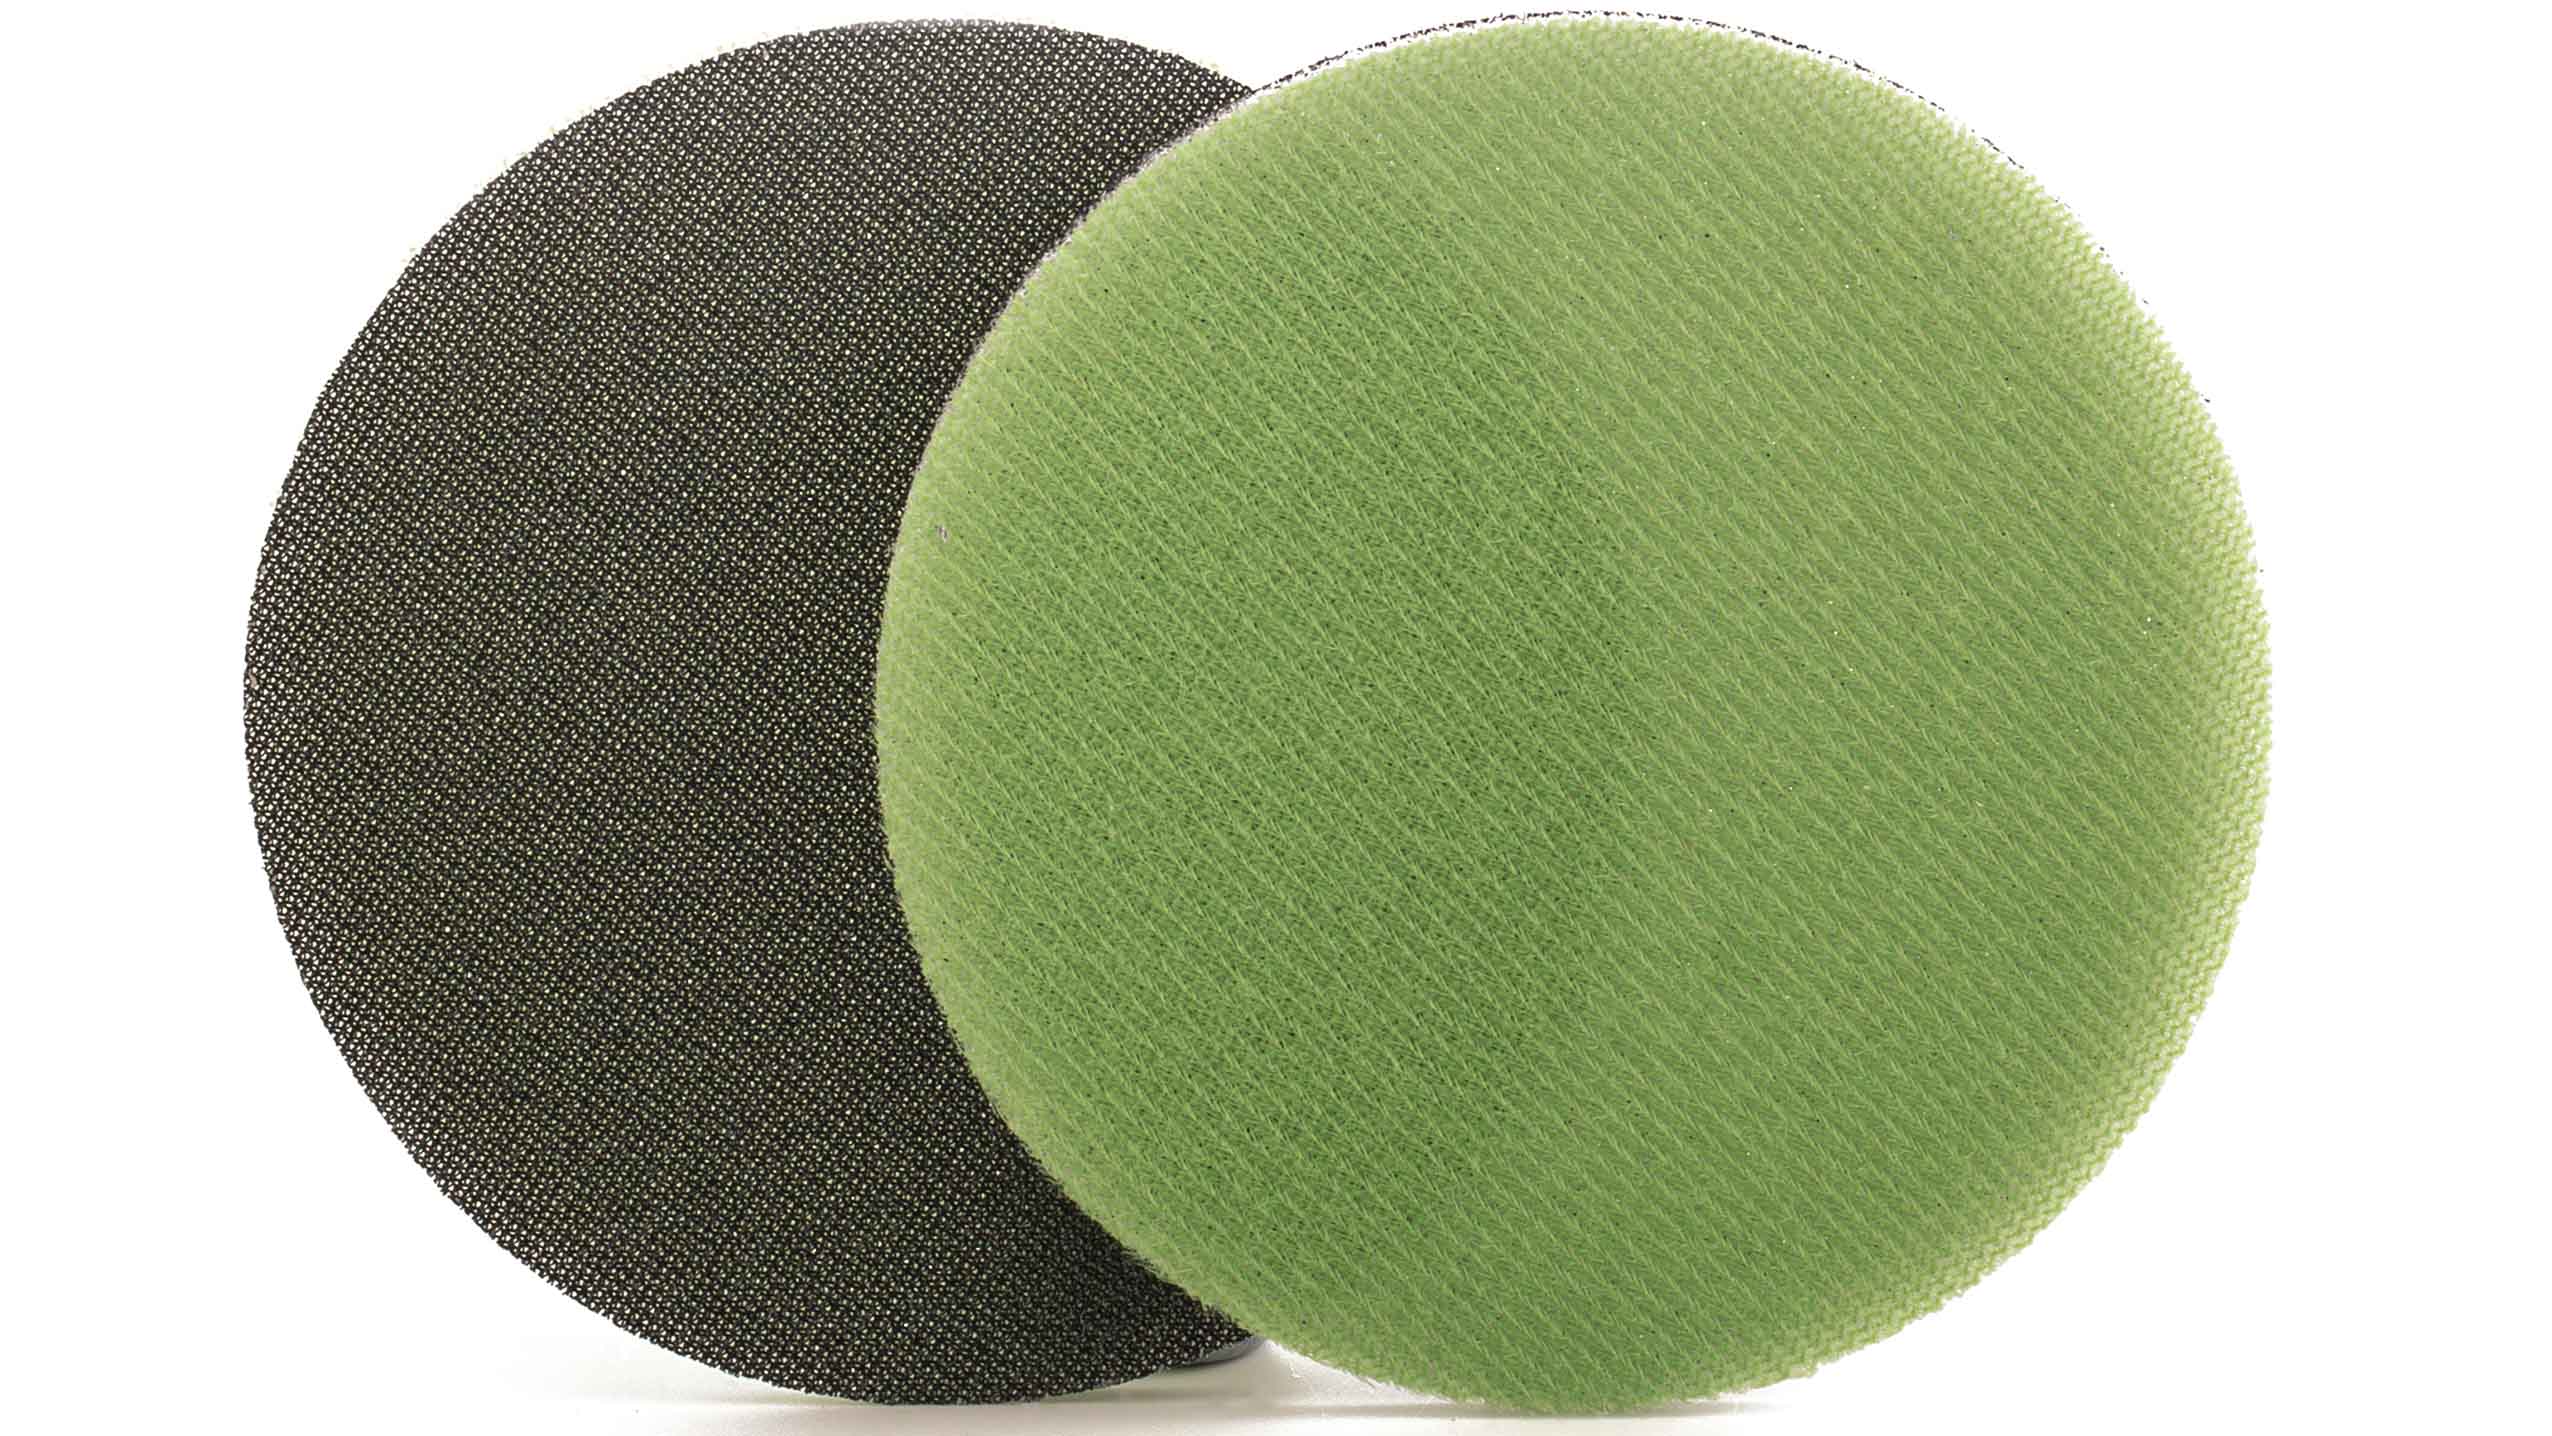
Often Bought Together
GP-PRO Felt Polishing Pads 75mm (3")
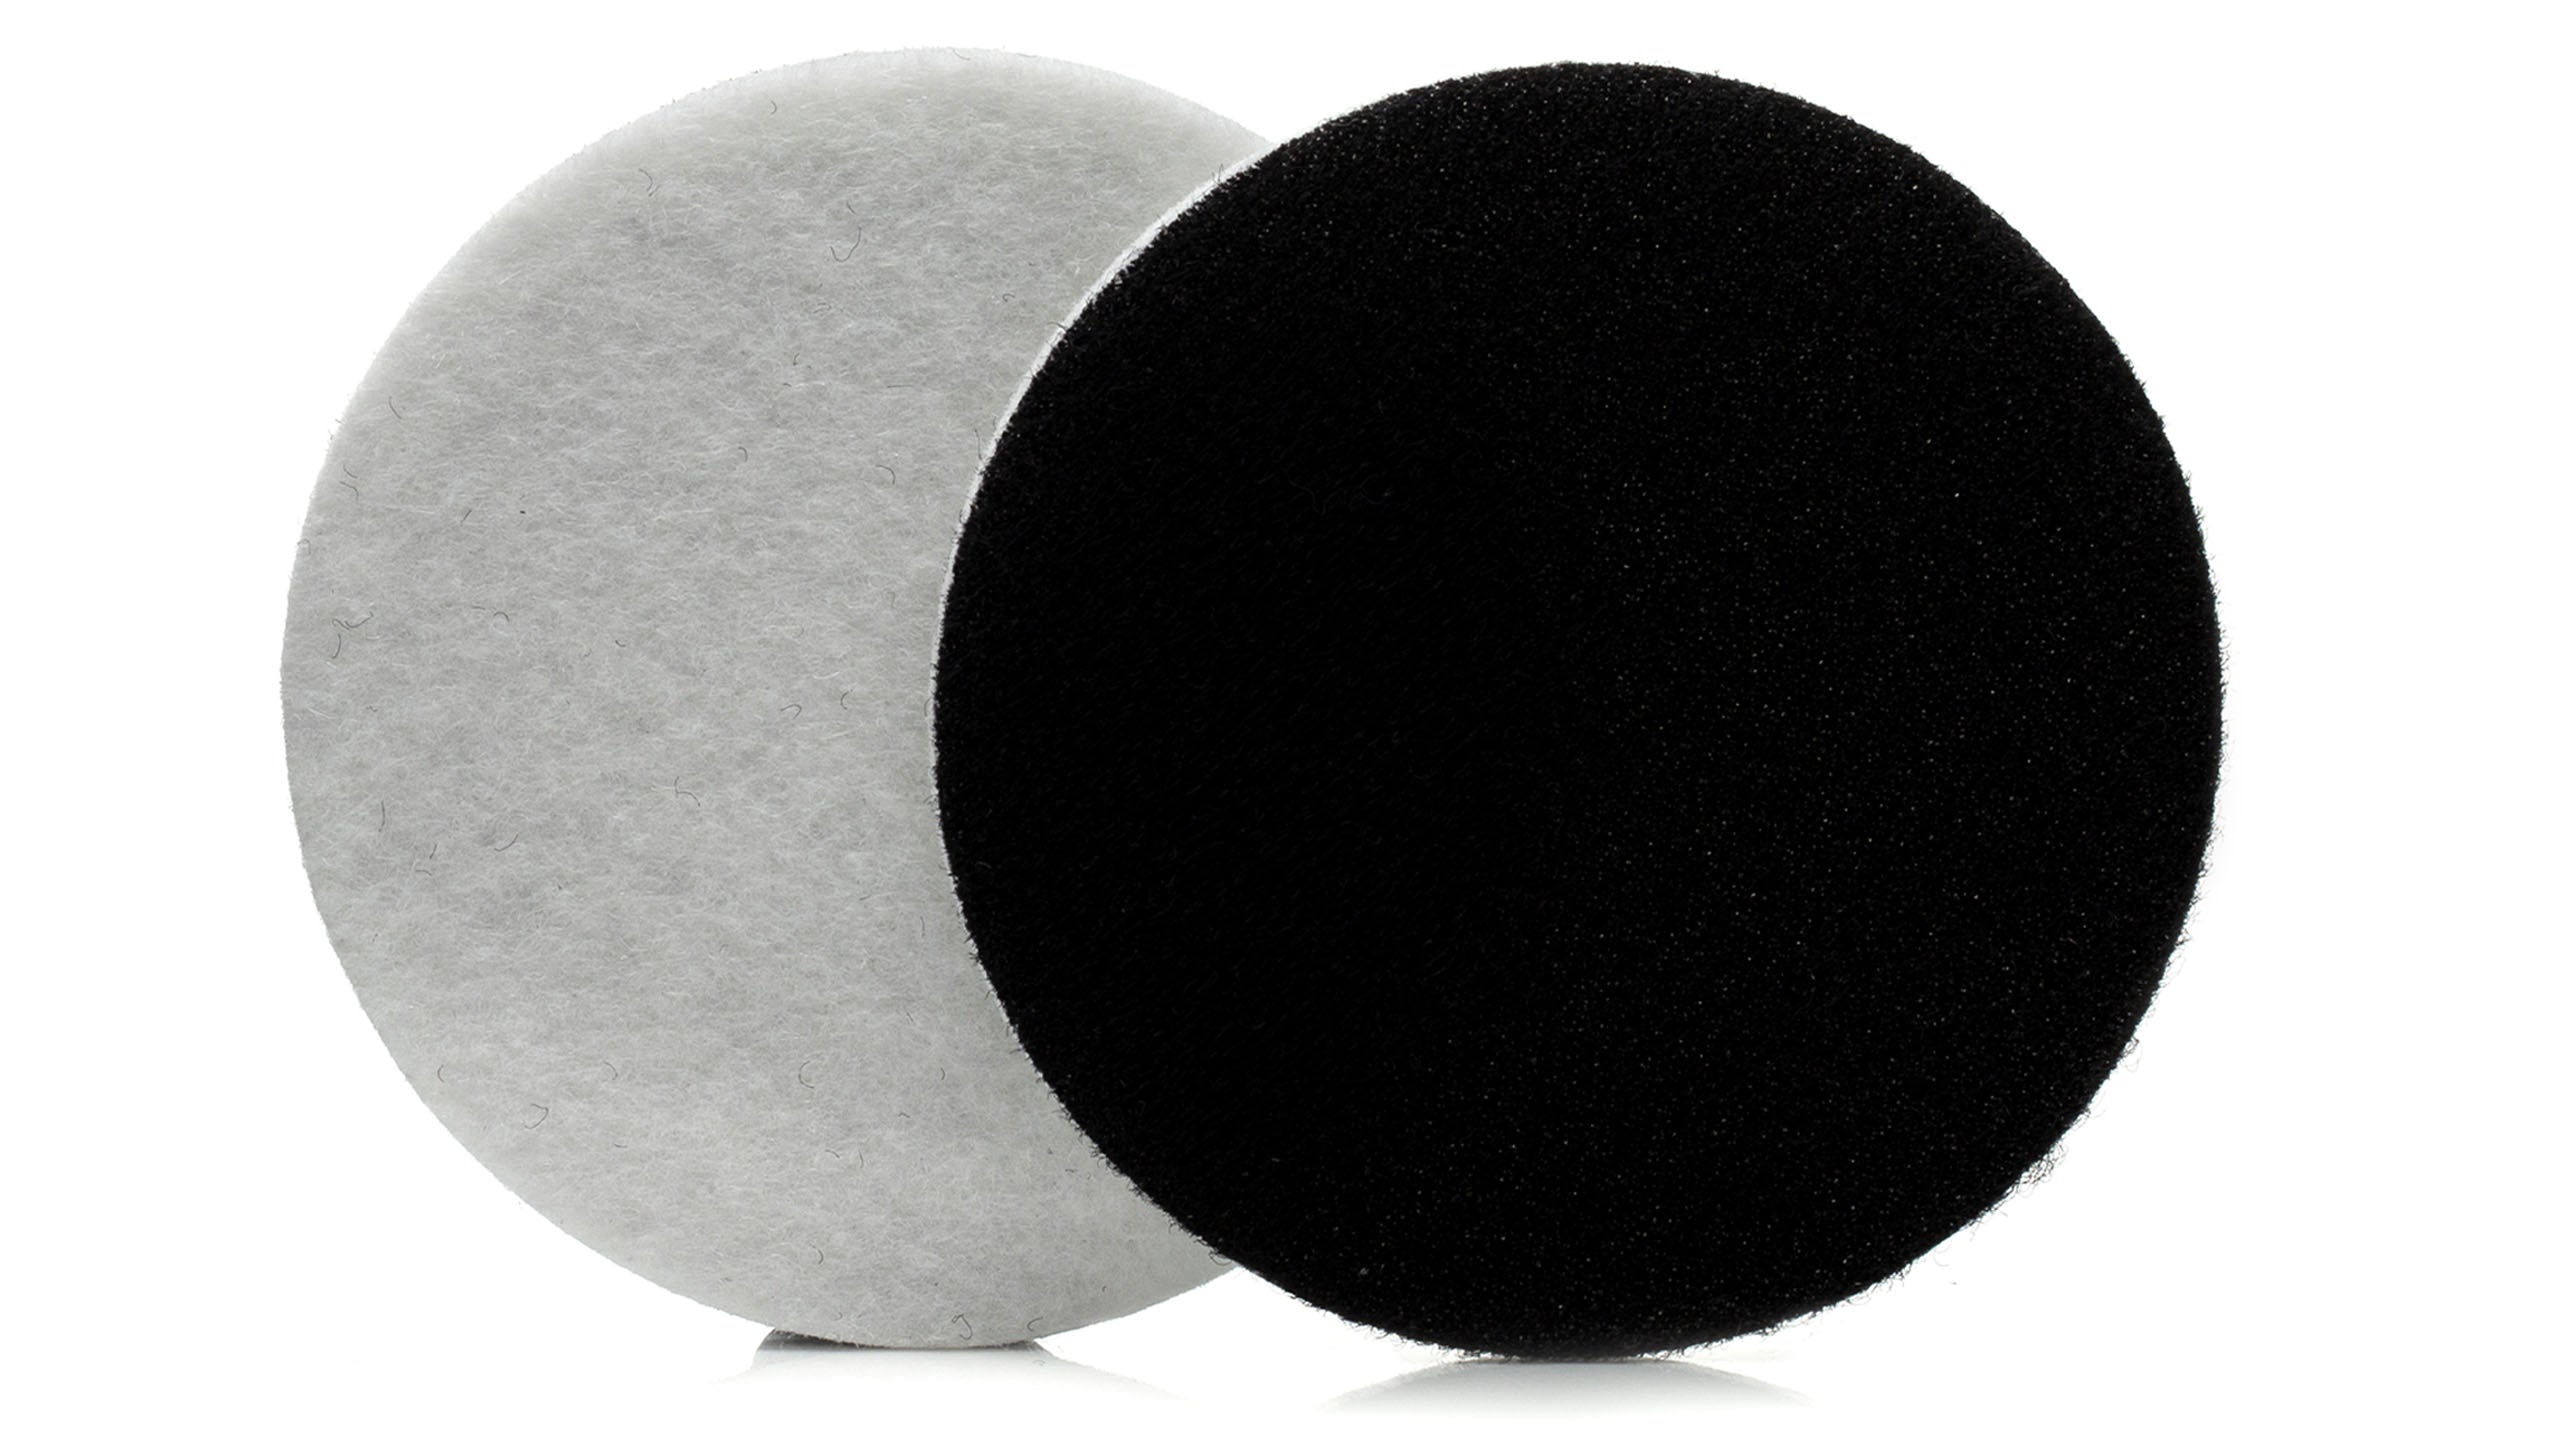
GP-PRO Felt Polishing Pads 130mm (5")
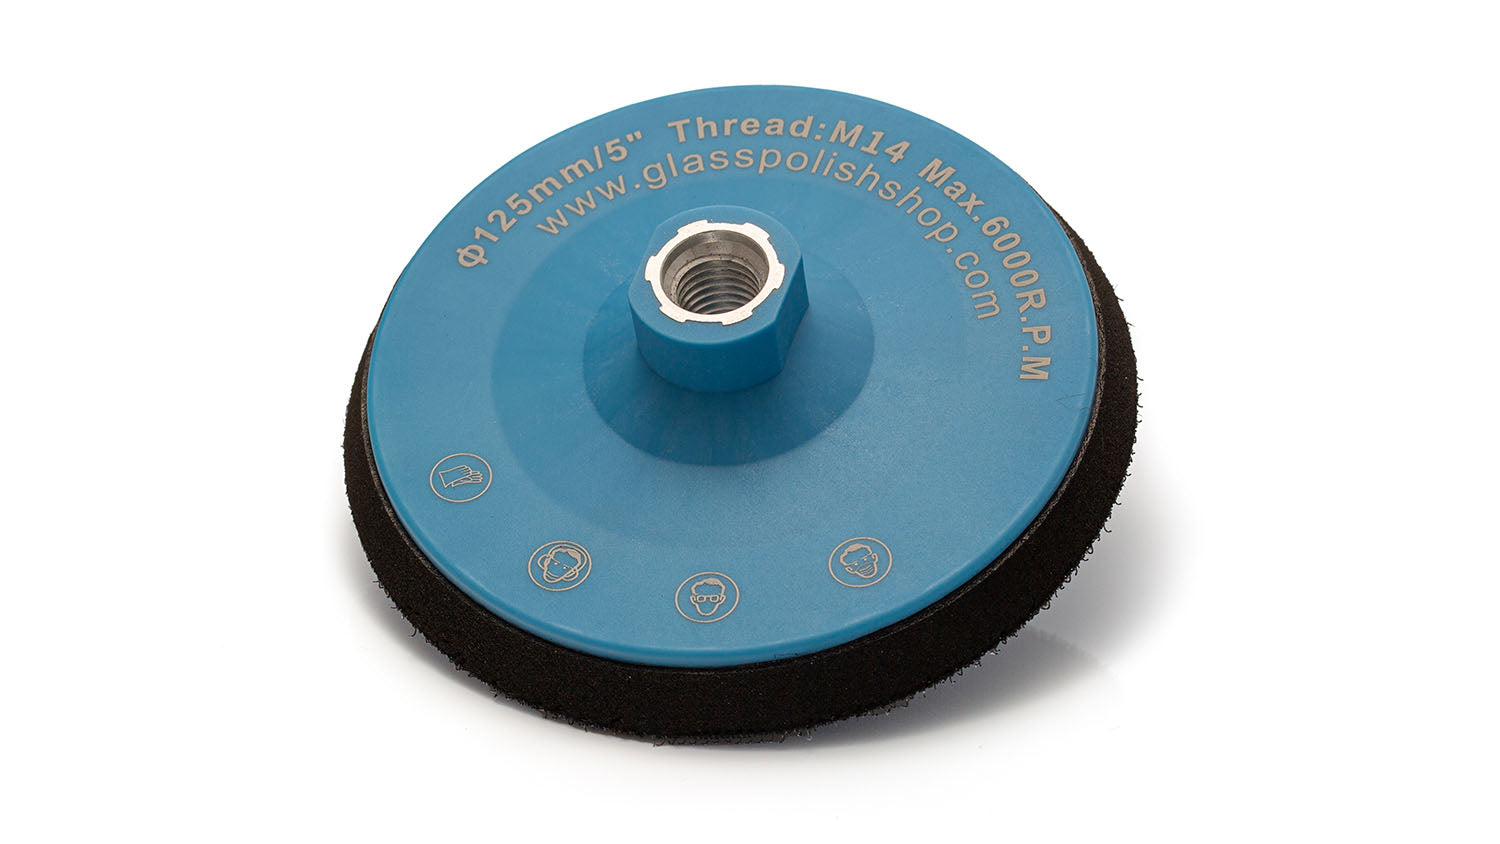
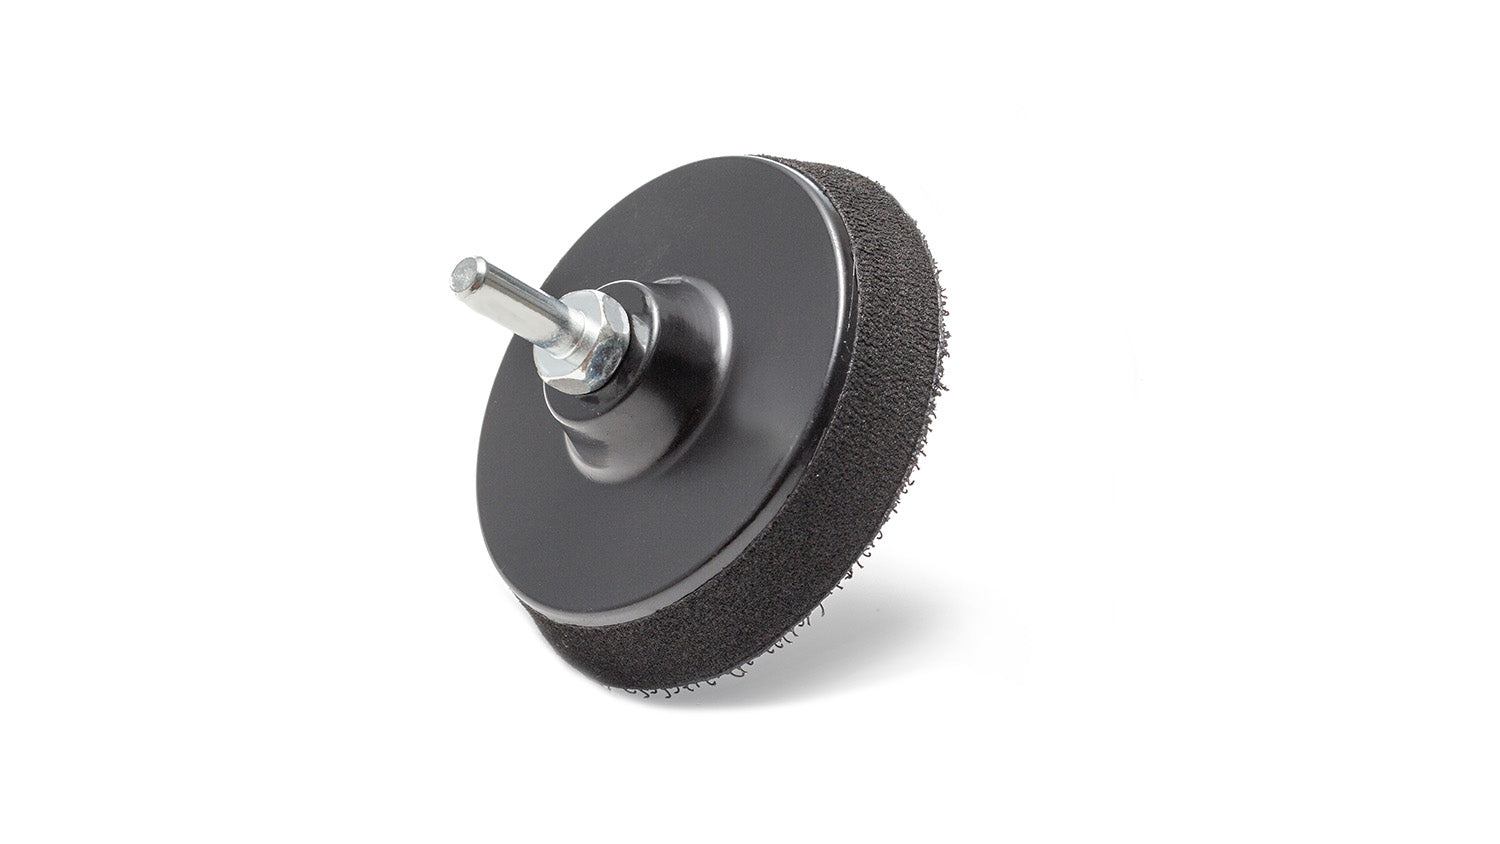
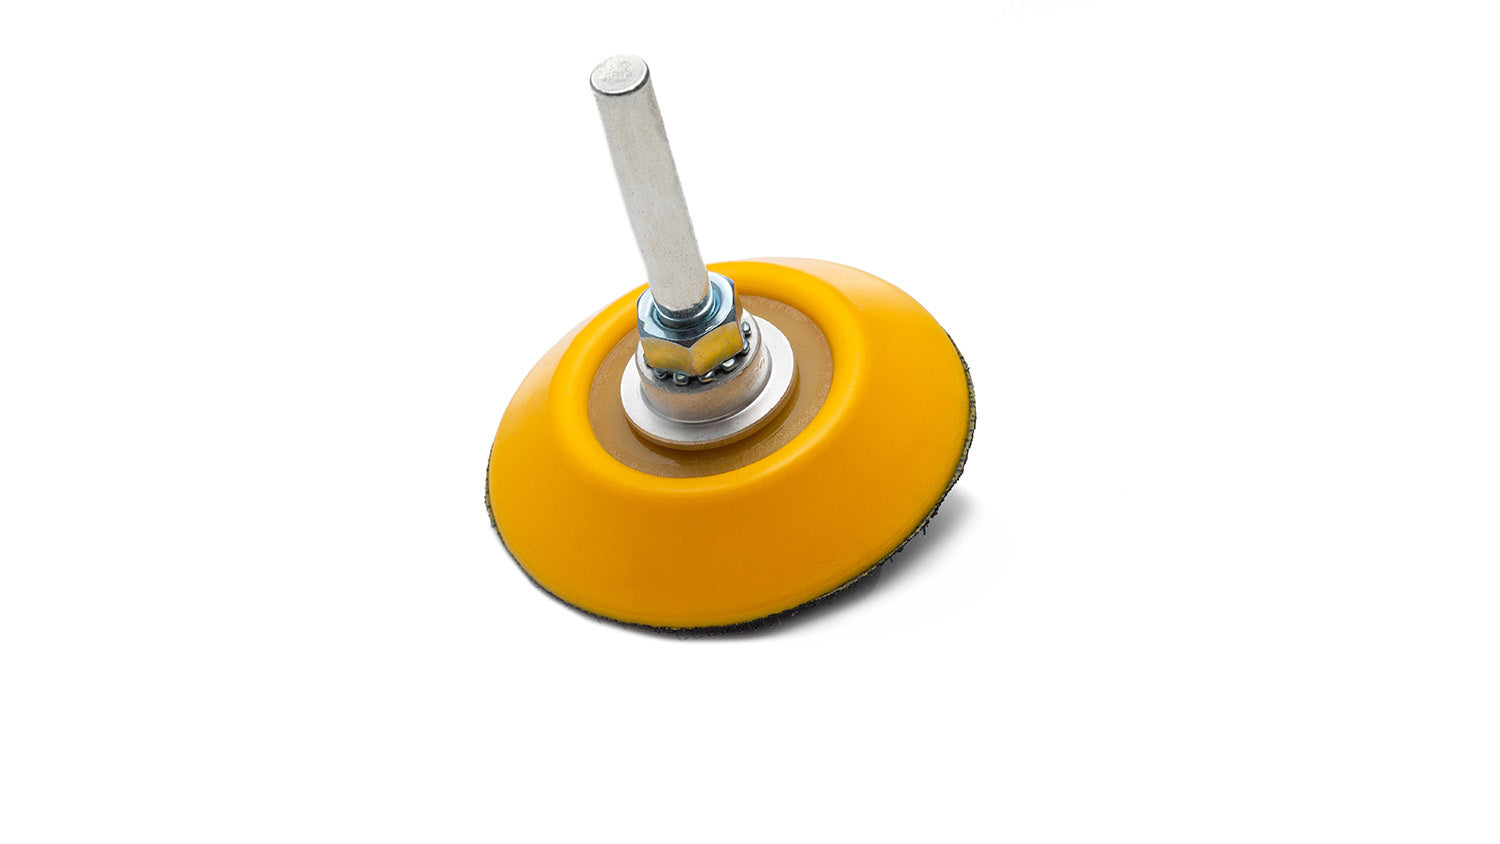
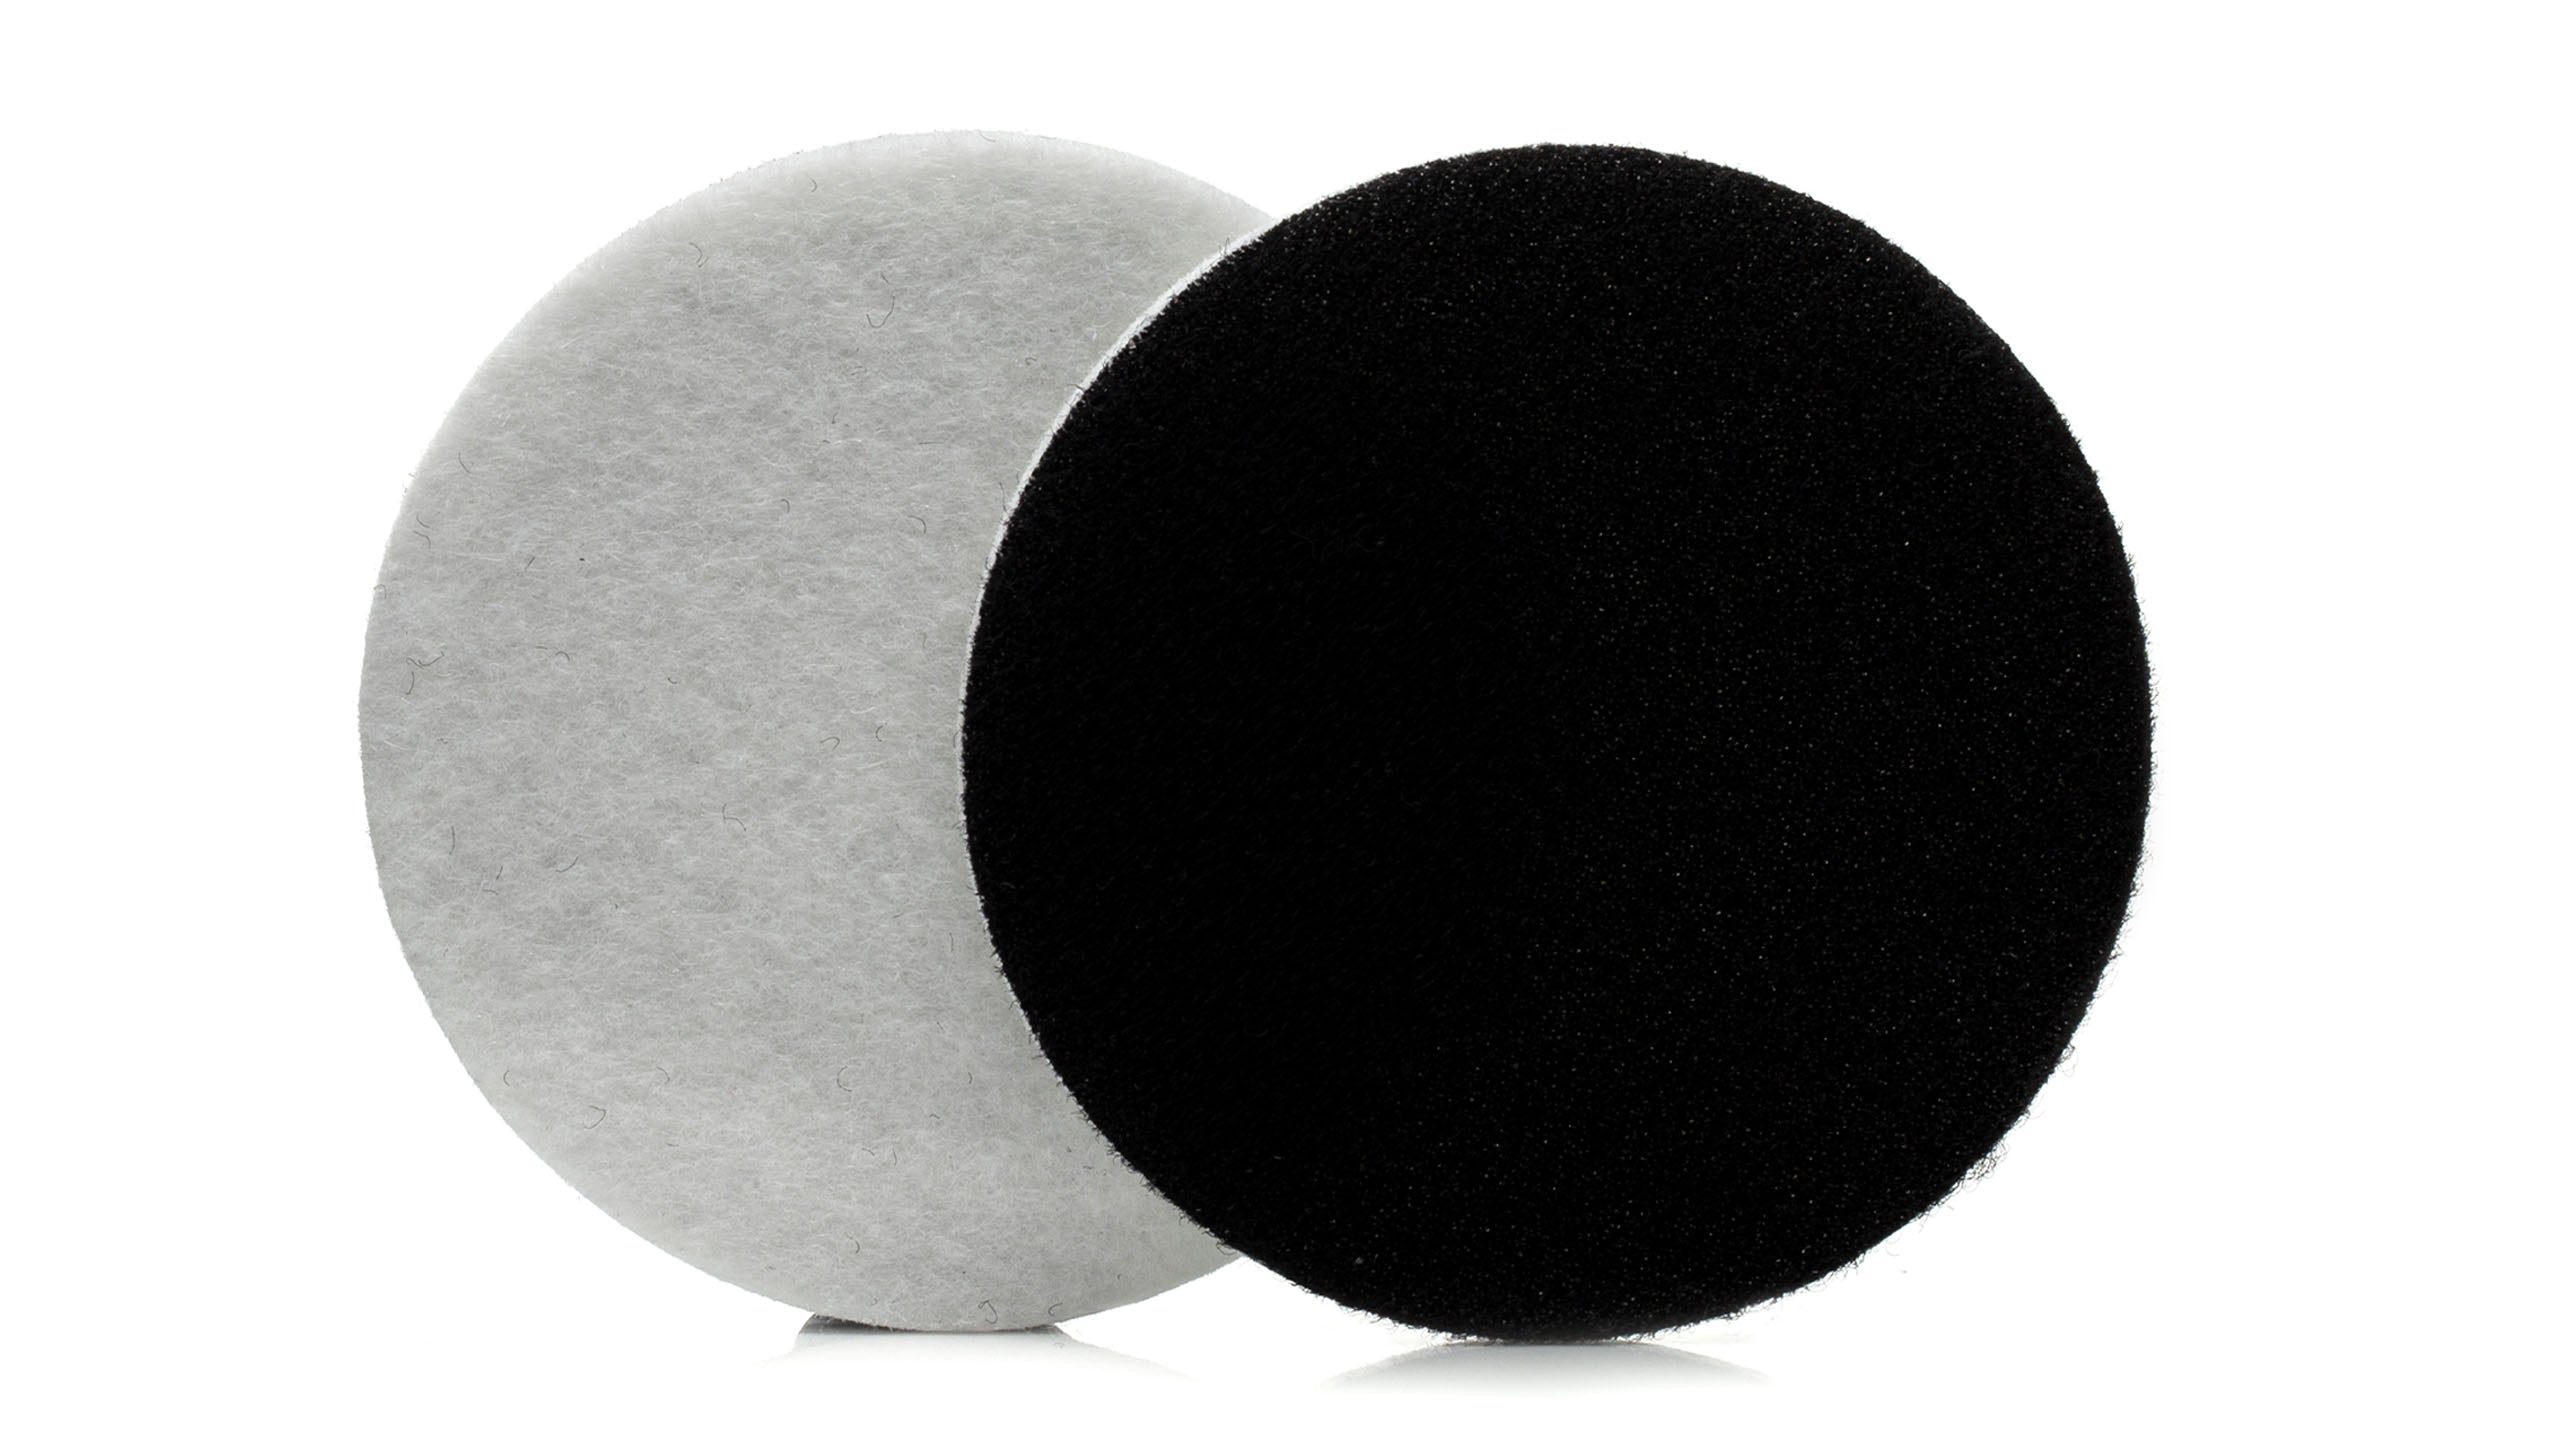
GP-PRO Felt Polishing Pads 115mm (4.5")

GP-PRO Felt Polishing Pads 150mm (6")
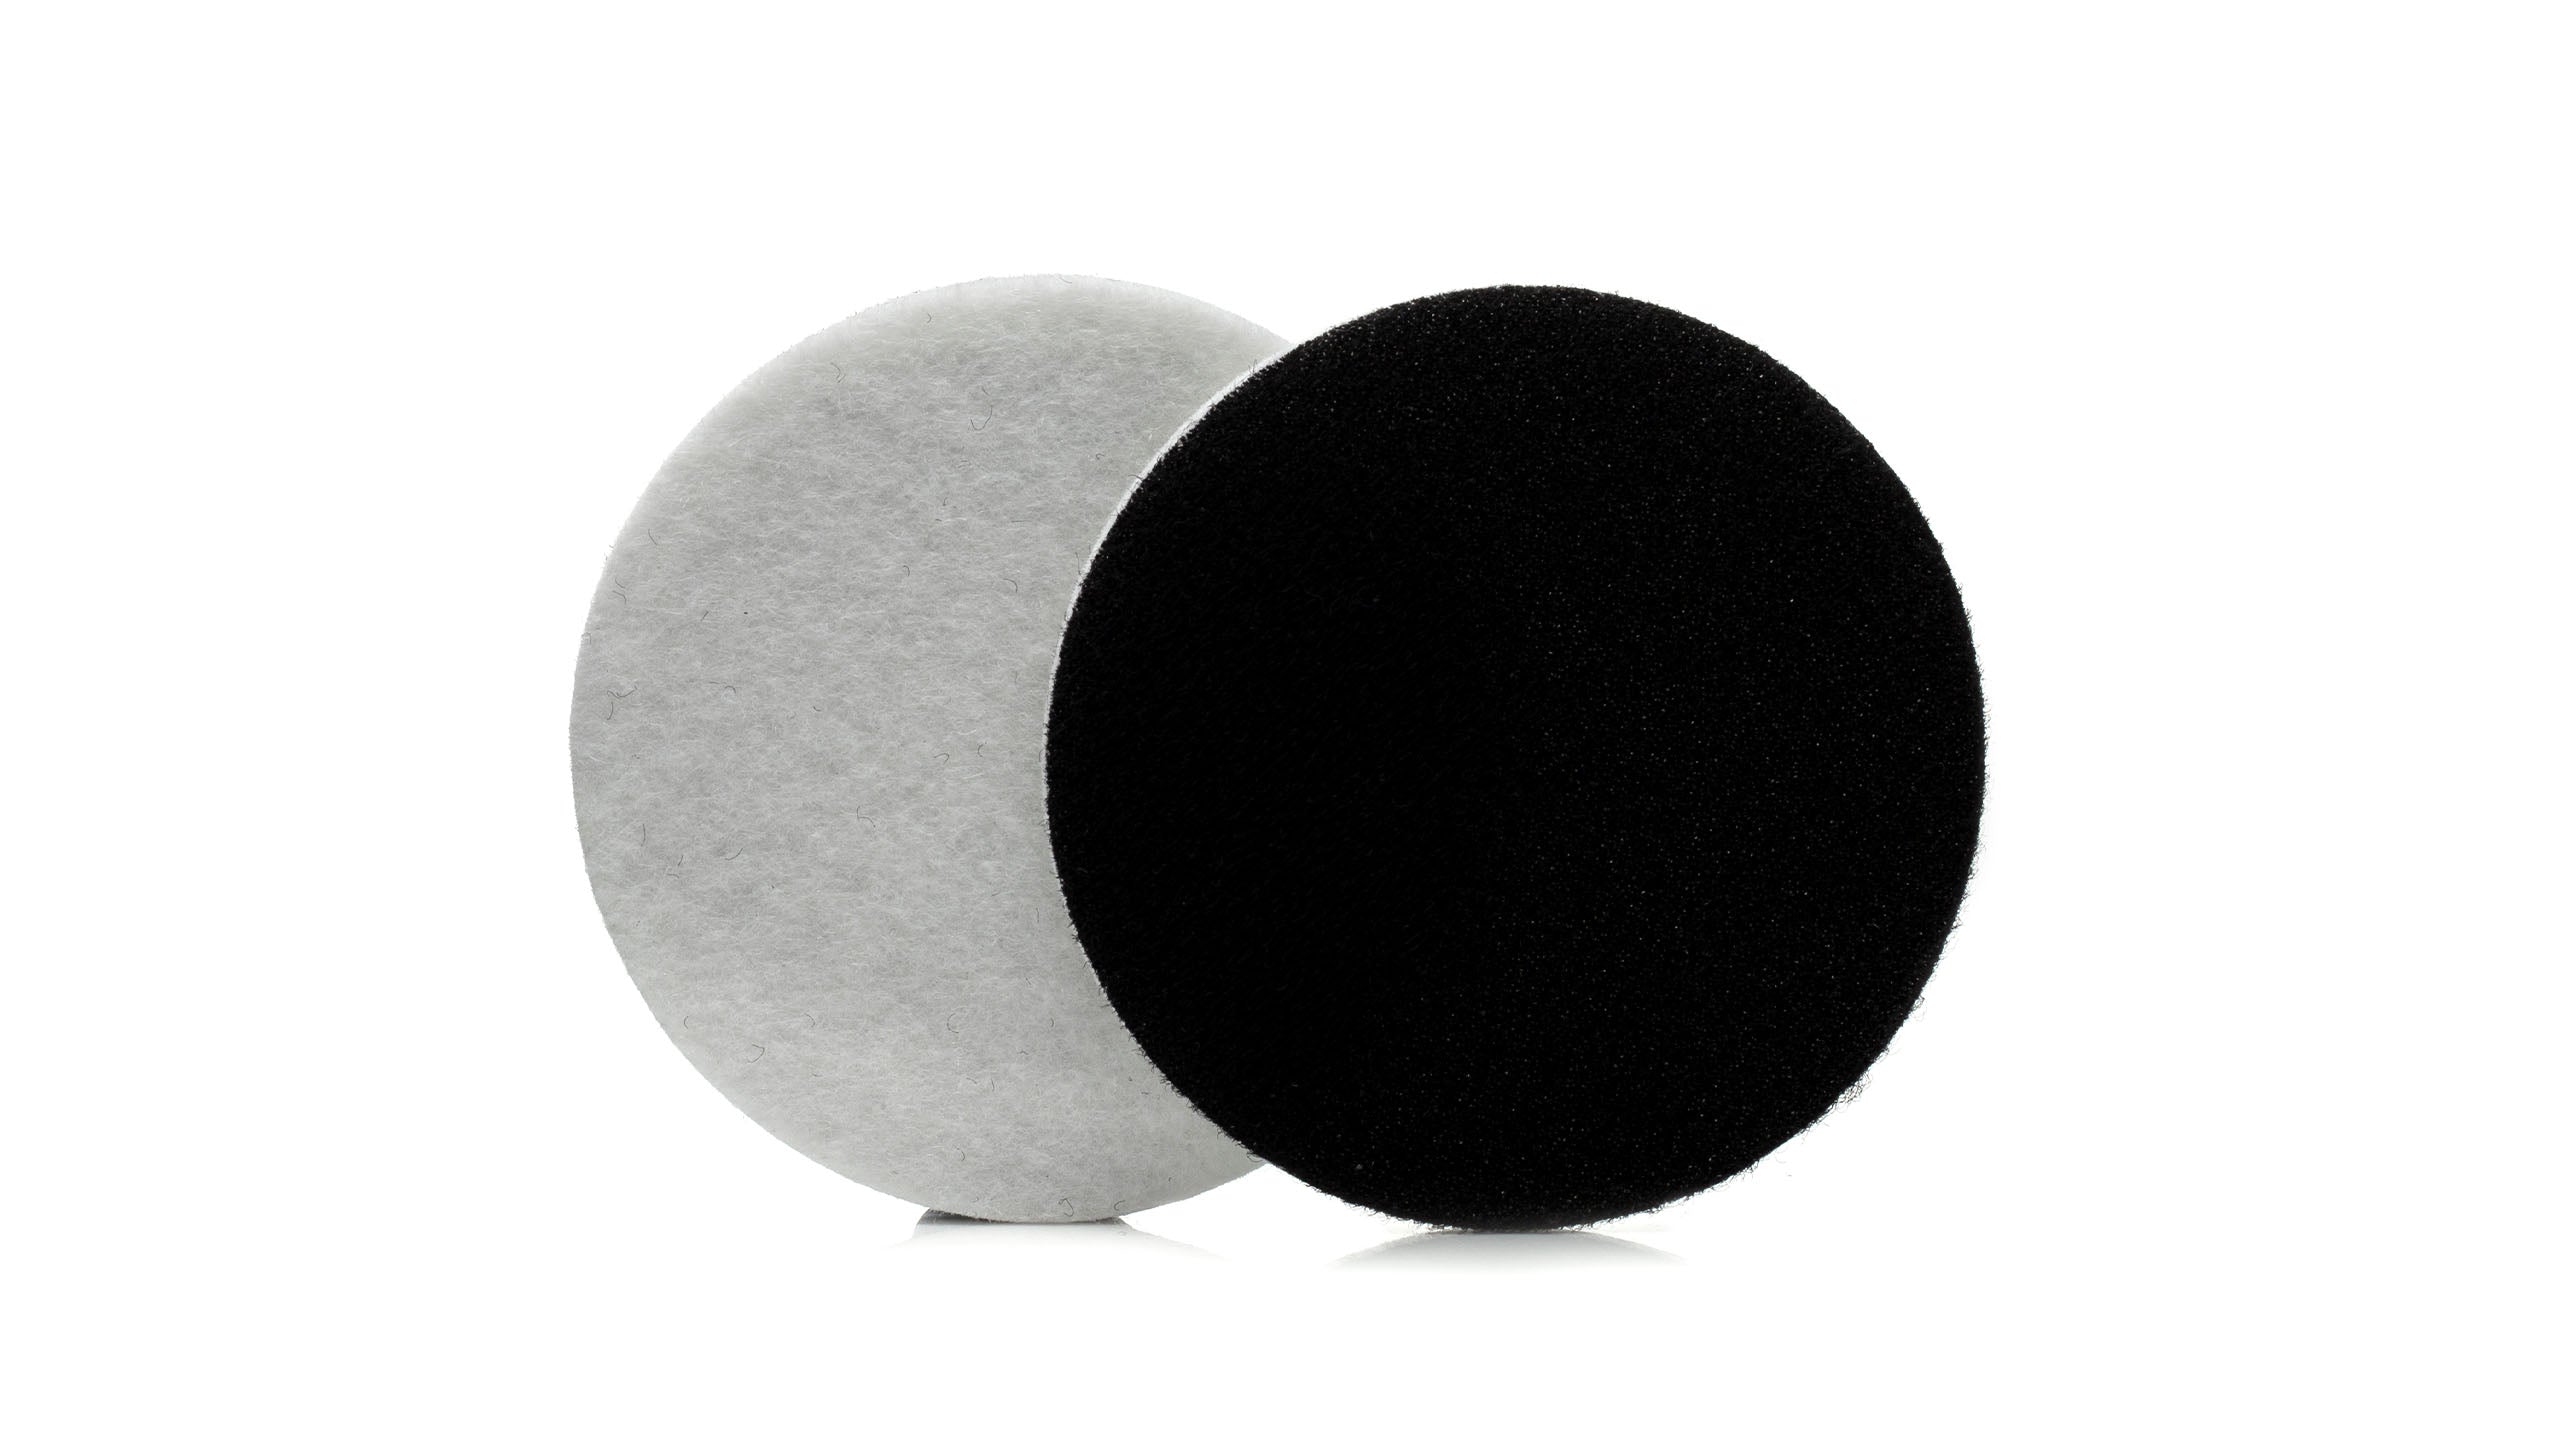
GP-PRO Felt Polishing Pads 50mm (2")
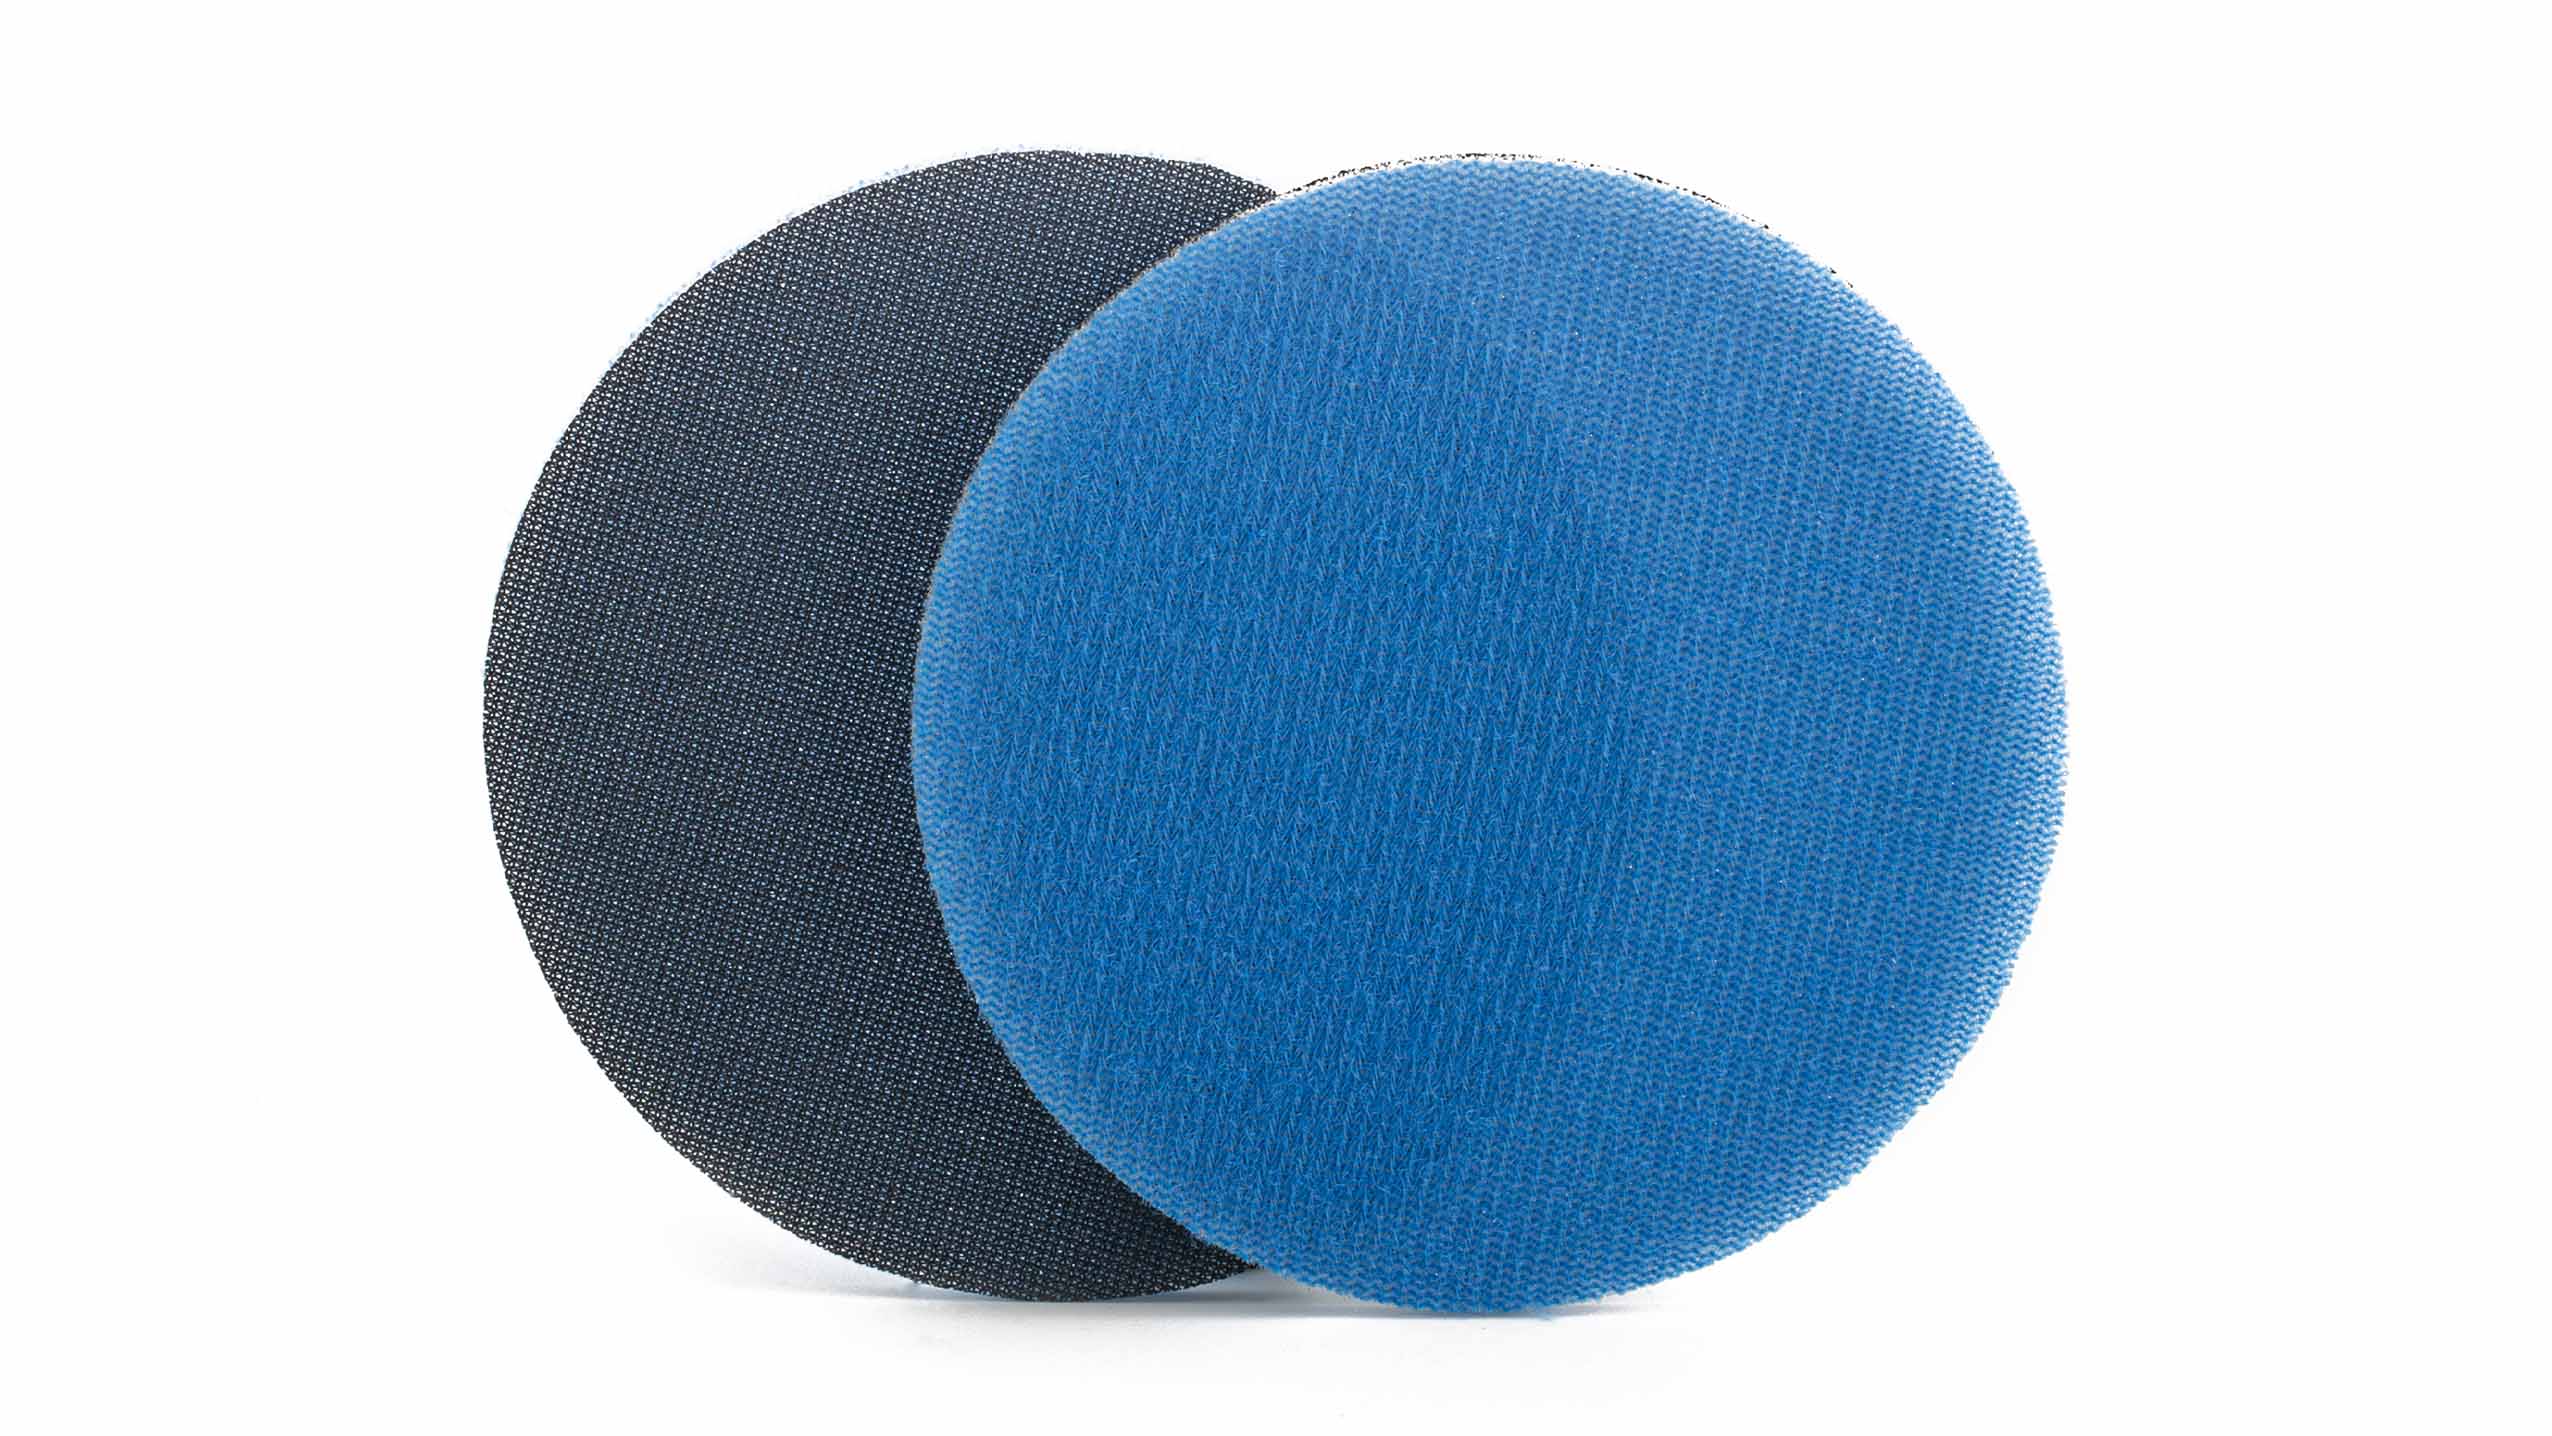
GlasX™60 - P500 Fine Mesh Abrasives 75mm (3")