DIY Headlights Restoration Support
MULTI-LANGUAGE
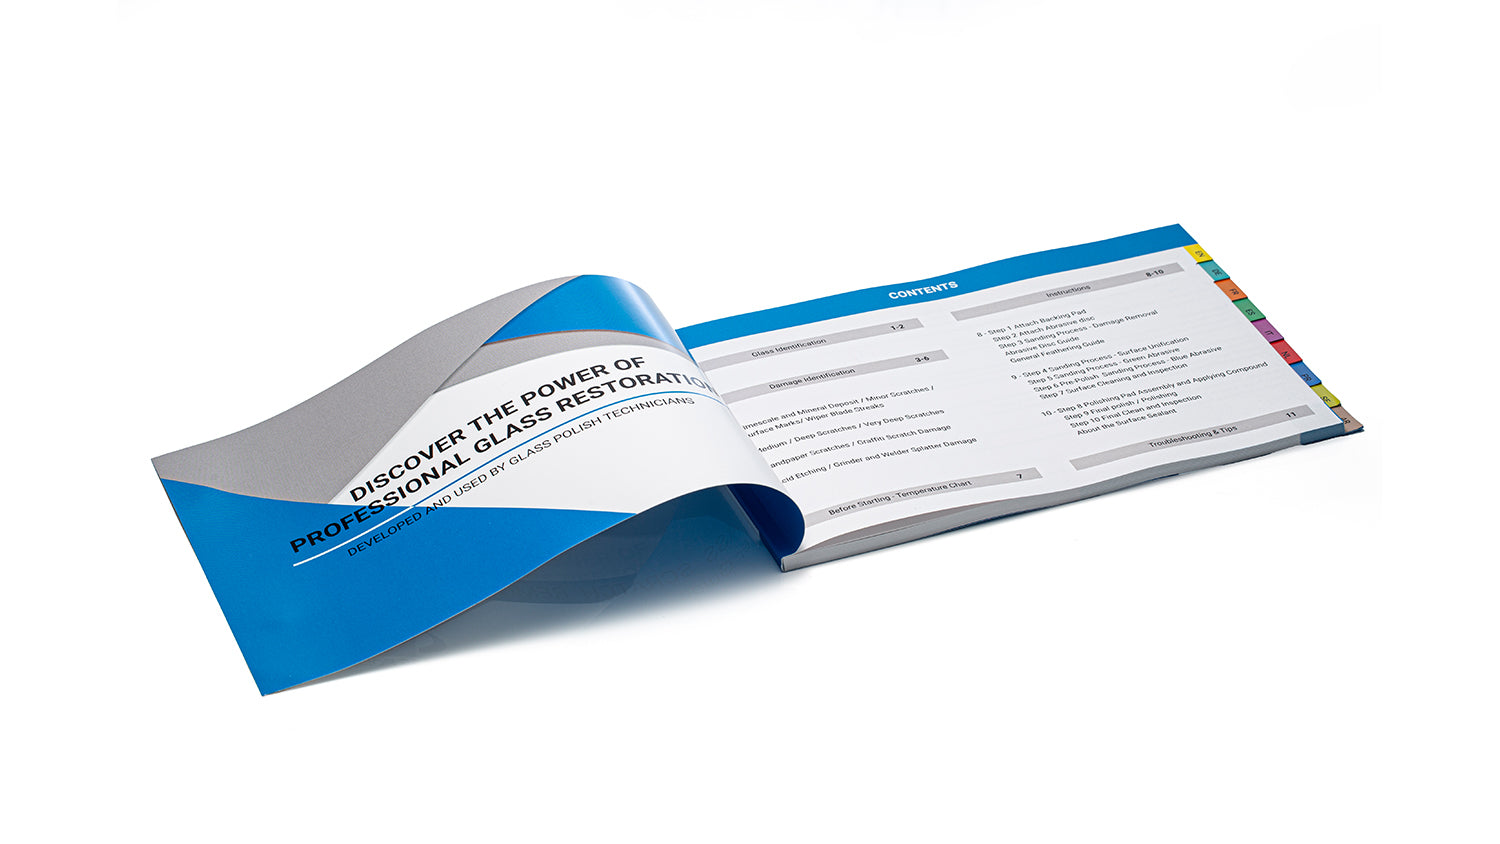
HOW TO USE
SAFETY DATA SHEET
How To Use Headlight Restoration Kit
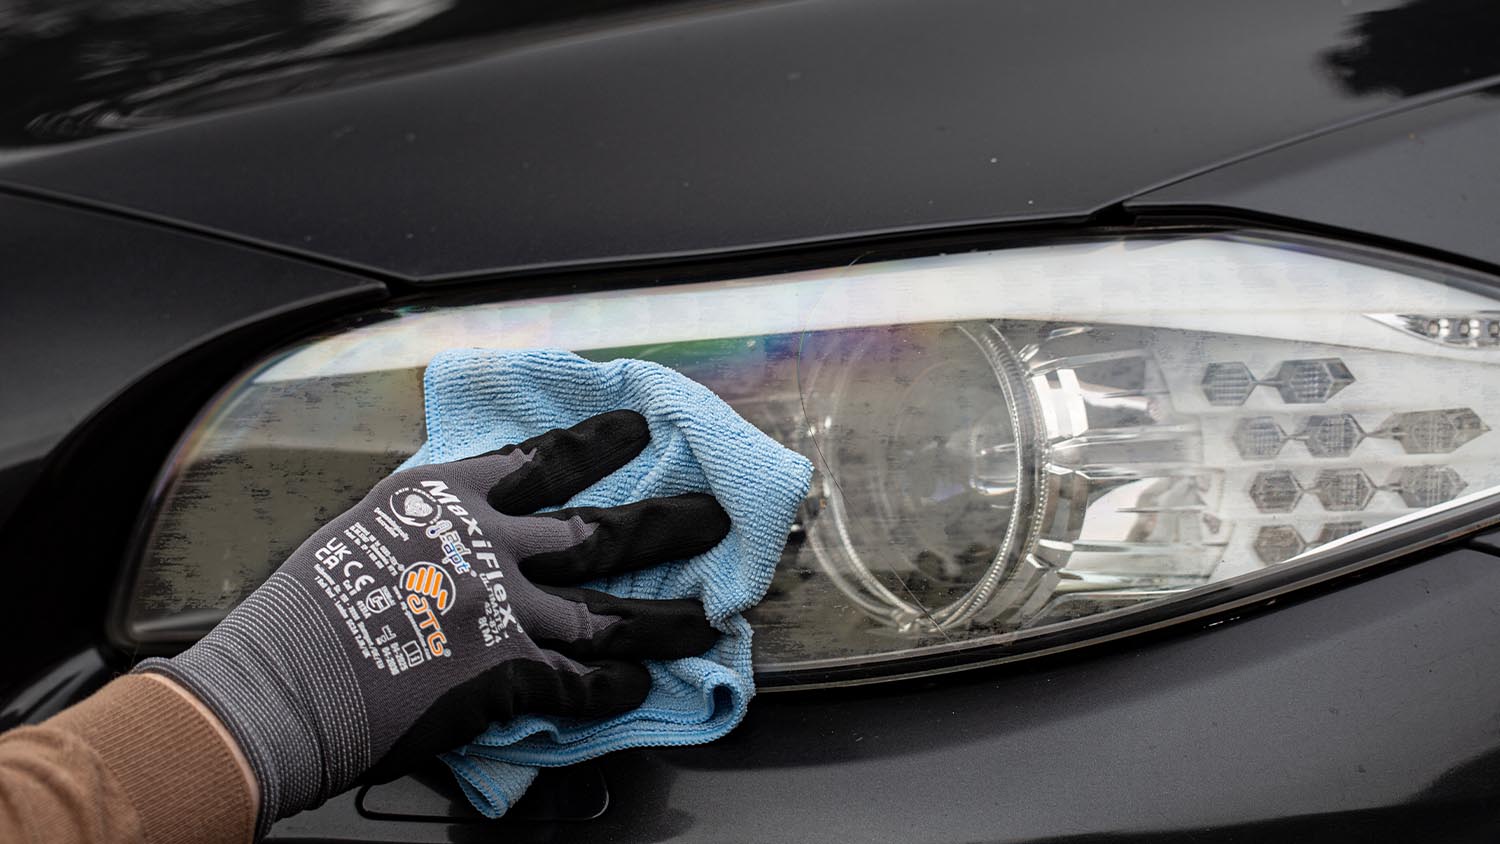
STEP 1: Cleaning
Clean the treated area thoroughly
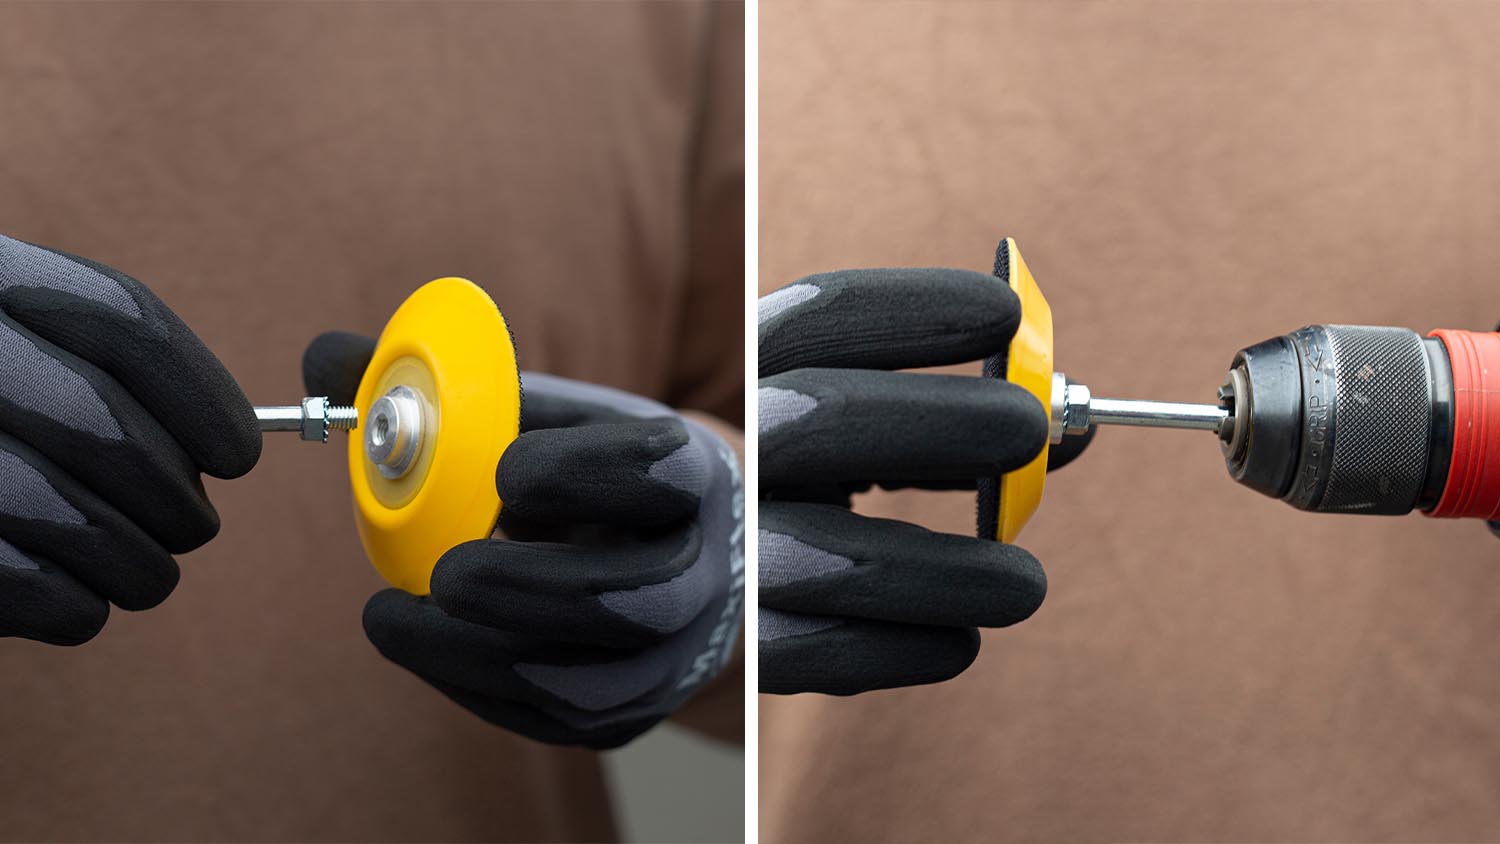
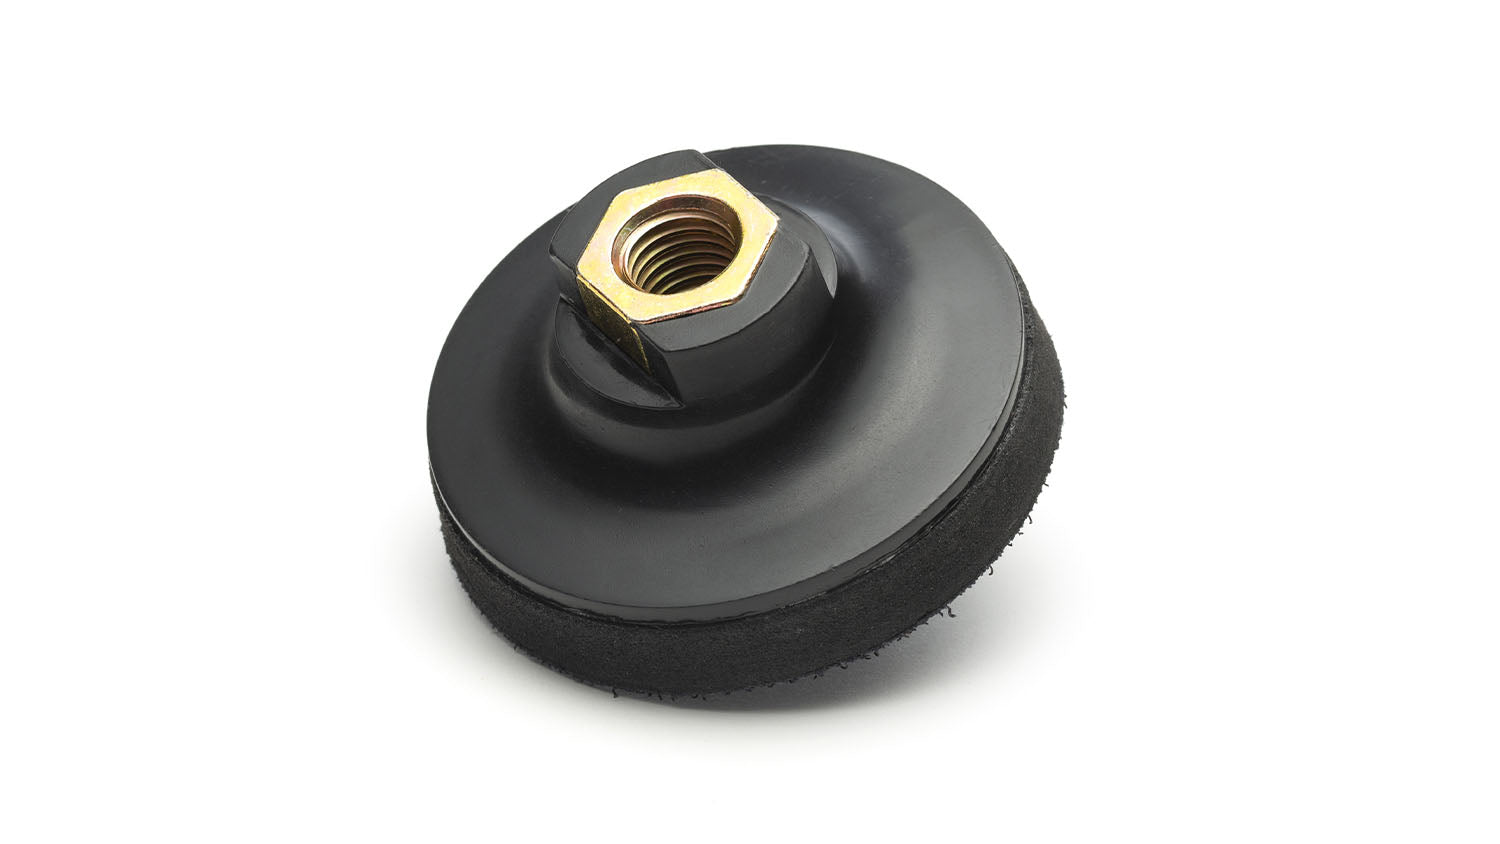
STEP 2: Backing Pad Assembly
Use electric drill
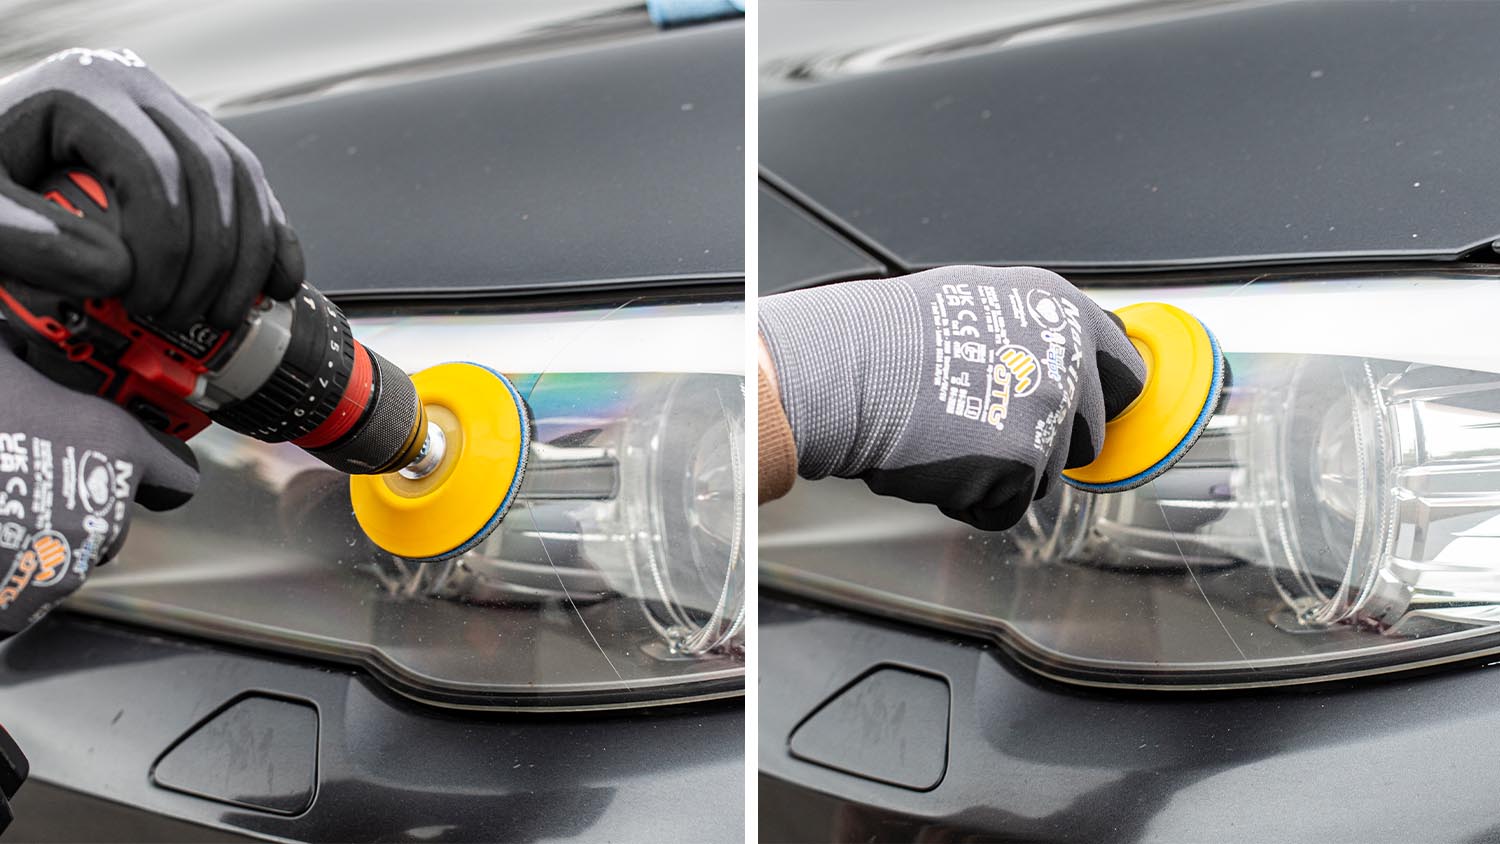
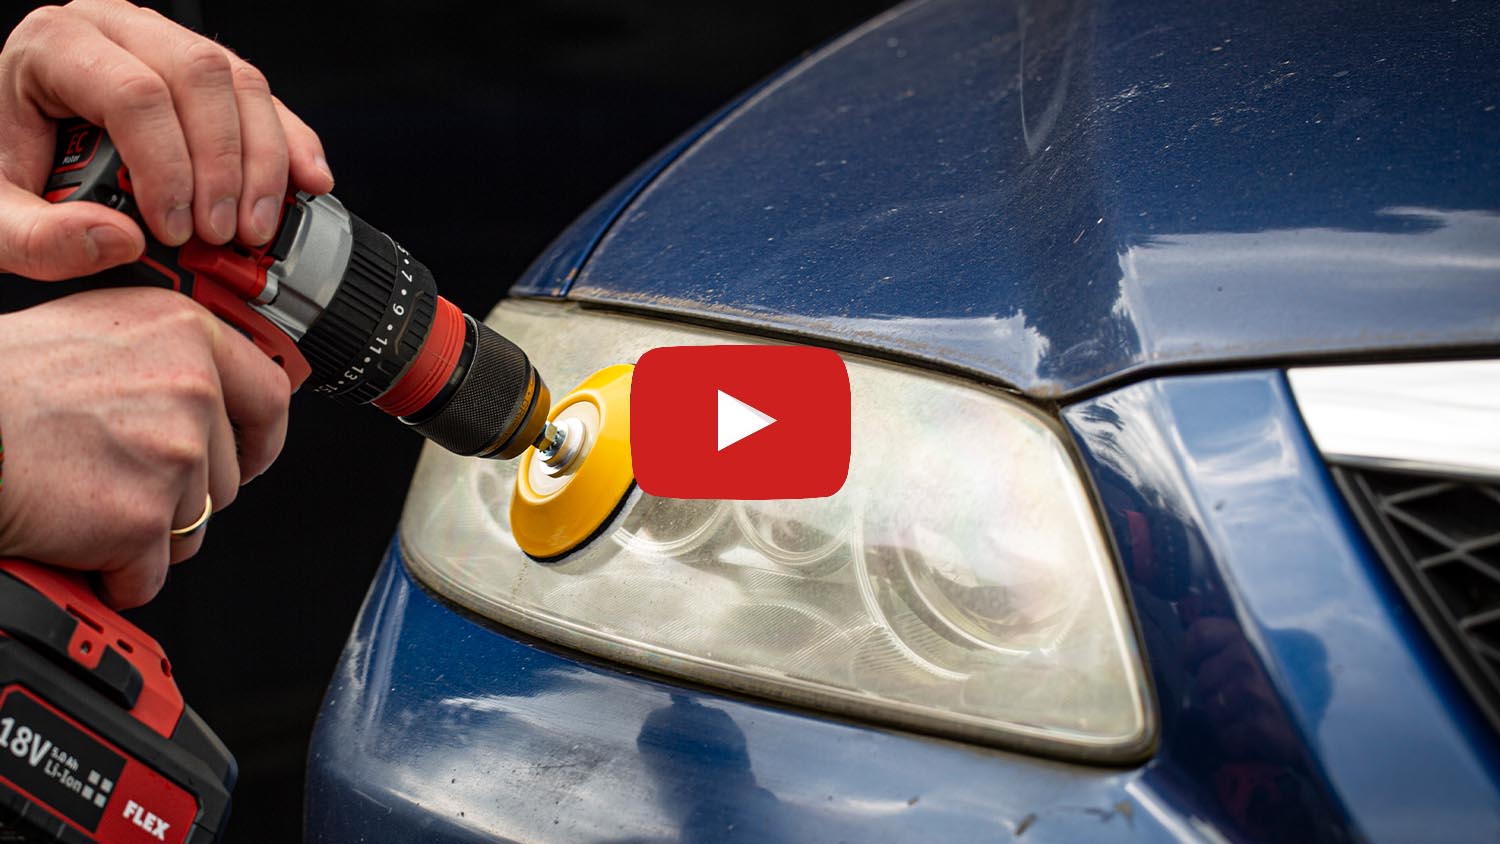
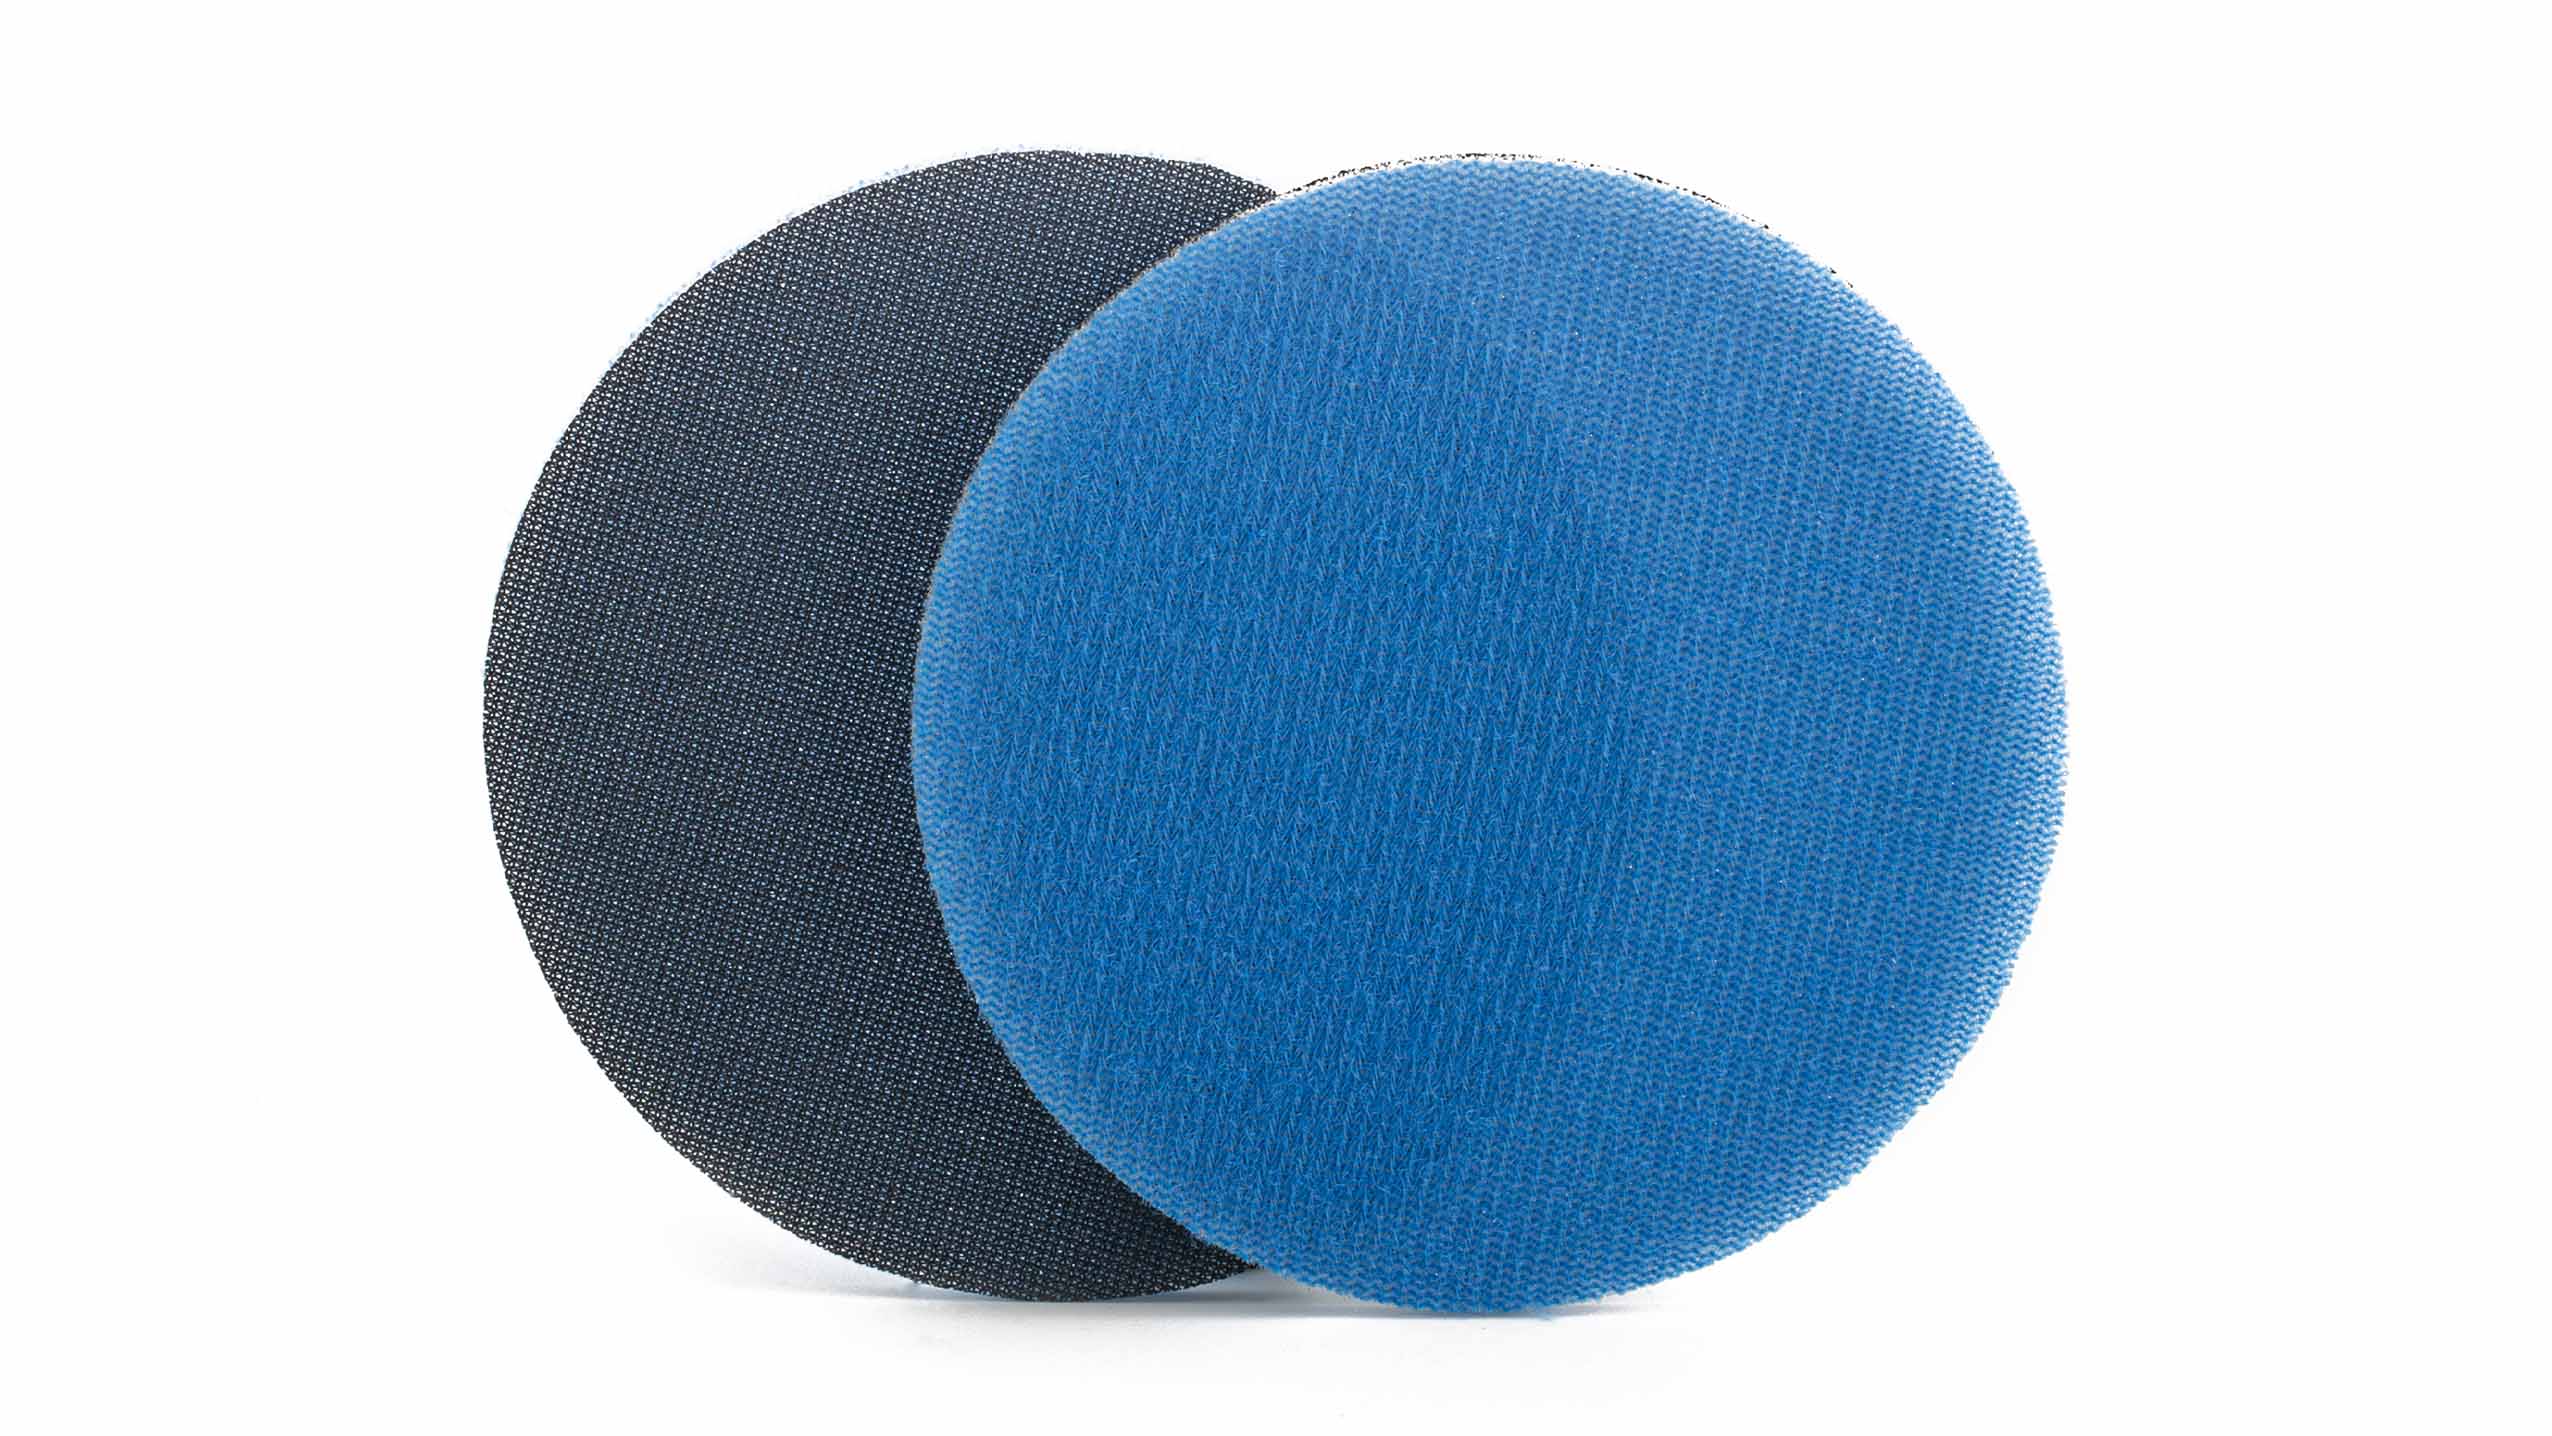
STEP 3: Damage Removal
Use sanding disc by hand or with a drill at about 1000 rpm's
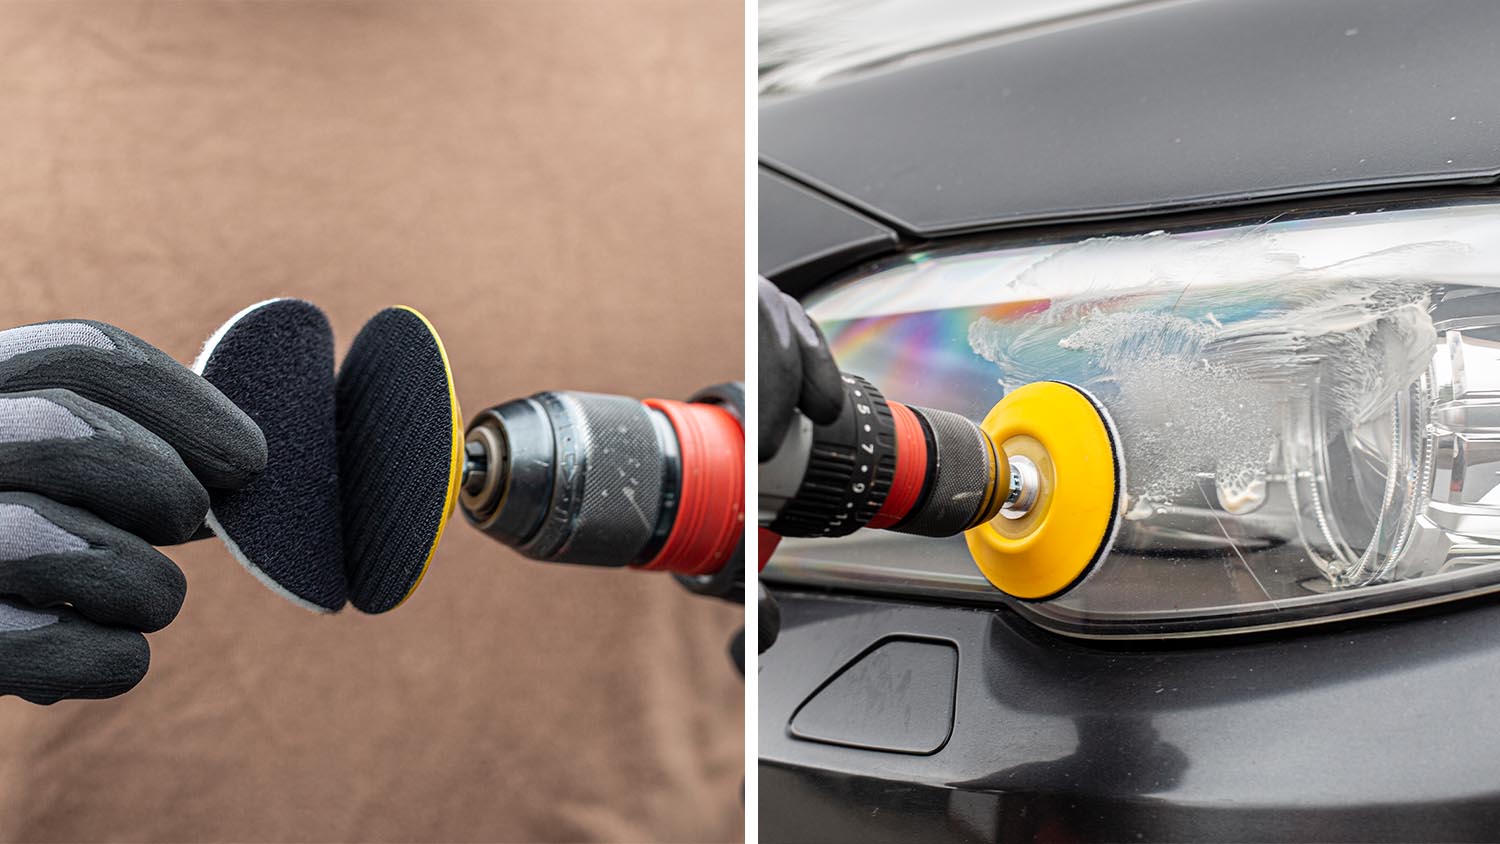
STEP 4: Polishing
Use polishing compound with a drill at about 1000 rpm's
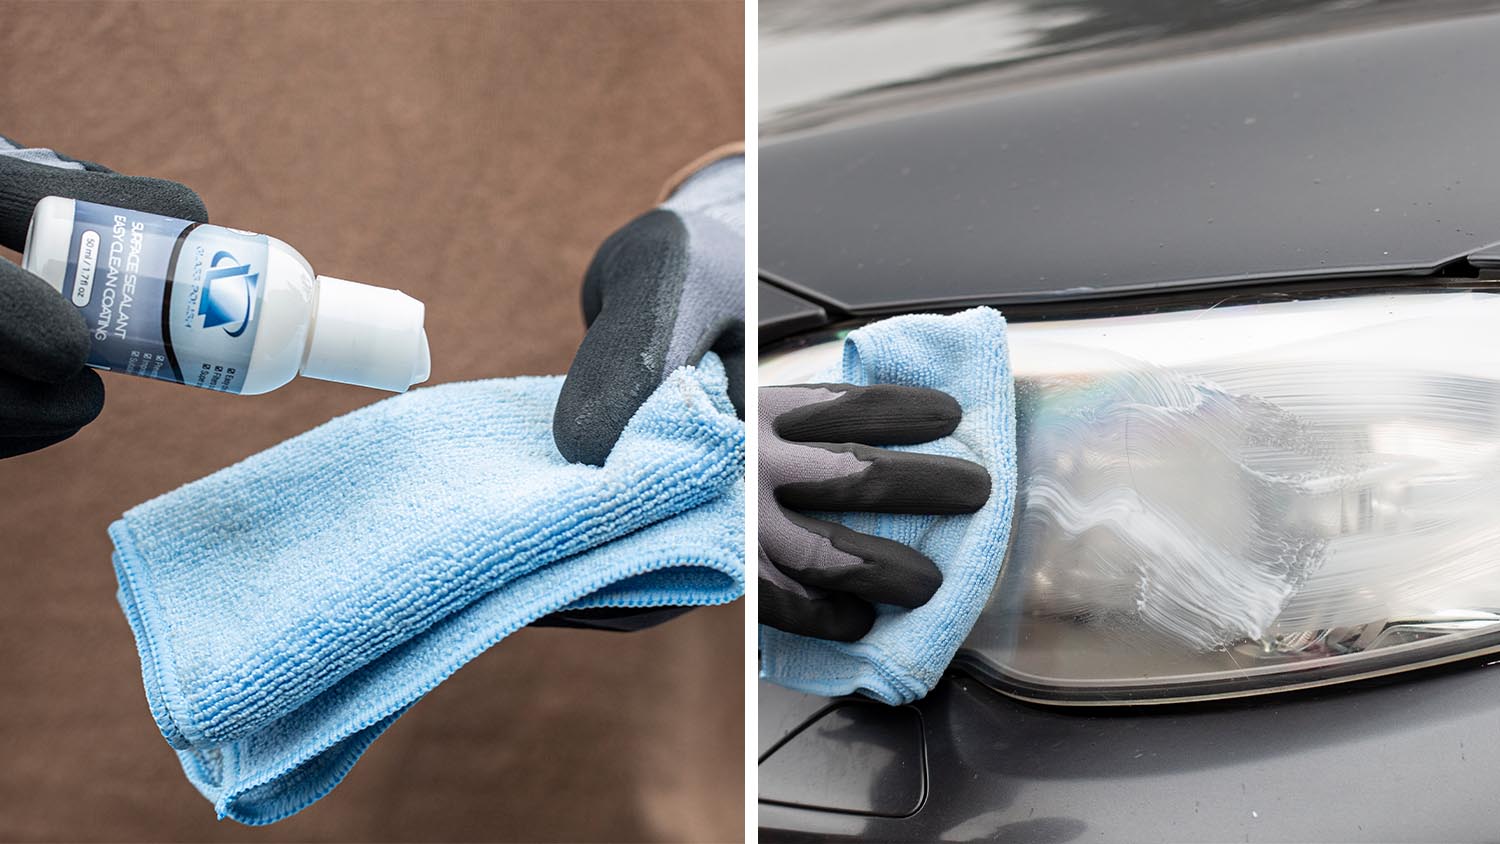
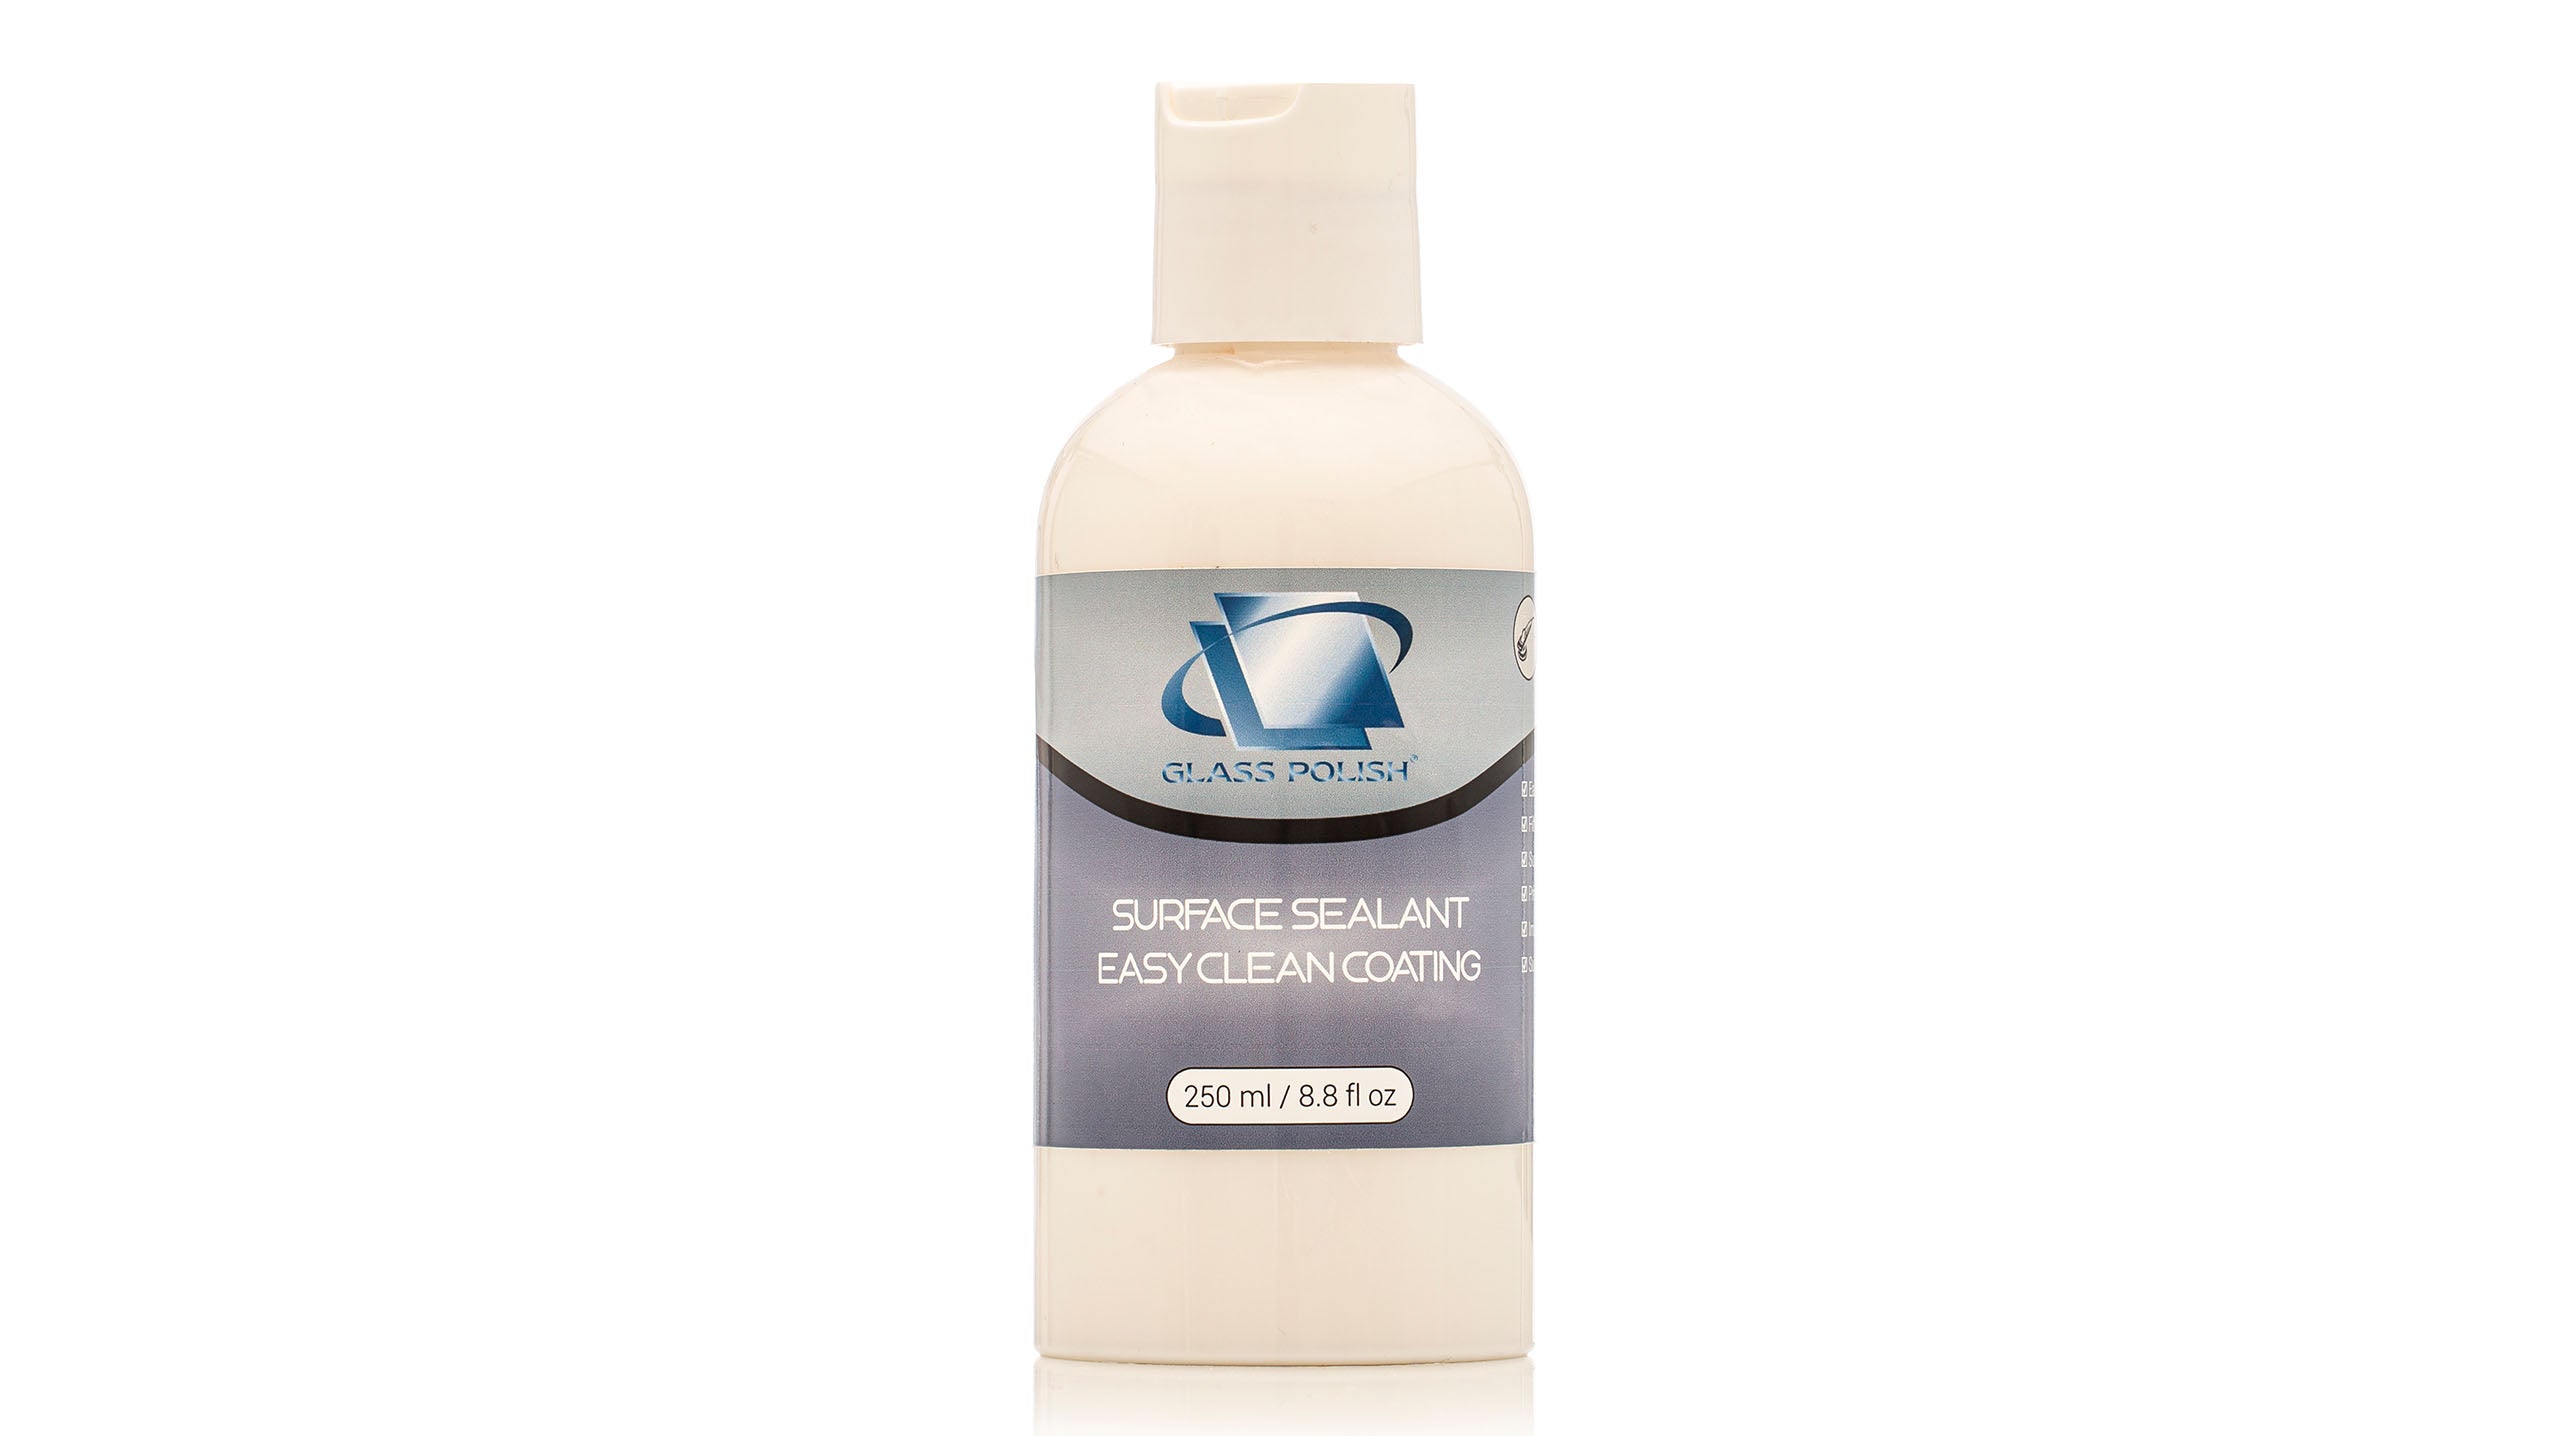
STEP 5: Protection
Apply surface sealant by hand
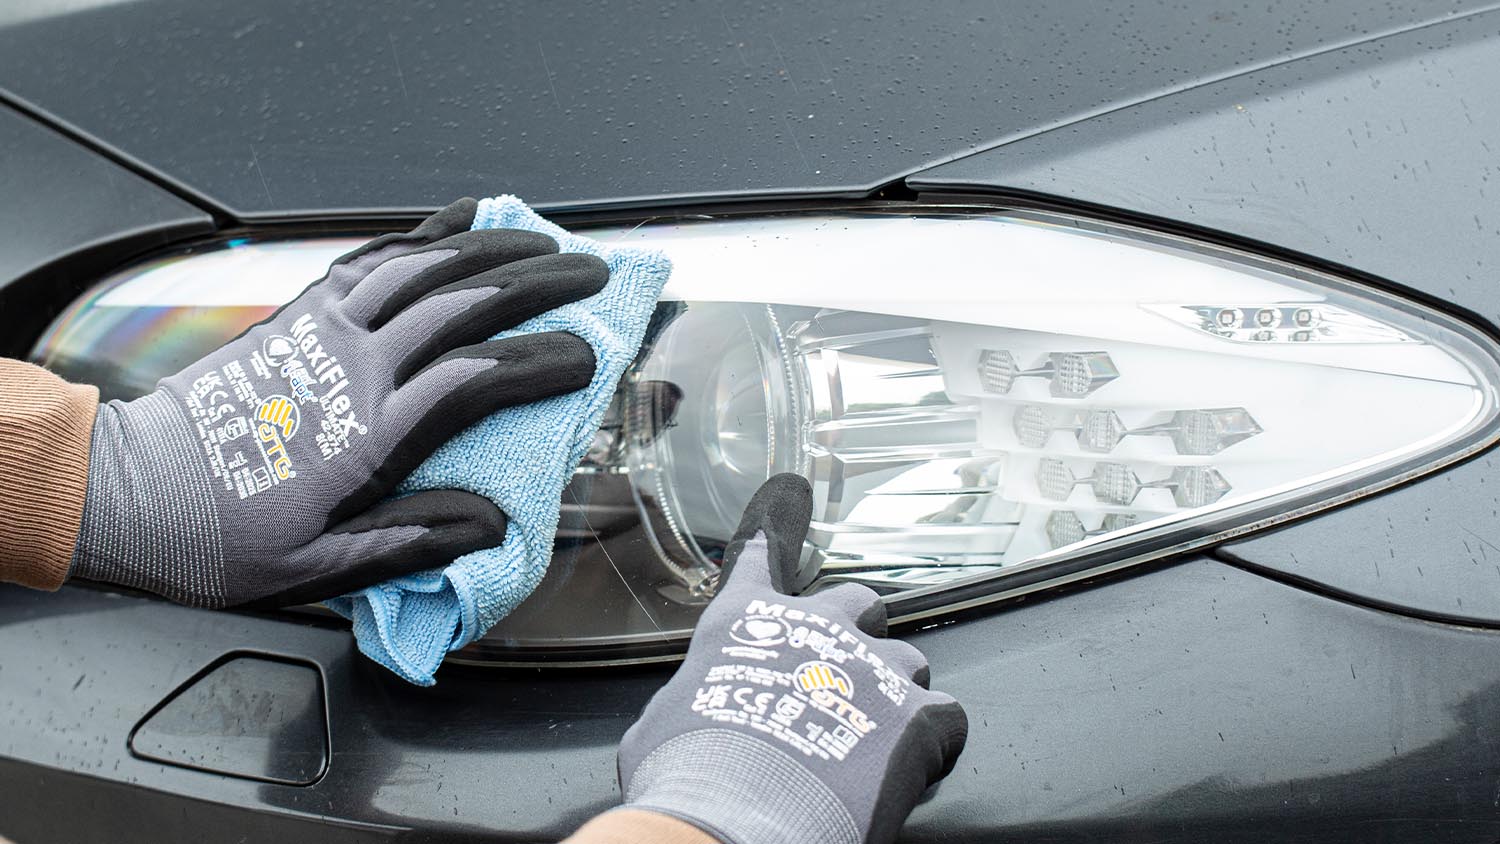
STEP 6: Final Inspection
Clean and inspect, repeat process if necessary
Polishing Tips
✅ Mask surrounding trims and seals to protect them during polishing.
✅ Clean the surface thoroughly before polishing to avoid trapping dirt or grit.
✅ Polish with moderate pressure to maintain sufficient friction.
✅ Do not exceed 1,000 RPM. If the surface becomes too hot stop and allow it to cool before continuing.
✅Finish with a protective coating to prevent future yellowing and extend clarity.
Frequently Asked Questions
What damage can this kit remove?
It removes yellowing, surface haze, oxidation, fine scratches, and weathered layers from plastic headlight lenses. Deep cracks or internal fogging cannot be repaired.
What tools do I need to use this kit?
The kit can be used by hand or with a standard electric drill for best results.
How long does the process take?
Typically, a pair of headlights takes 30–60 minutes, depending on their condition.
Will this kit work on all headlights?
Yes — it is suitable for all clear plastic and polycarbonate lenses, including headlights, fog lights, and tail lights.
For classic cars glass headlights use our glass polishing kit.
How long will the restored finish last?
When properly sealed with the included UV coating, the restored clarity can last up to 12 months or longer, depending on exposure and maintenance.
Often Bought Together
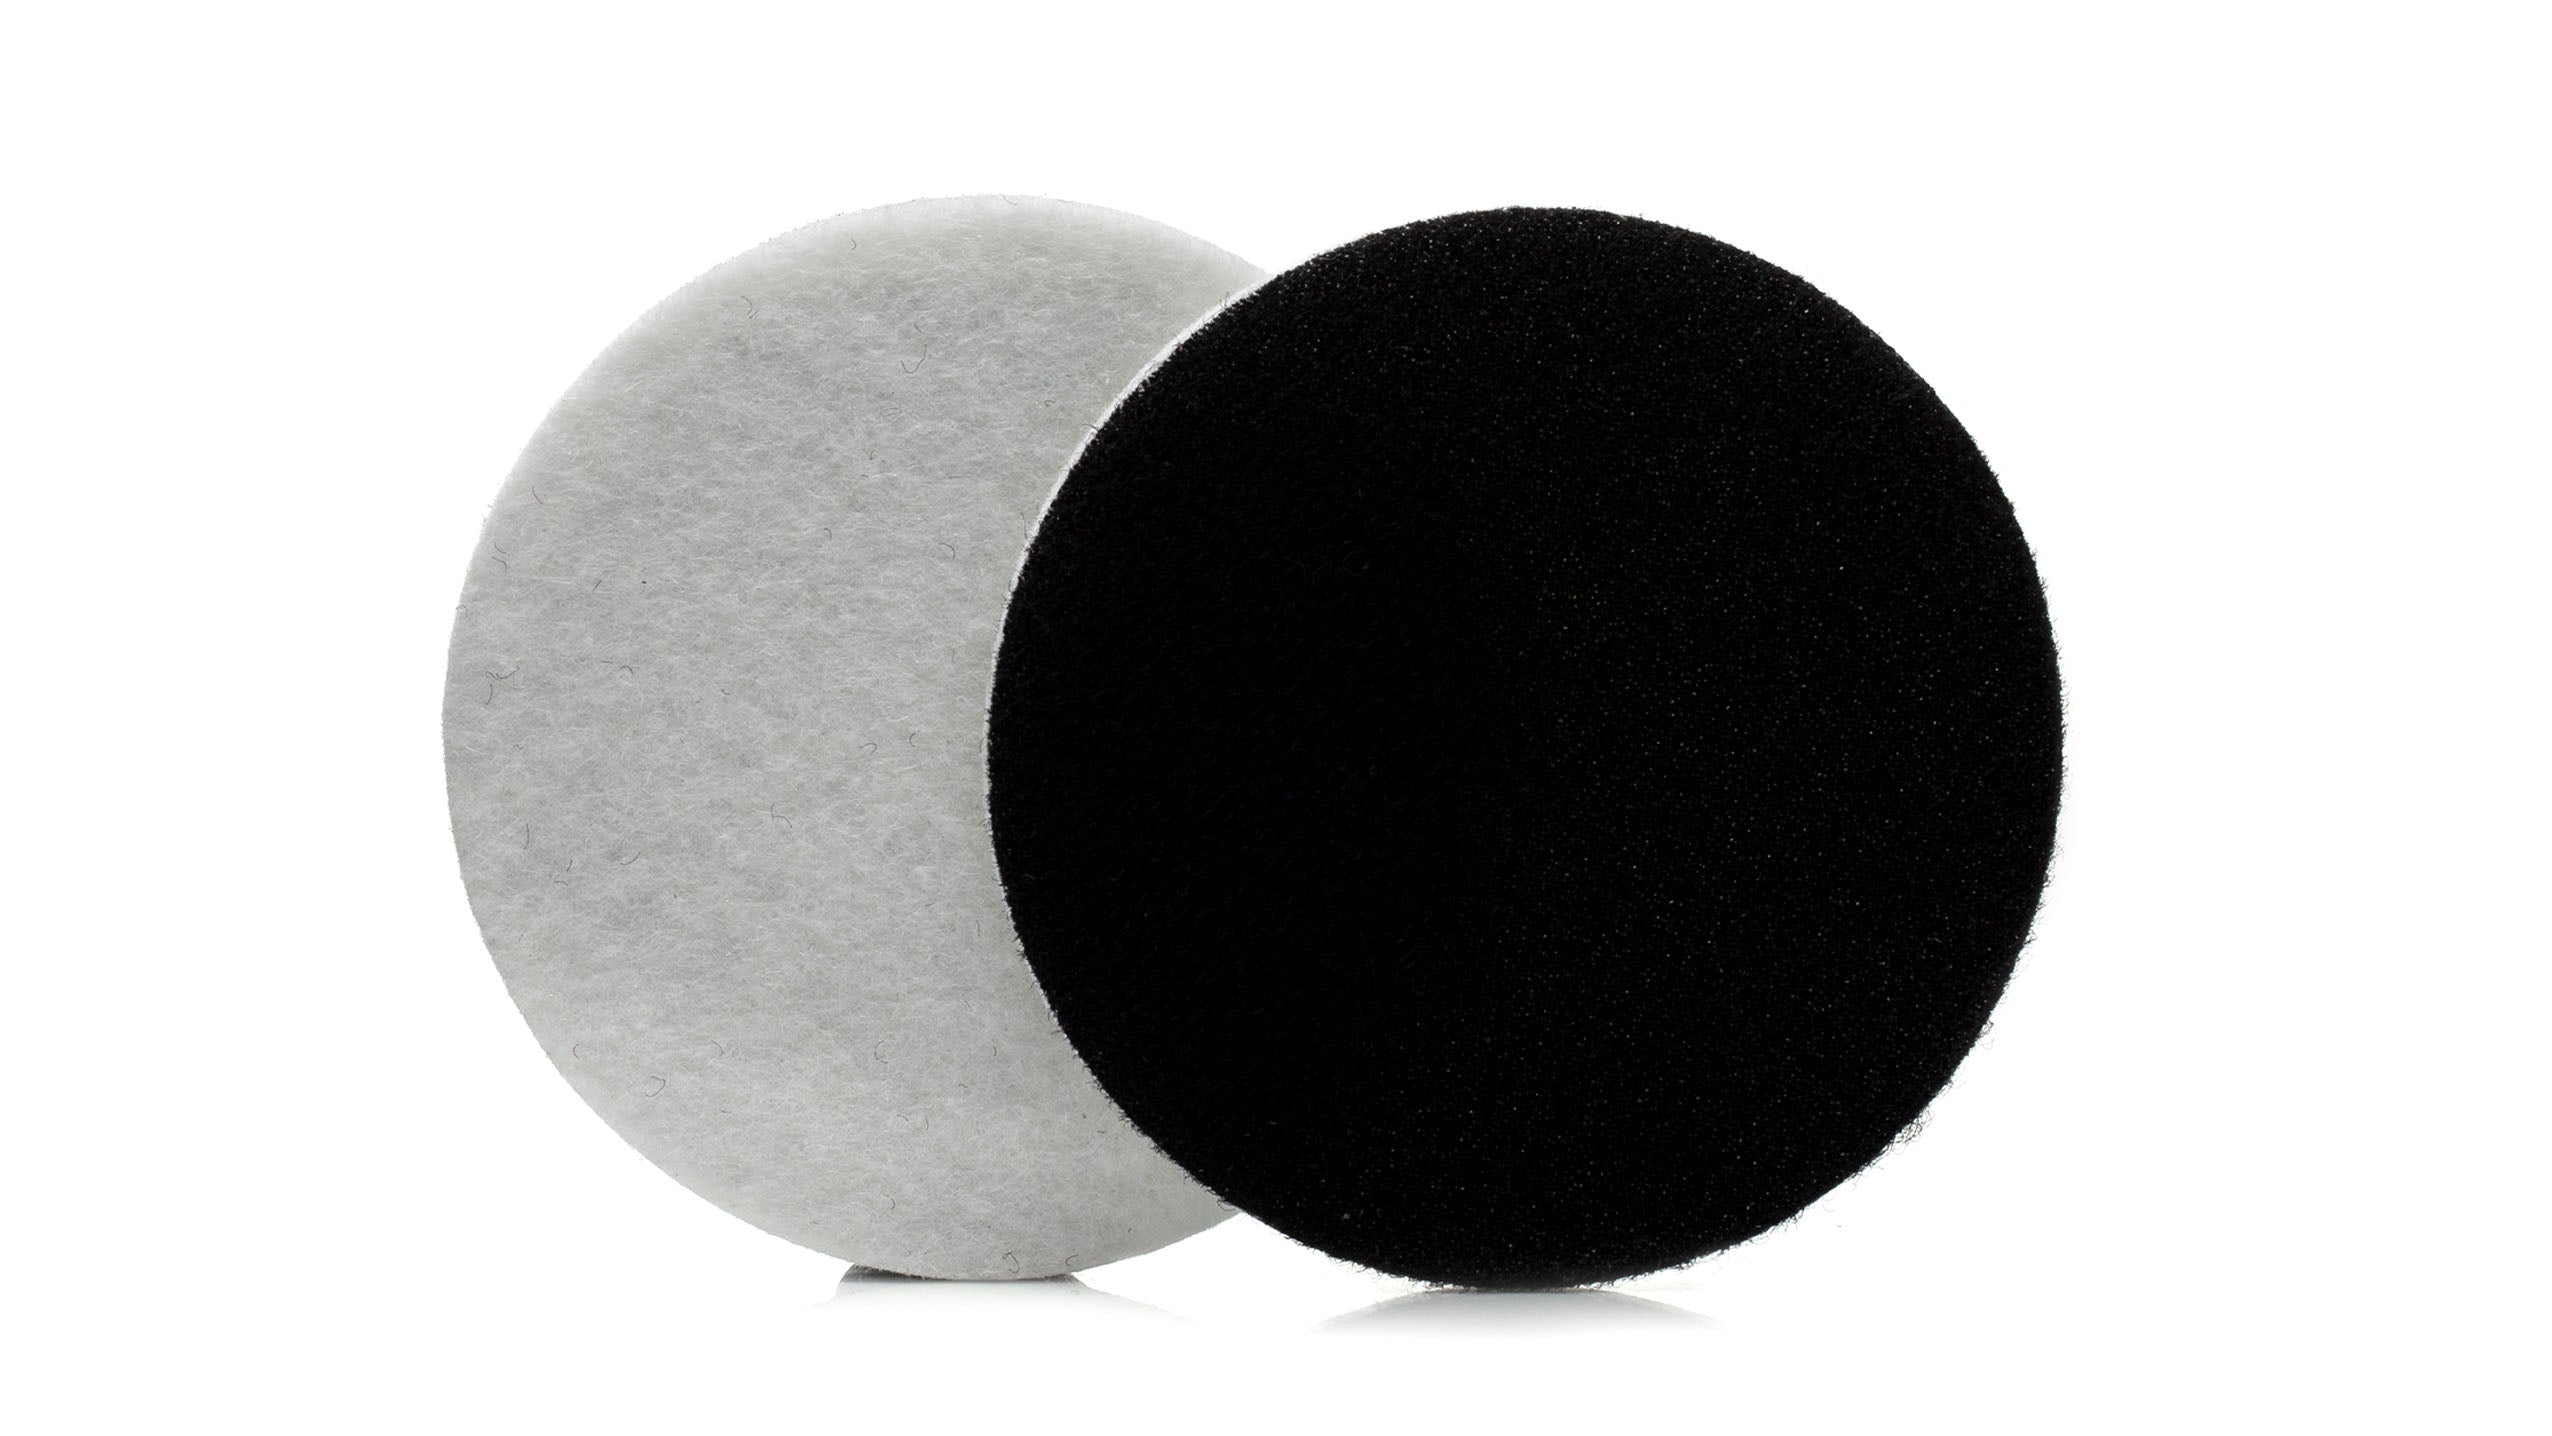
GP-PRO Felt Polishing Pads 75mm (3")
GlasX™60 - P500 Fine Mesh Abrasives 75mm (3")