PRO Glass Scratch Repair Kit Support
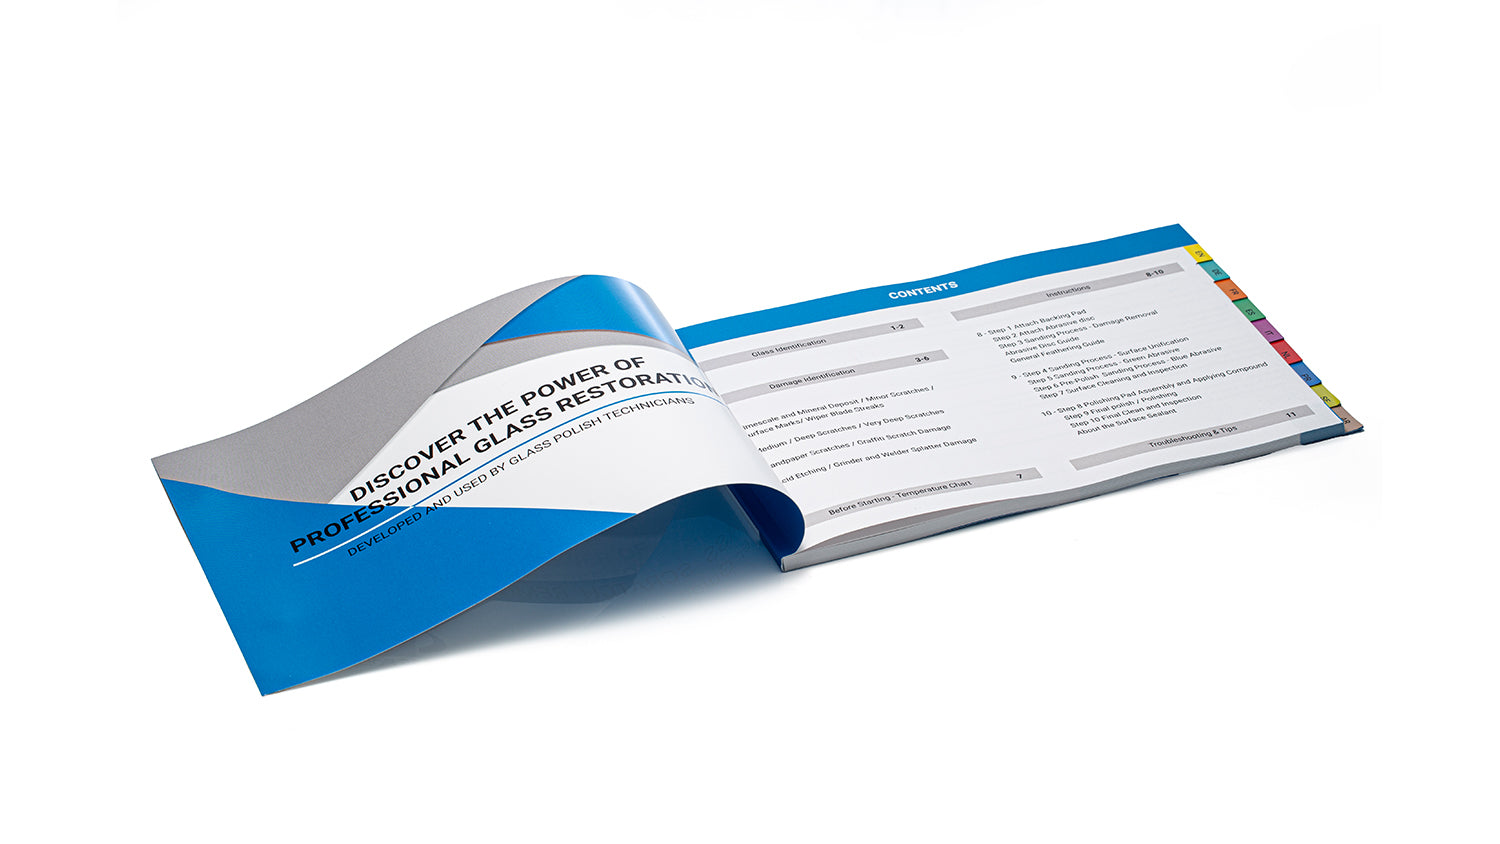
MULTI-LANGUAGE

HOW TO USE
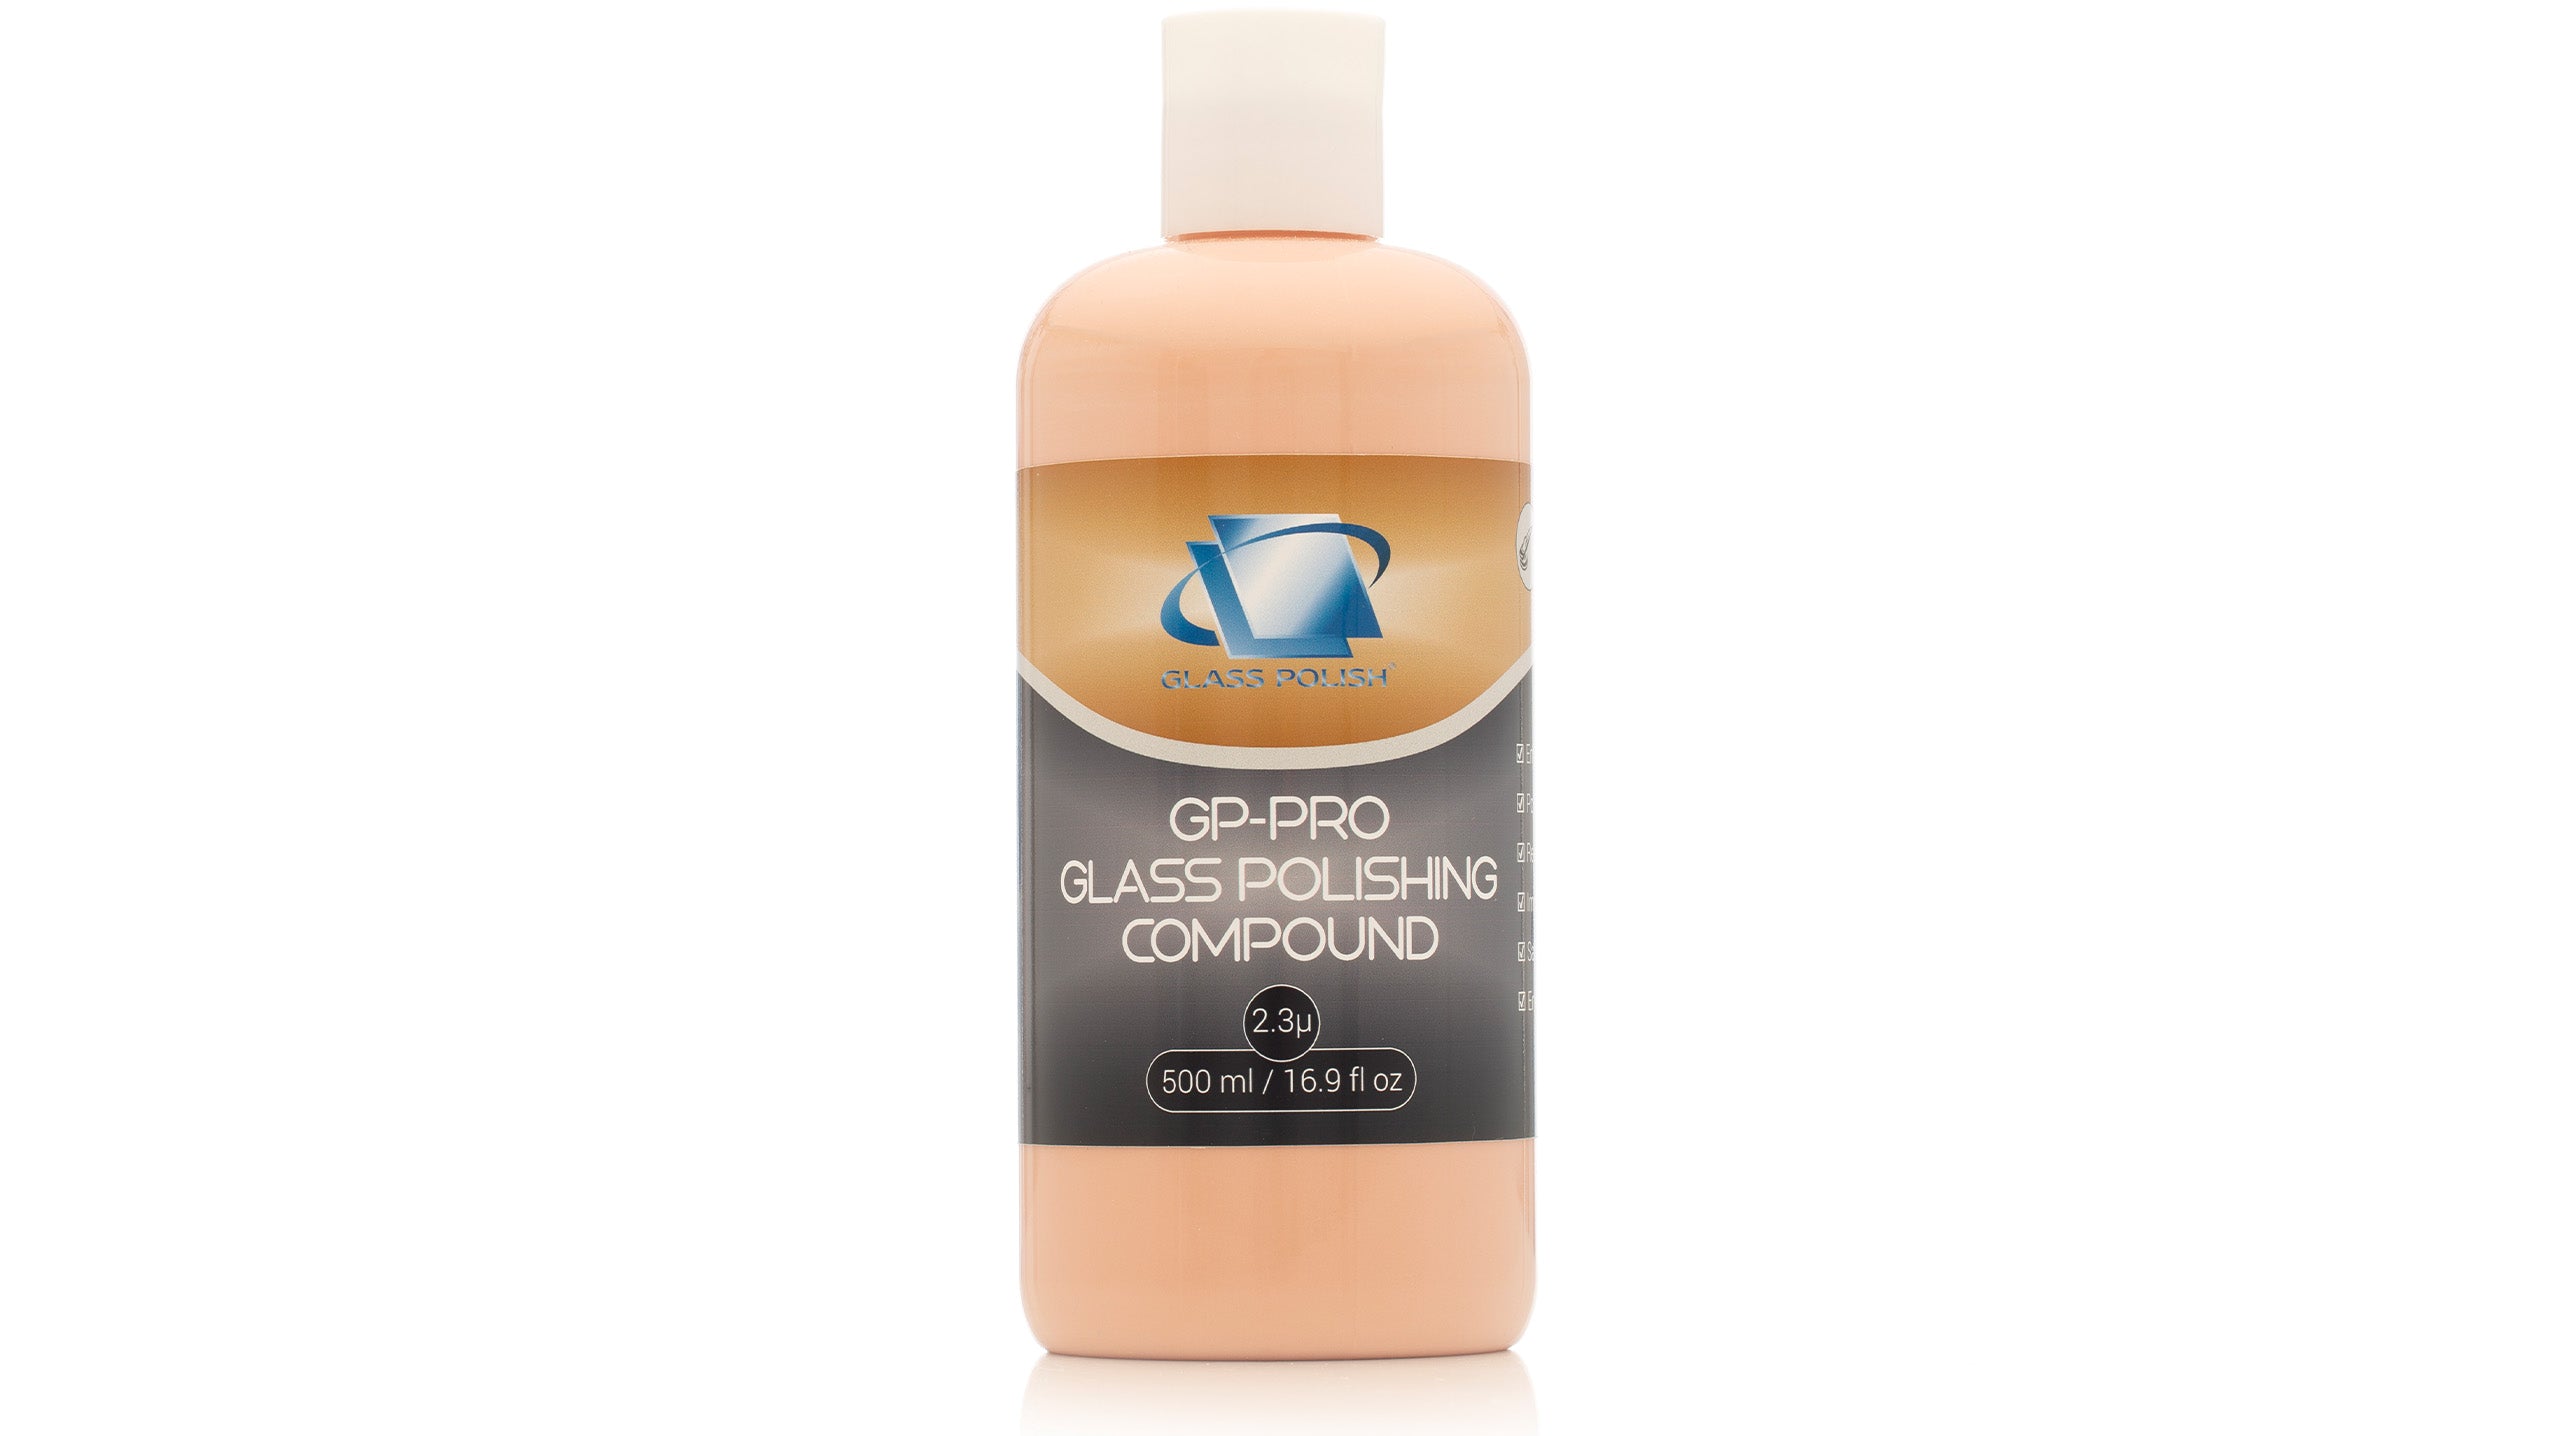
SAFETY DATA SHEET
How To Use Glass Scratch Removal Kit
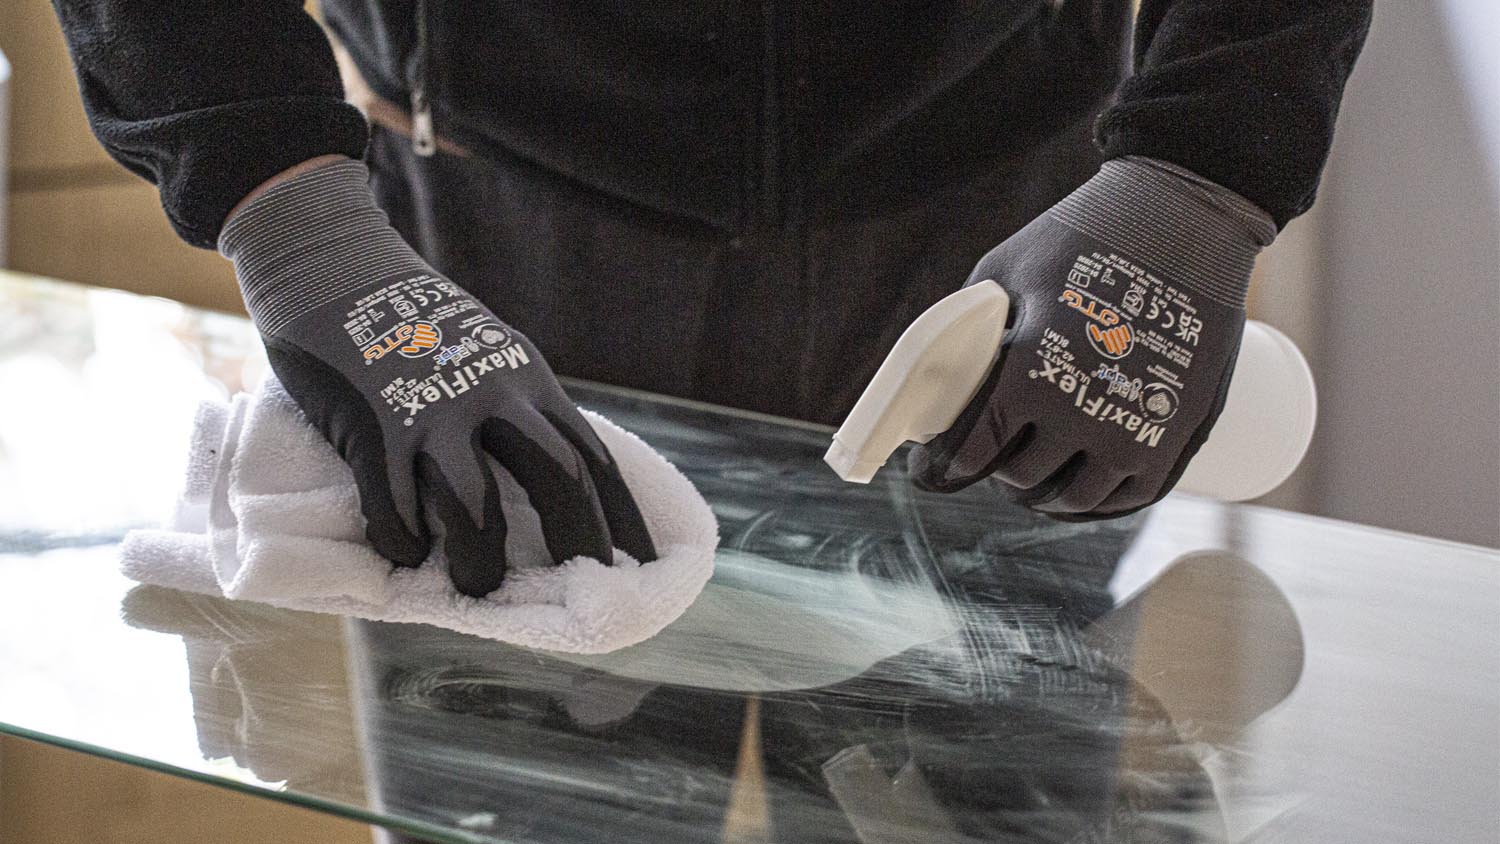
STEP 1: Cleaning
Clean the treated glass area thoroughly
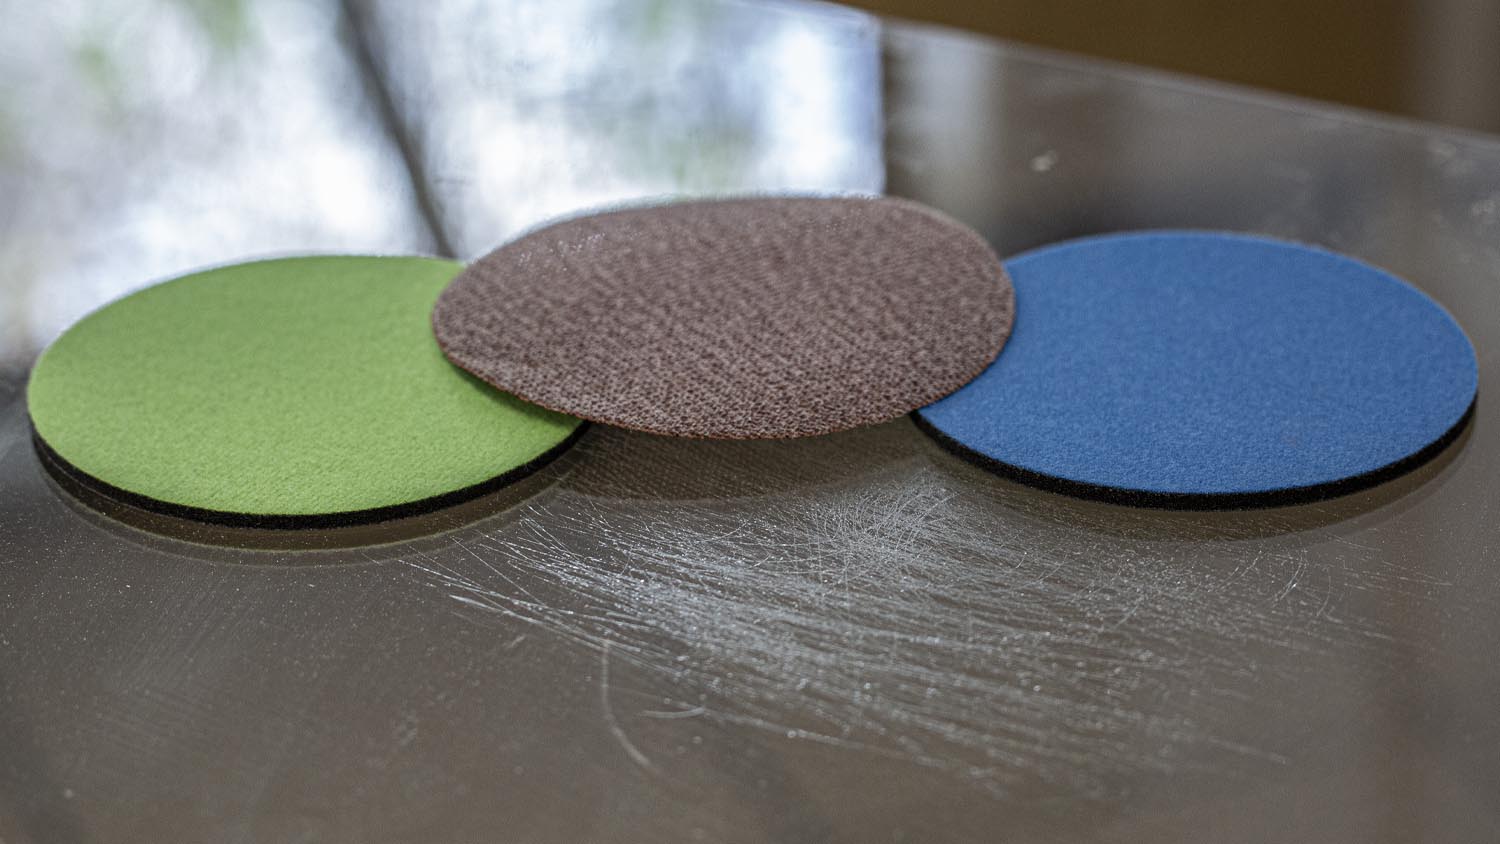
STEP 2: Damage Assessment
Choose the correct grit of the sanding disc - check instruction disc guide
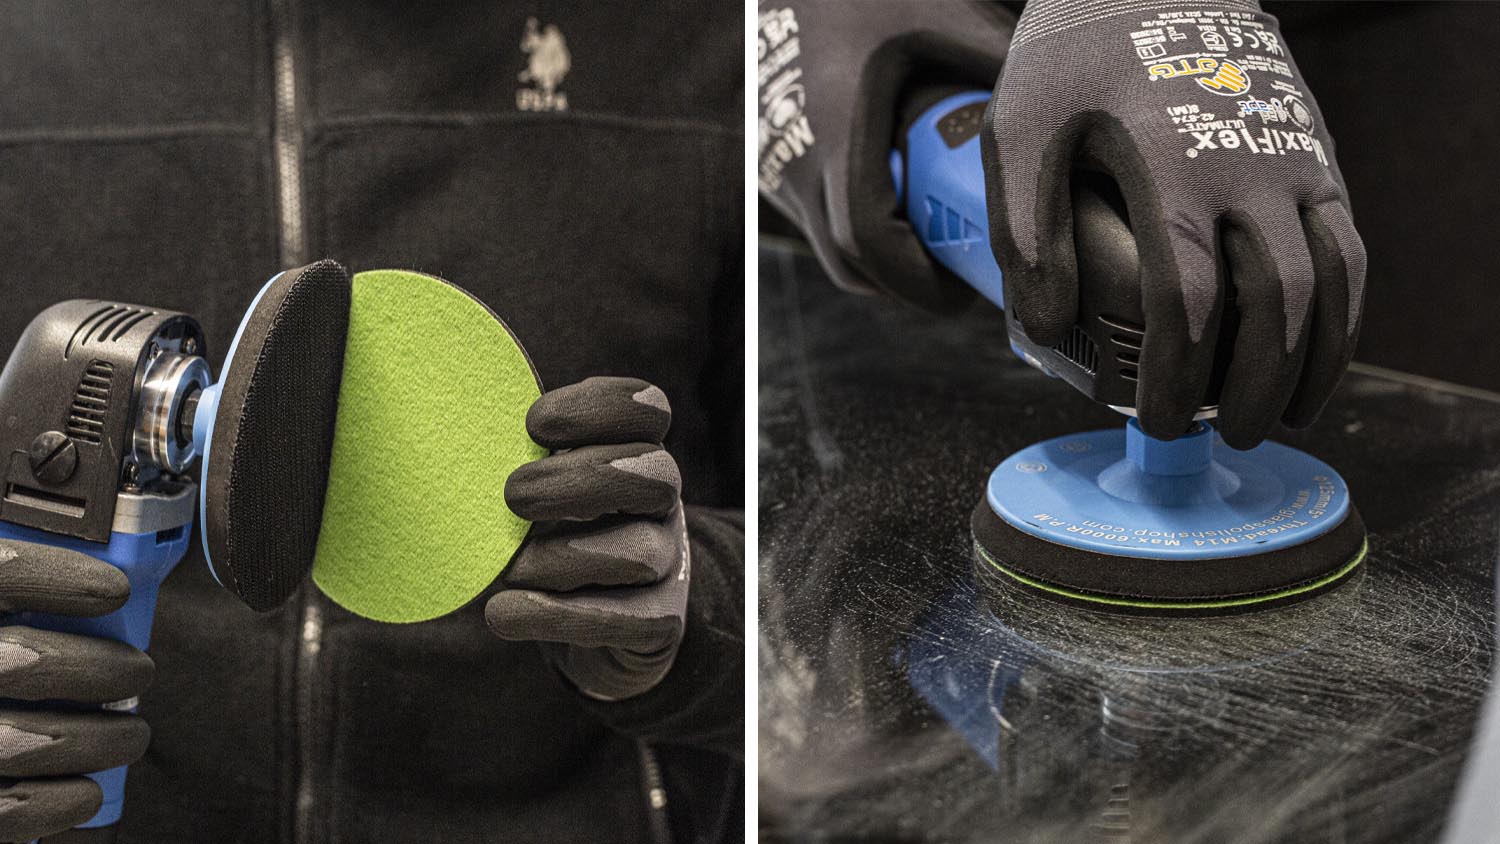
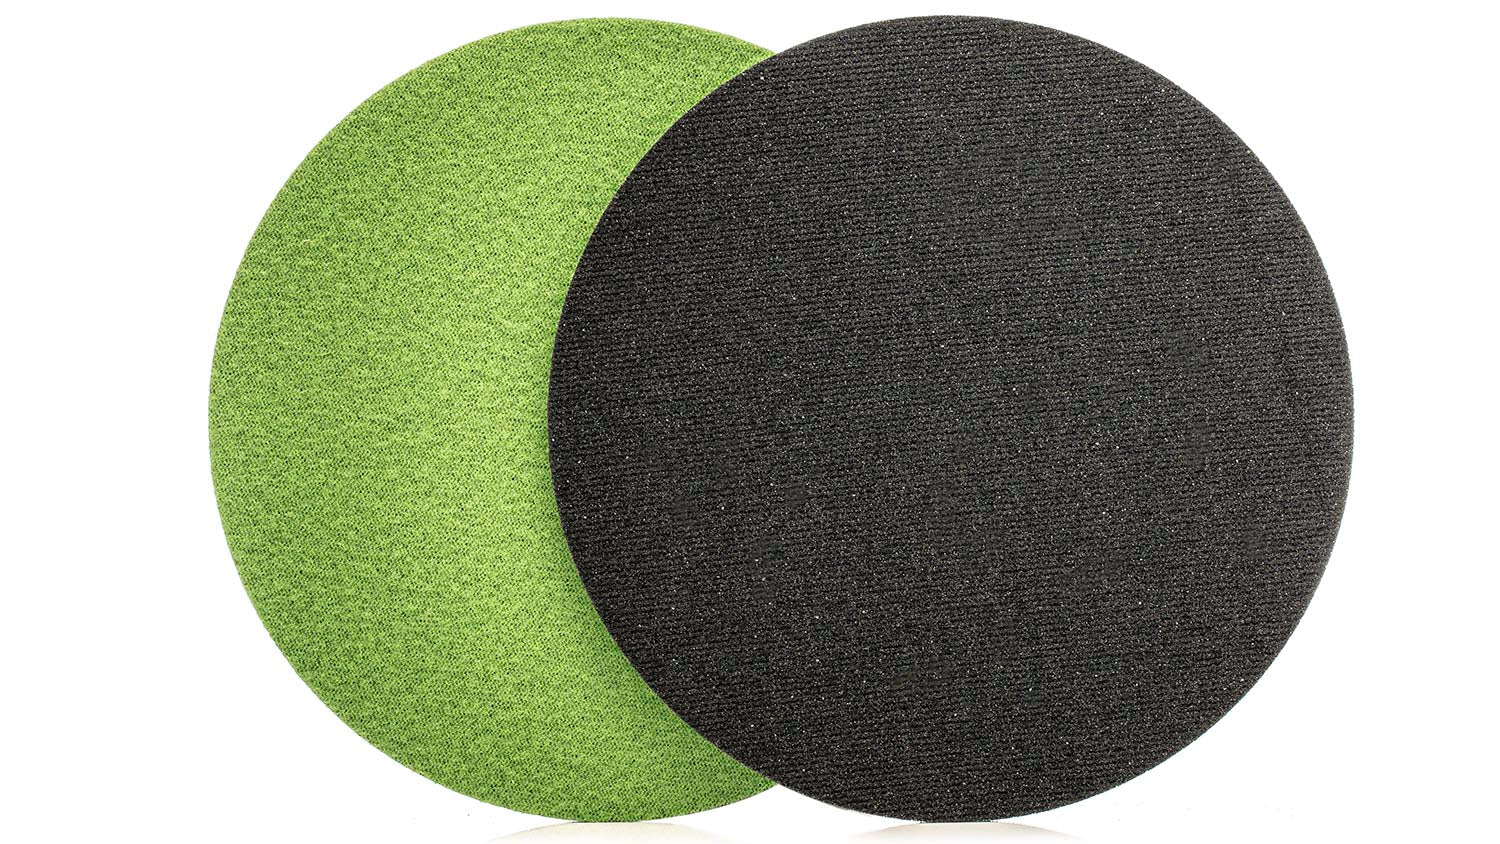
STEP 3: Damage Removal
Use green disc to remove deep scratches
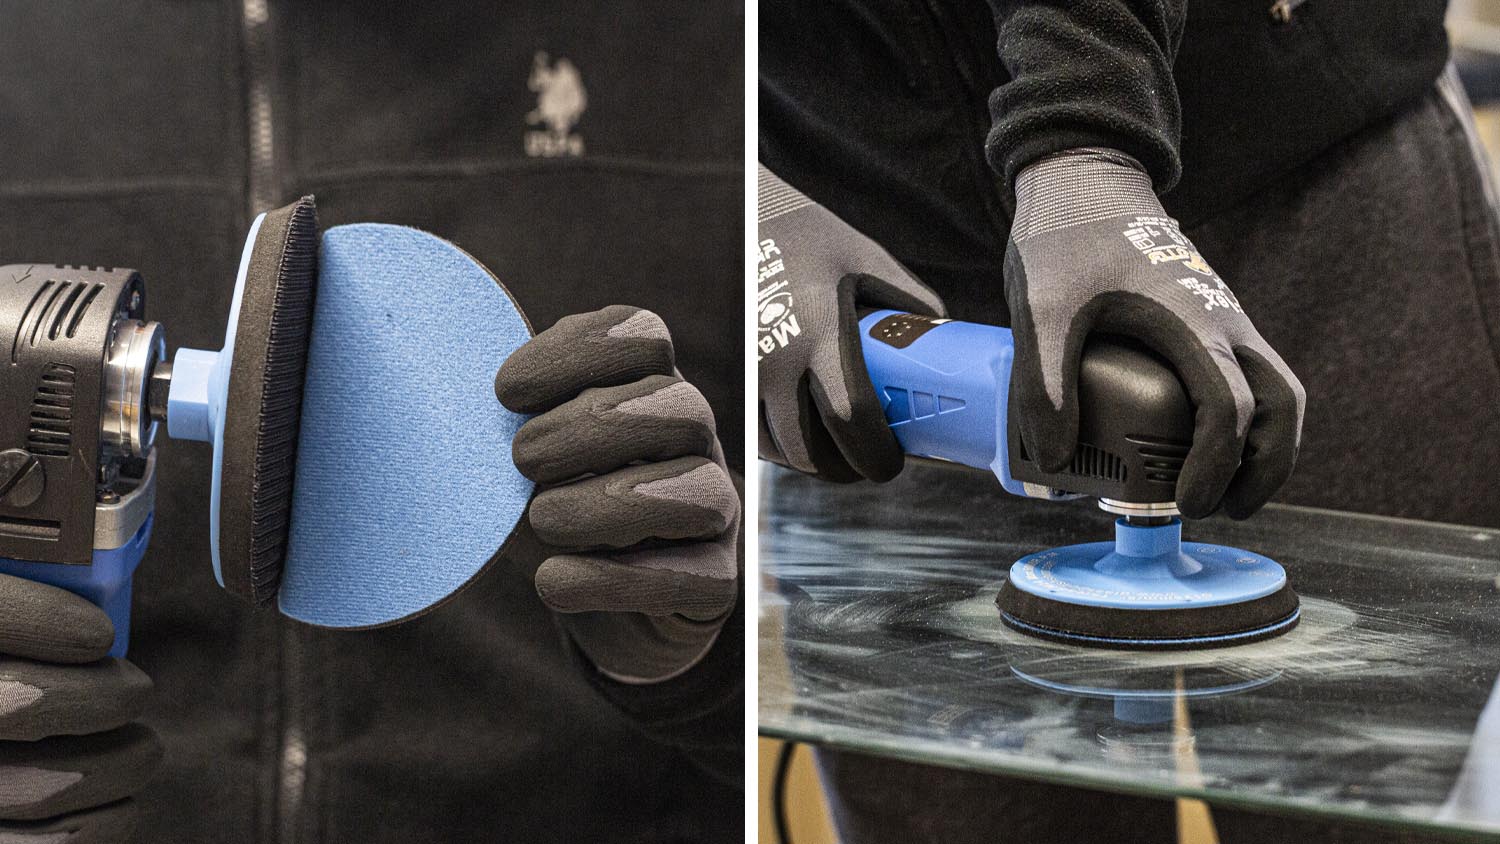
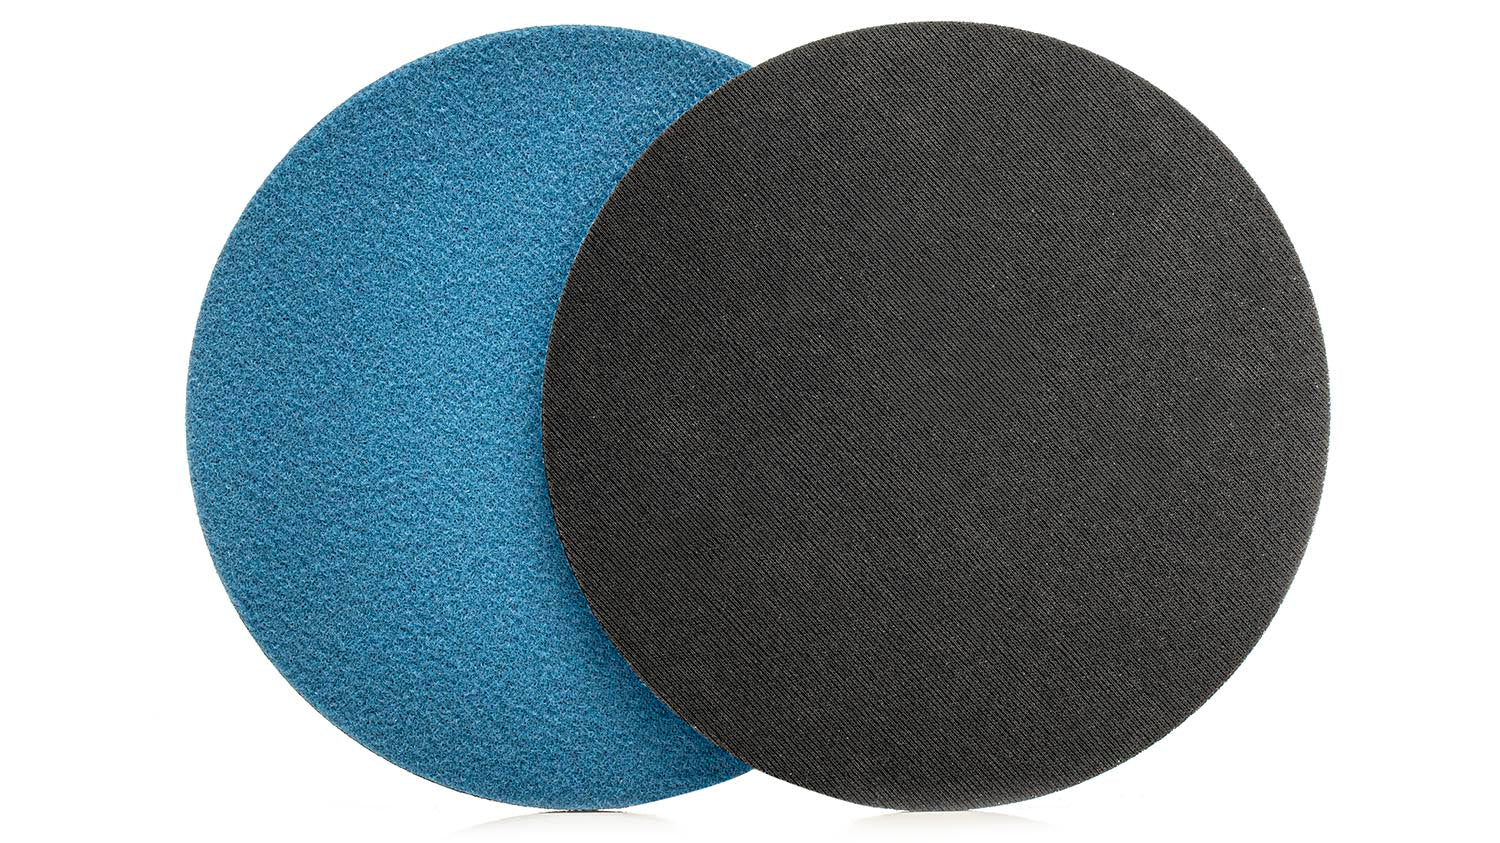
STEP 4: Pre - Polishing
Use blue discs to prepare surface for the final polish
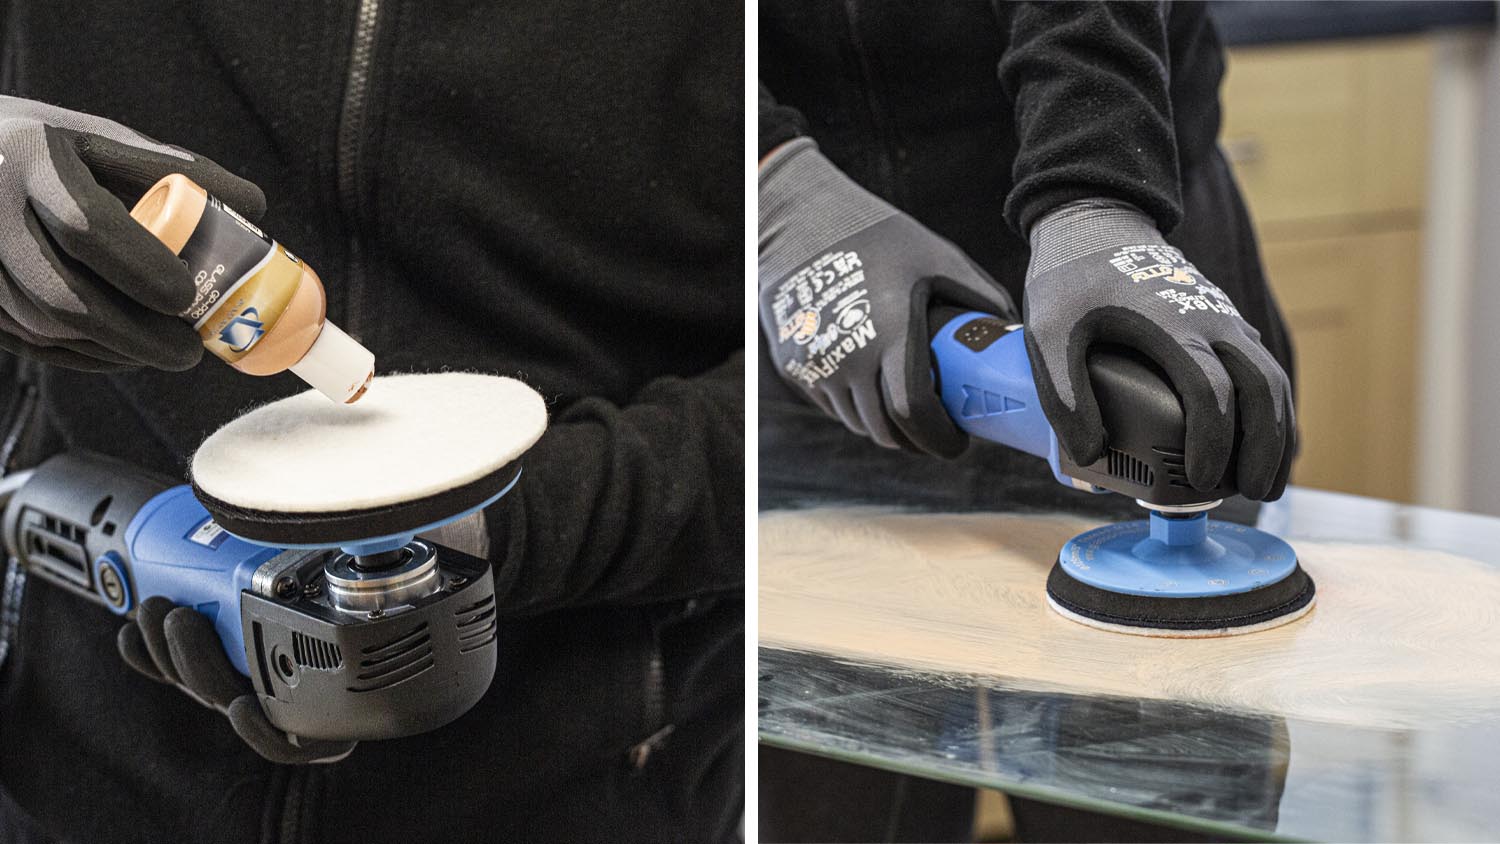
STEP 5: Polishing
Use felt pad for restoring clarity and shine
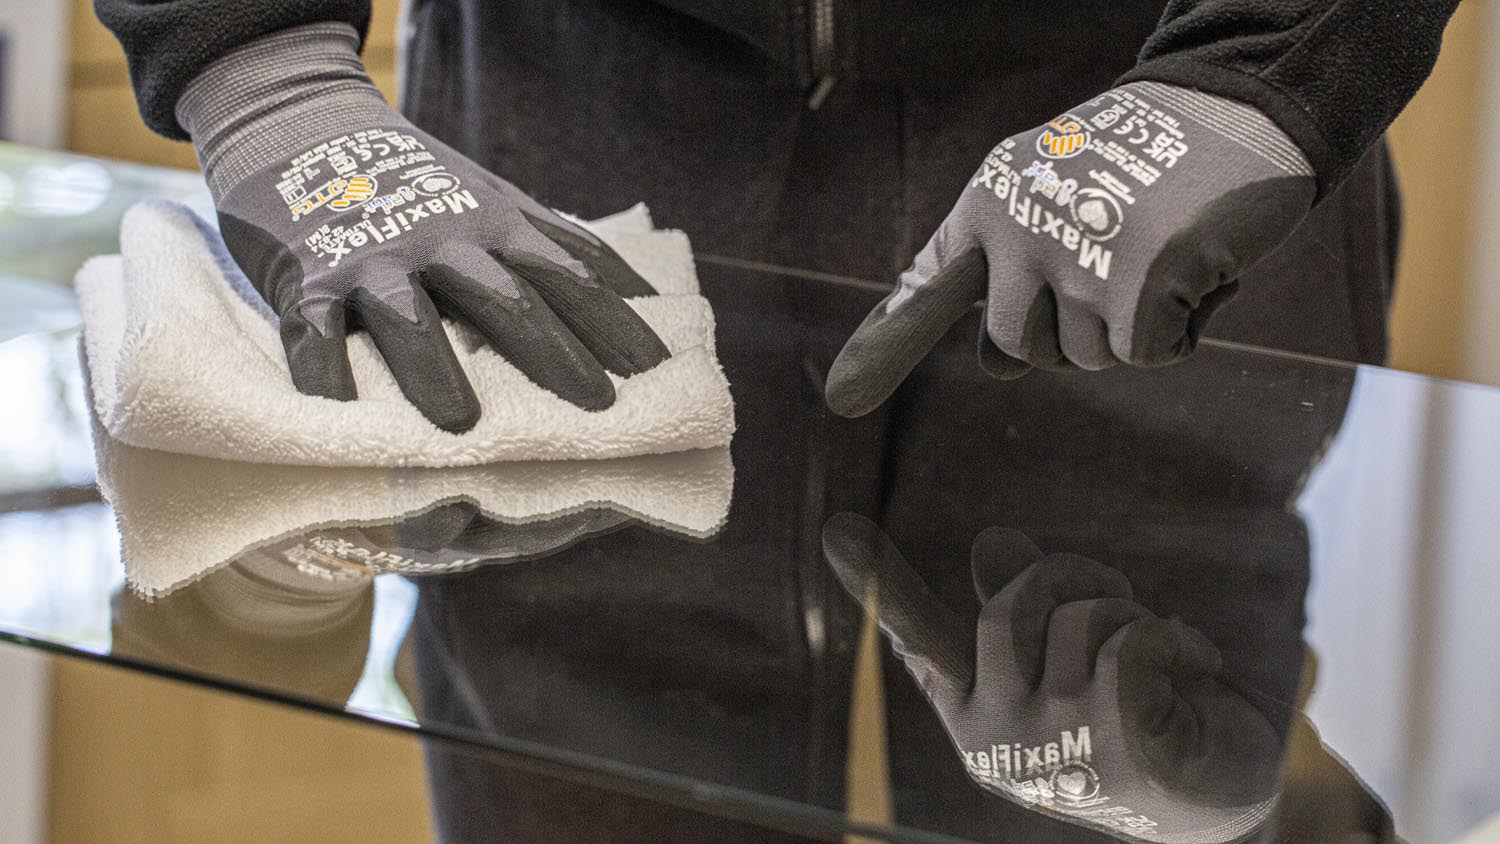
STEP 6: Final Inspection
Clean and inspect, repeat process if necessary
Polishing Tips
✅ Mask surrounding trims and seals to protect them during polishing.
✅ Clean the glass thoroughly before polishing to avoid trapping dirt or grit.
✅ Start with the correct abrasive grade for the damage level (check disc guide in the instruction)
✅ Use evenly across the scratched area, overlapping each pass slightly to ensure a uniform finish.
✅ If haziness remains after polishing, return to the pre-polish step and spend more time.
✅ Begin process with 1,000 RPM and gradually increase up to 2,500 RPM maximum for best performance.
✅ Do not overheat the glass – pause if the surface becomes too warm.
Frequently Asked Questions
What type of scratches can this kit remove?
It can effectively remove light to deep scratches, acid etching, grinder and welder splatter damage, hard water deposits.
What types of glass can I use this kit on?
It is suitable for laminated, toughened glass household windows, mirrors, fish tanks, shower screen and most flat glass surfaces.
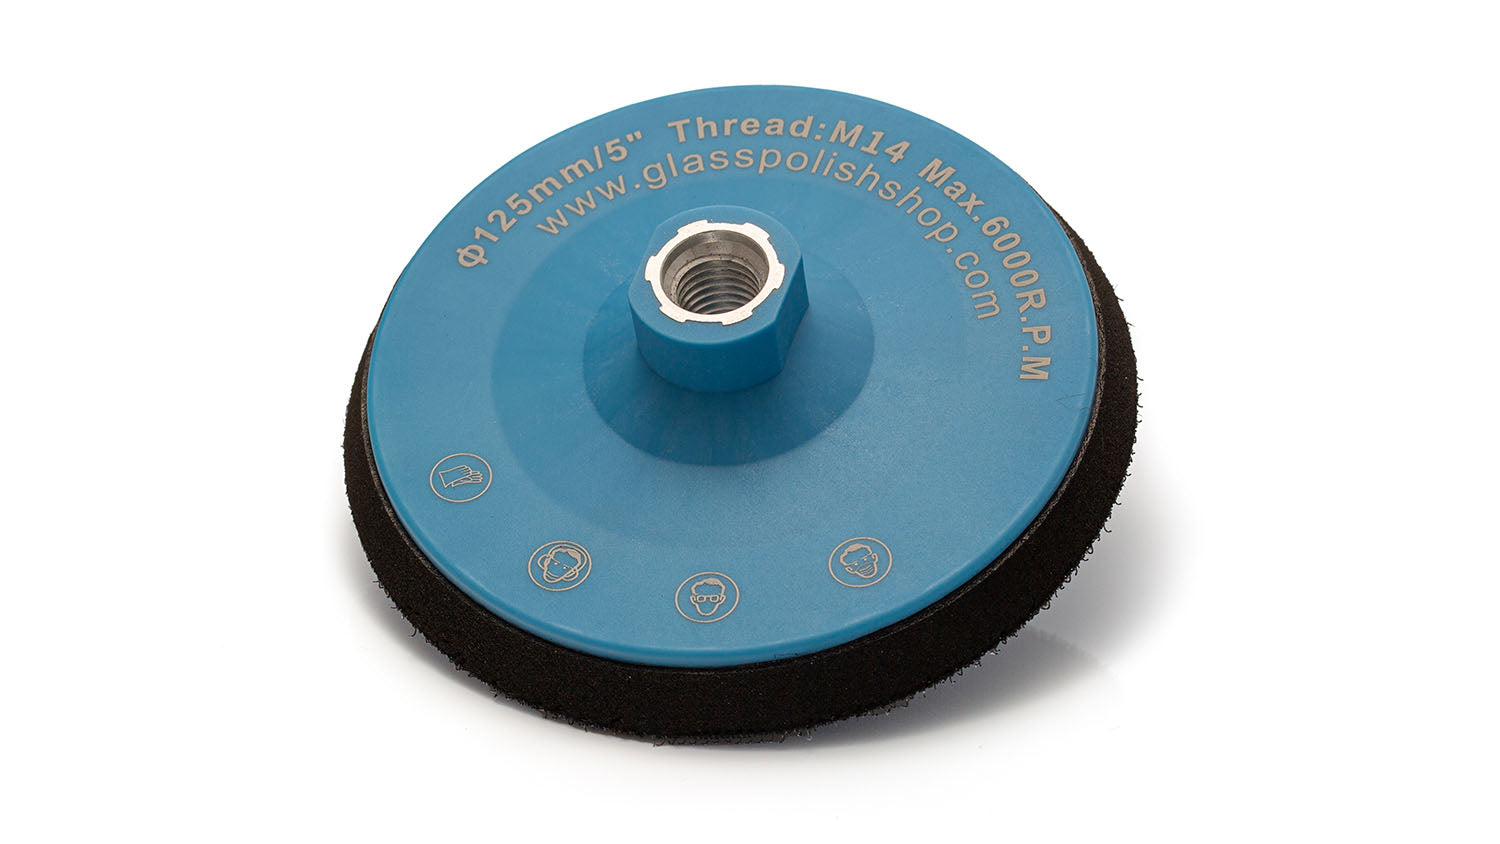
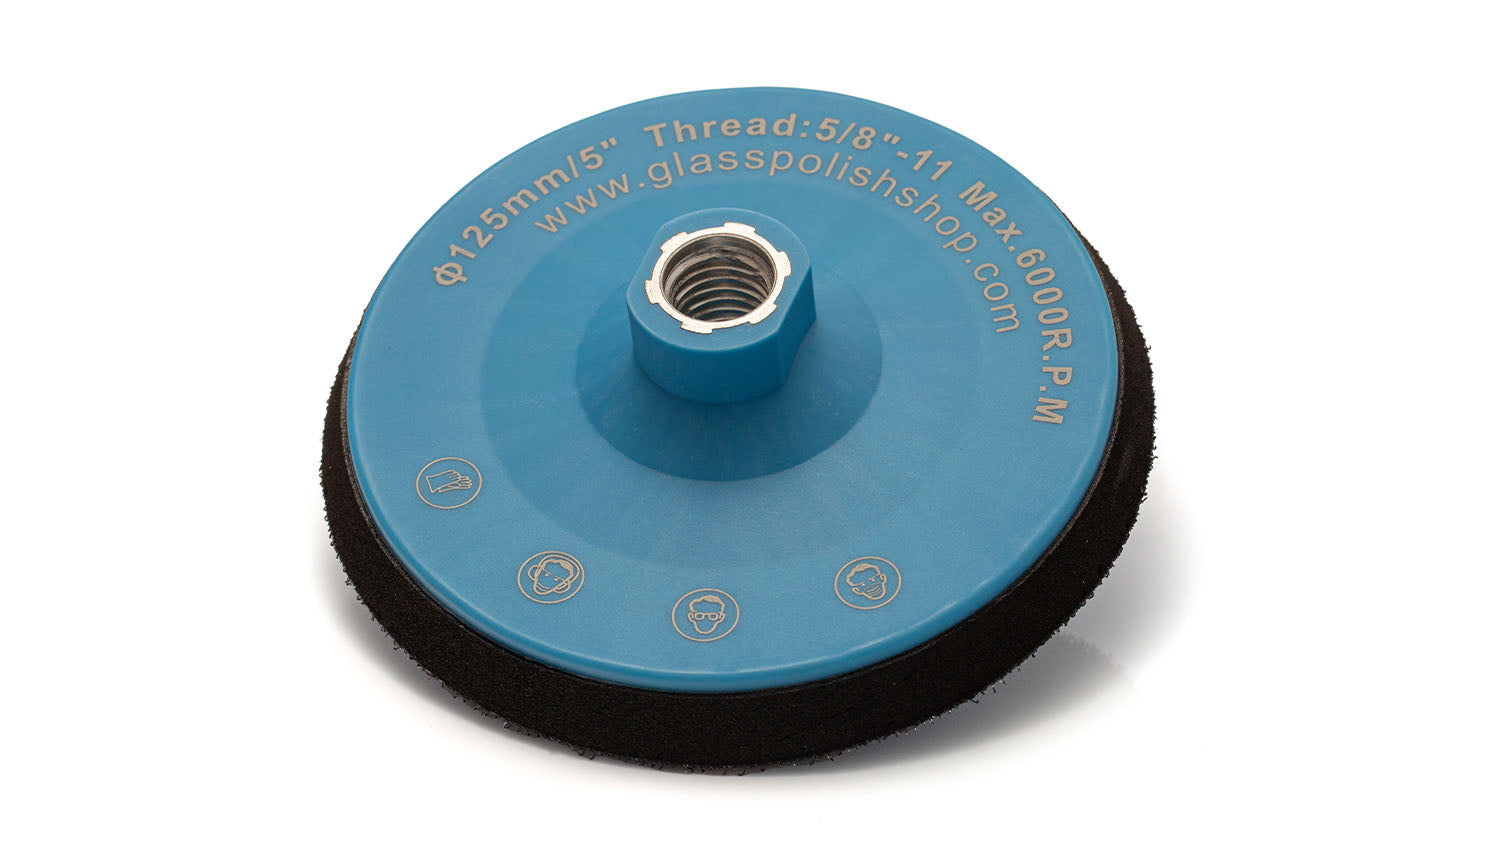
What tool should I use with this kit?
This kit is designed for use with a variable-speed rotary polisher capable of maintaining speeds between 1000– 2,500 RPM.
Will the glass remain optically clear after polishing?
Yes, when used correctly the kit restores optical clarity without distortion, leaving a professional-grade finish.
How long does the process take?
Time varies depending on the size and depth of damage, but typically 15–30 minutes per area (12" x 12") for scratches and longer for heavy damage.
Often Bought Together
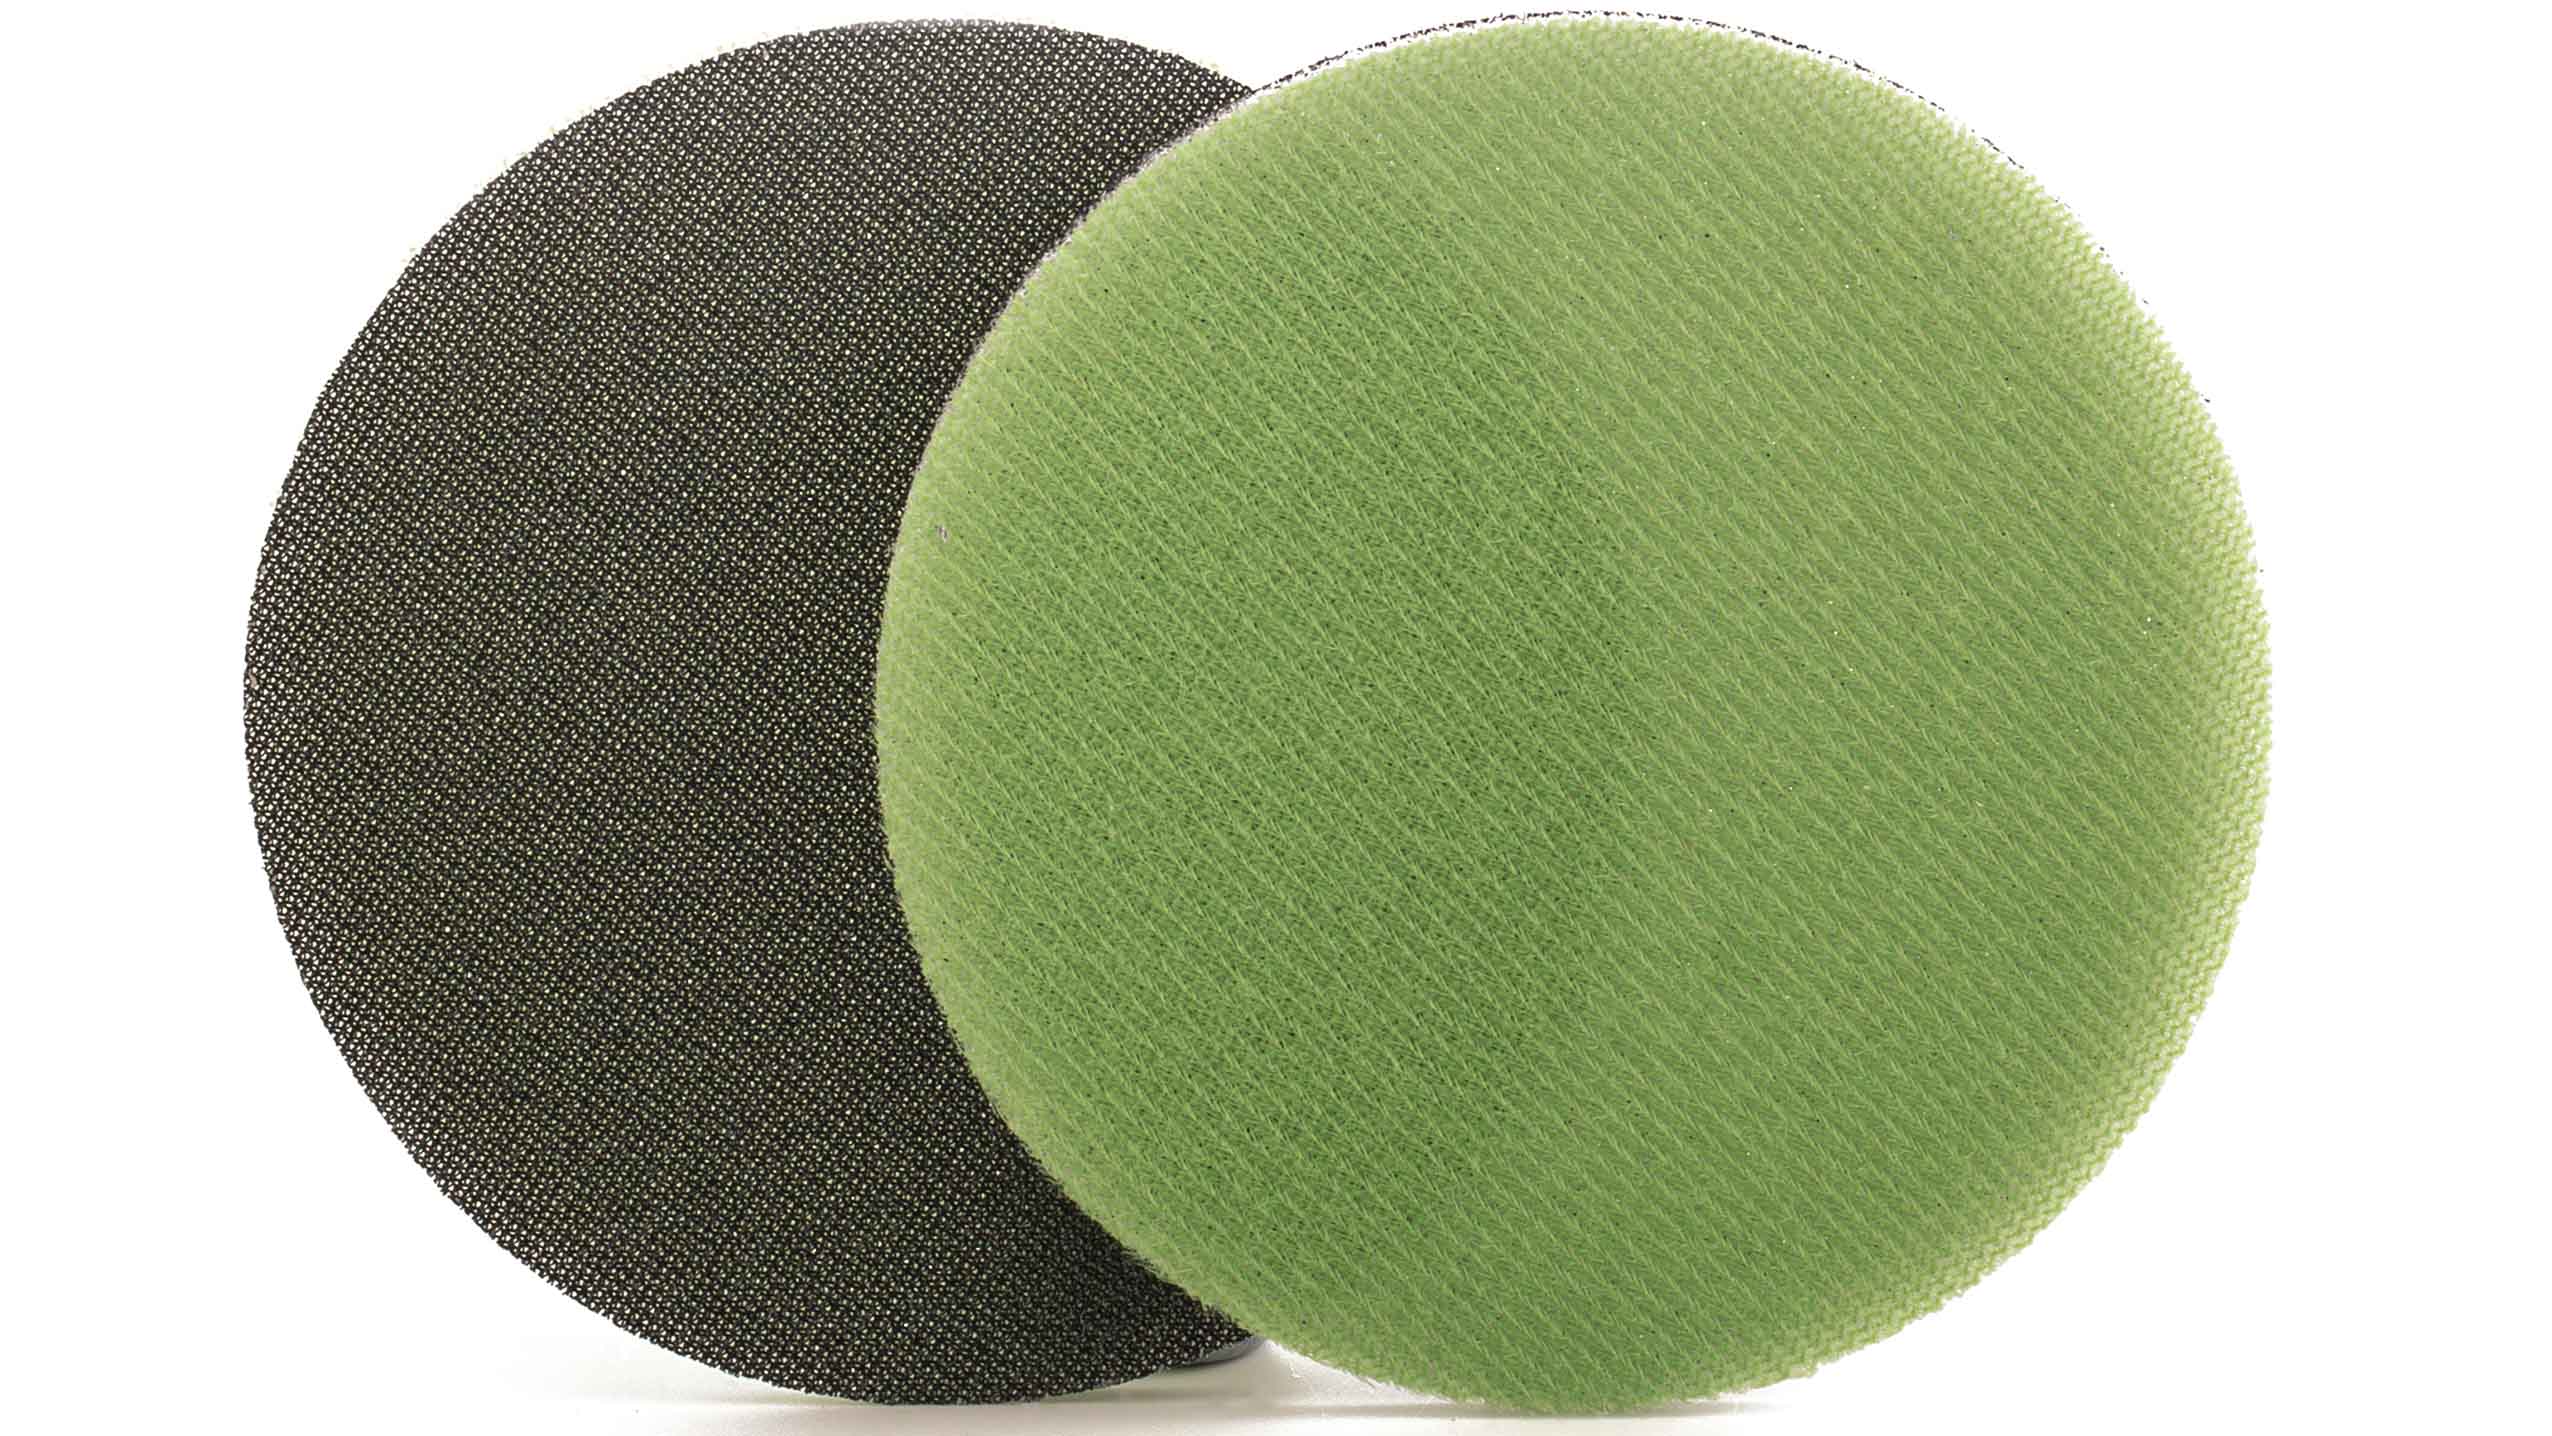
ProMesh™ P500 Fine Sanding Discs 125mm (5”)
ProMesh™ P180 Coarse Sanding Discs 125mm (5”)
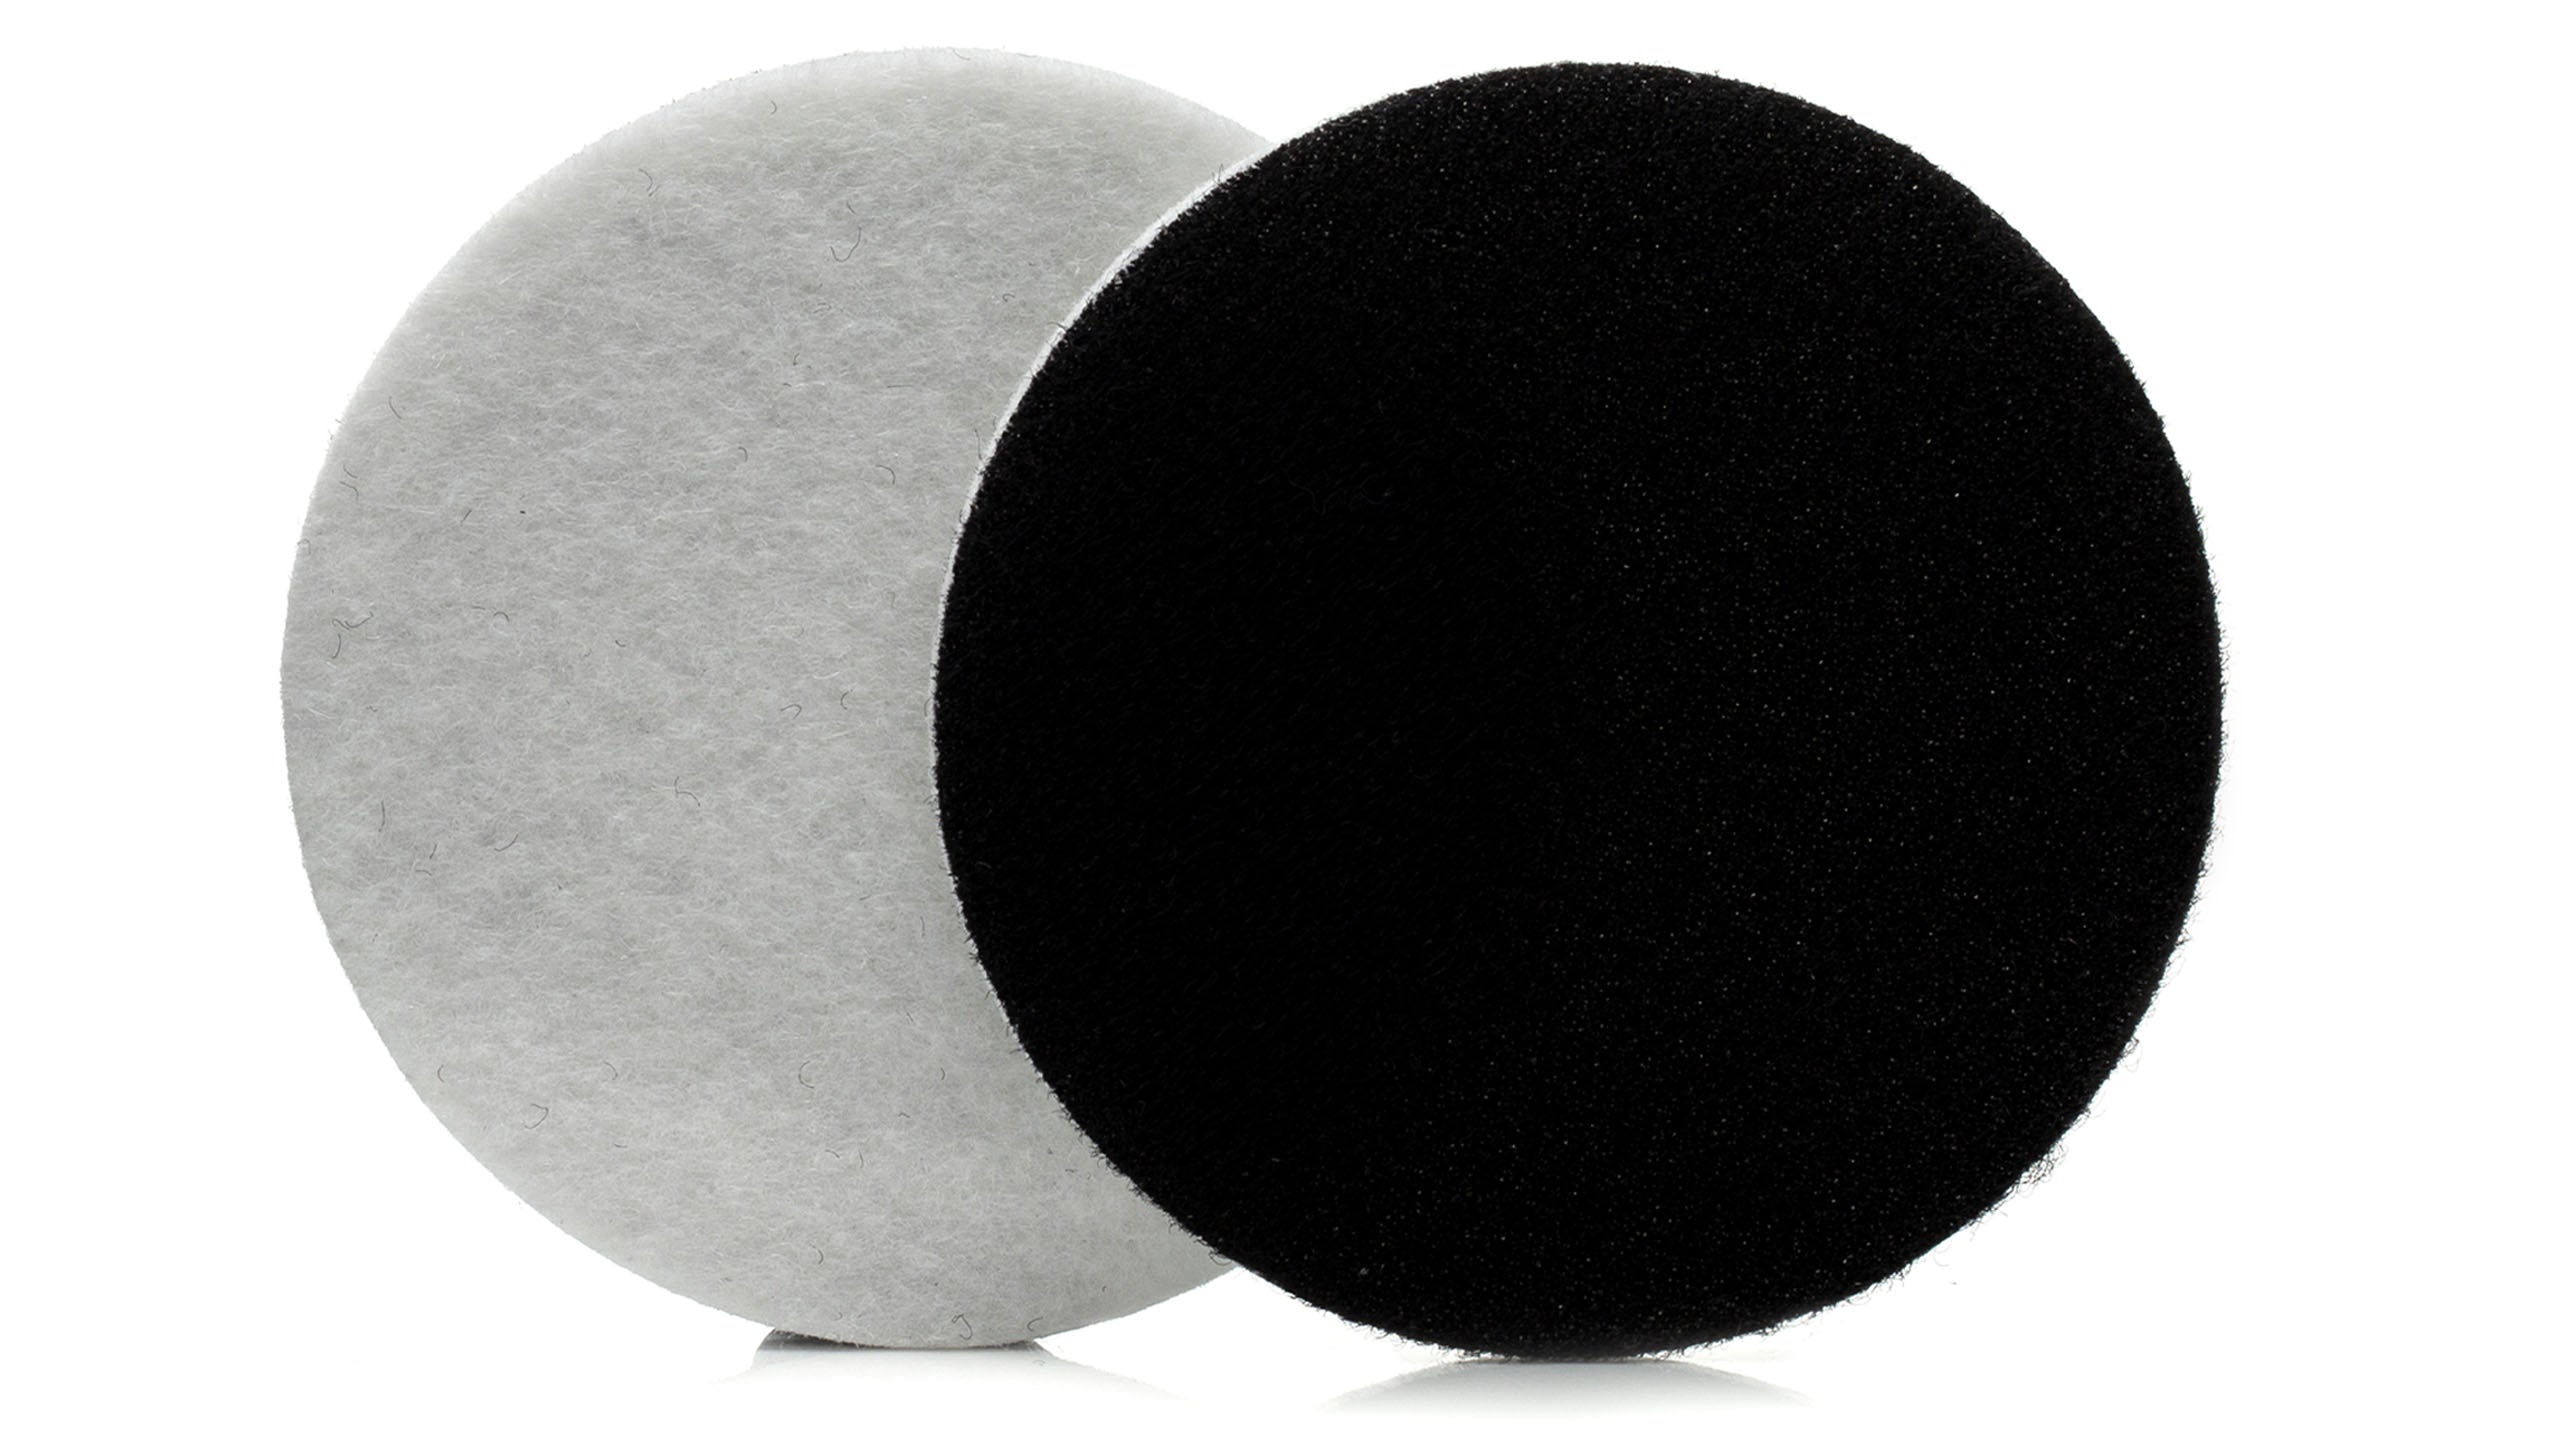
GP-PRO Felt Polishing Pads 130mm (5")