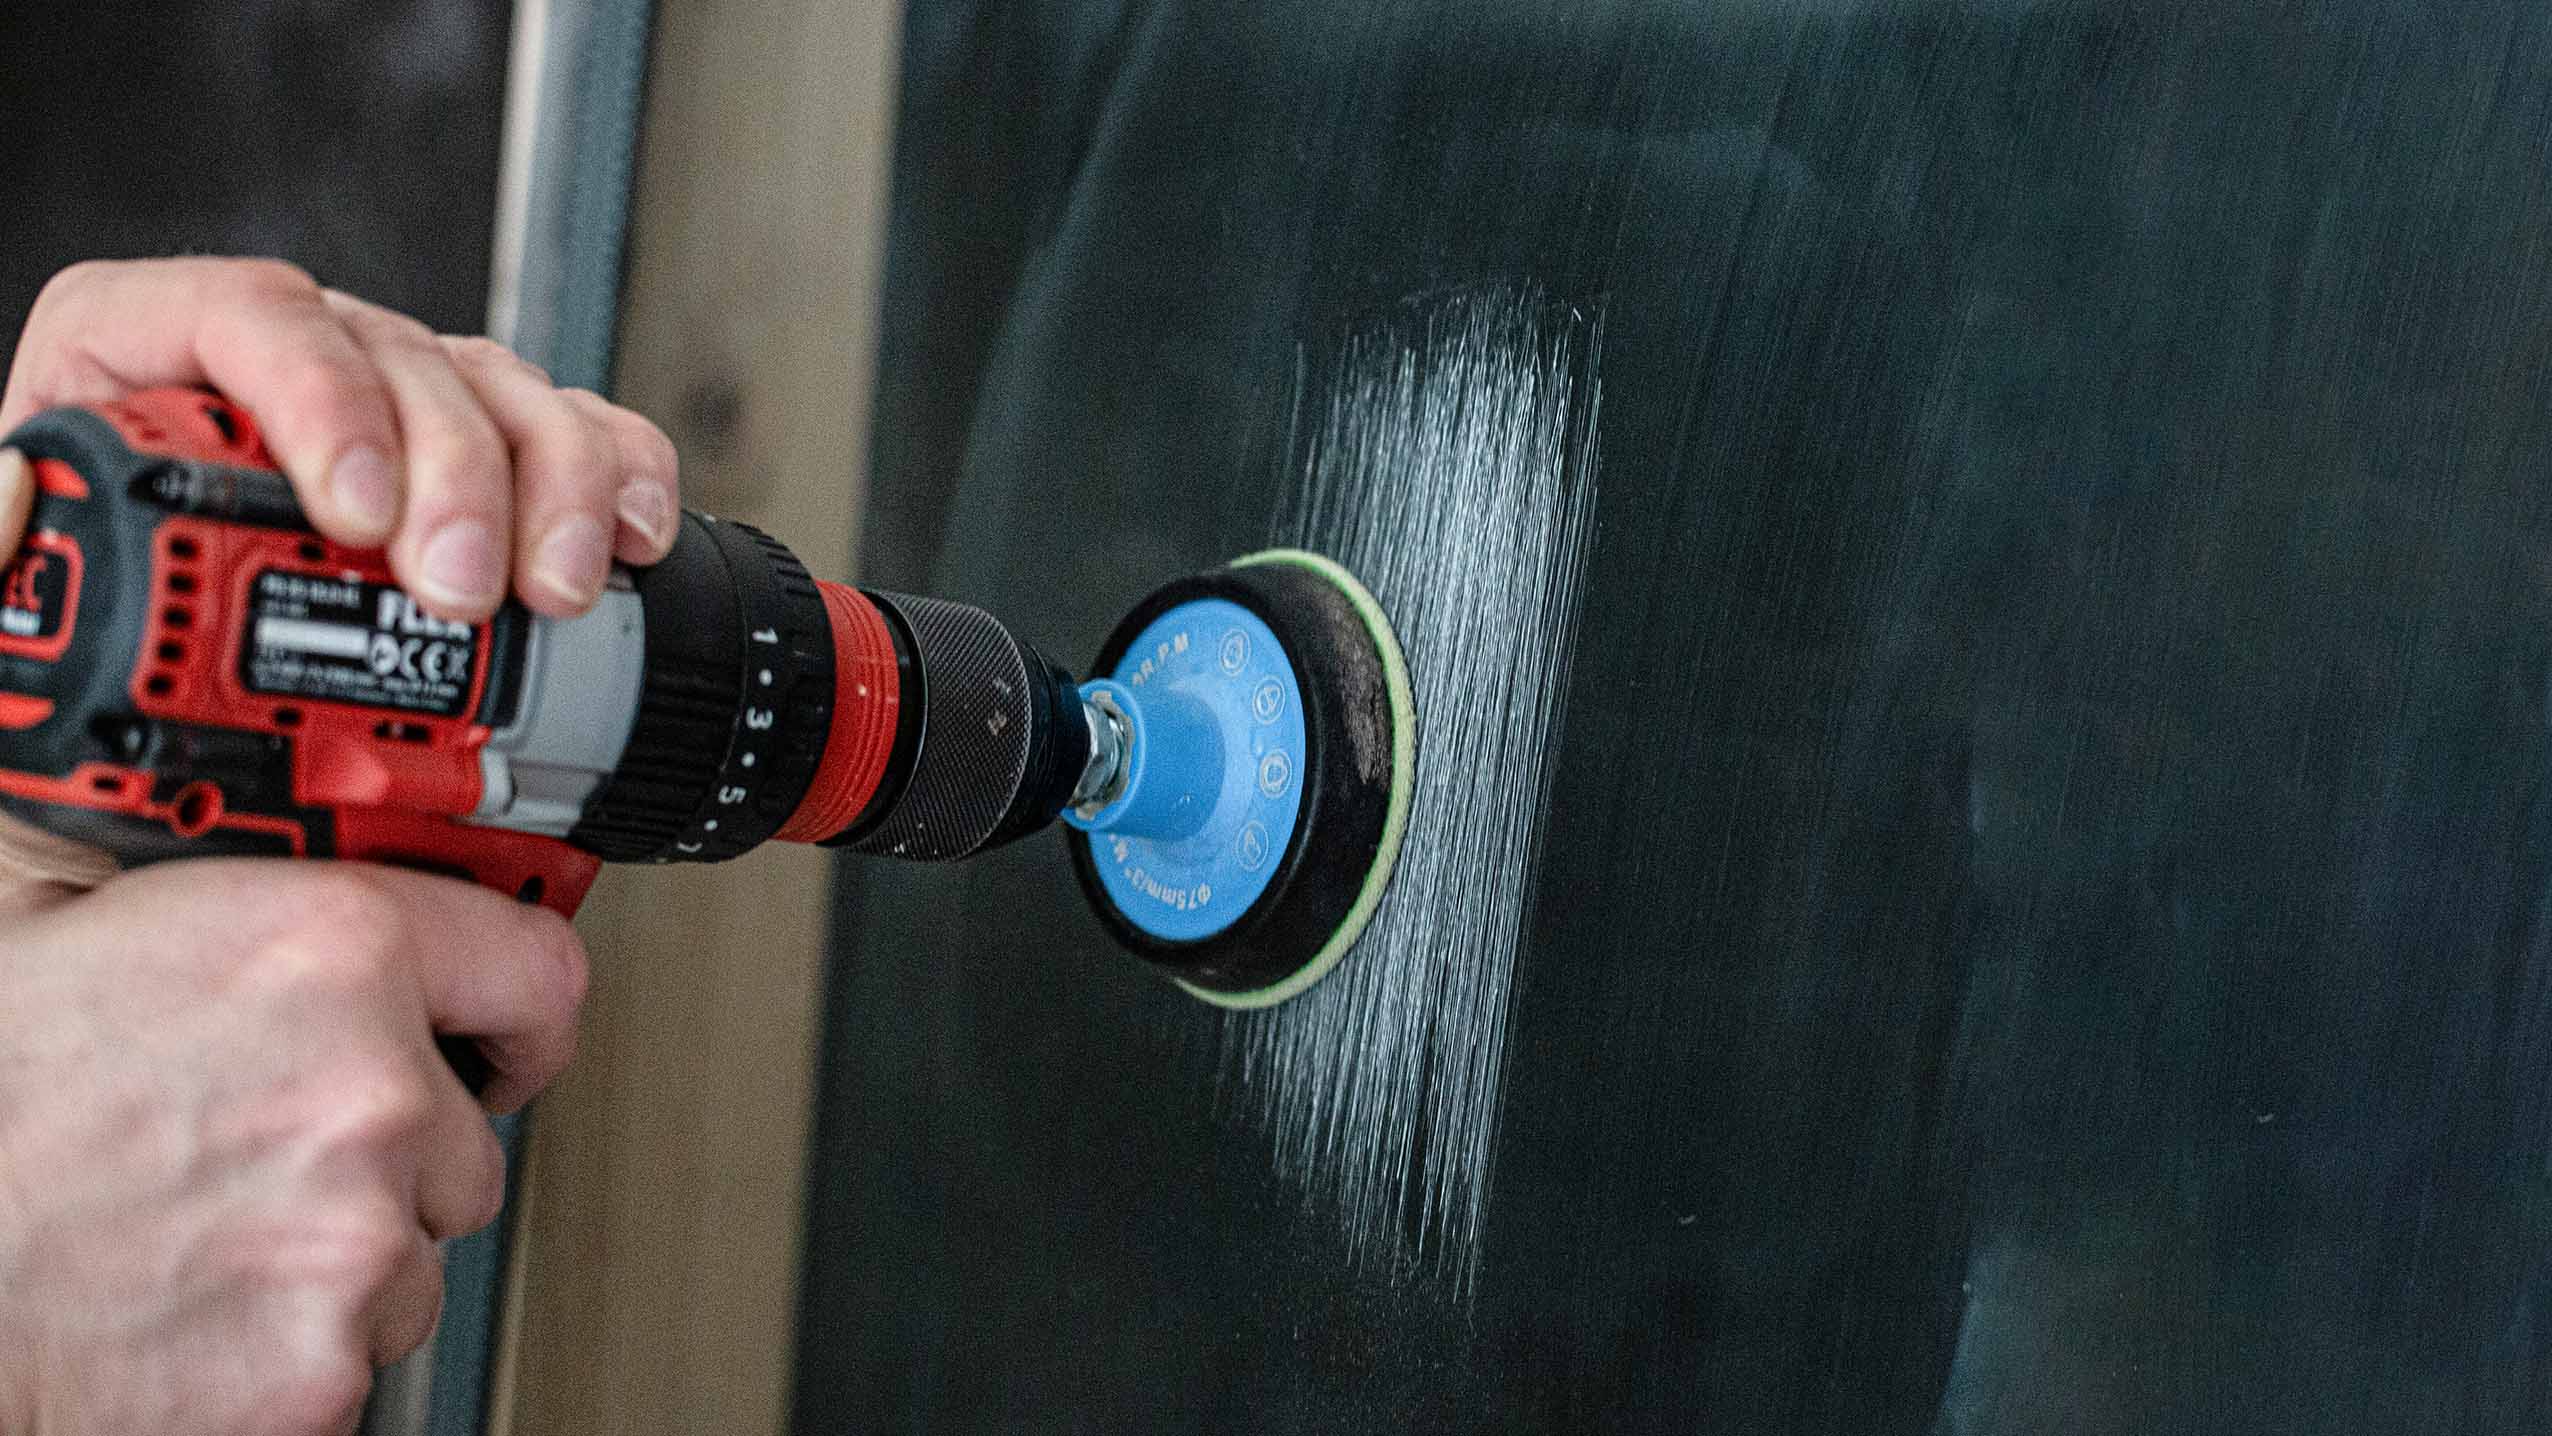
Glass Scratch Removal Video Tutorial
Watch this 7-minute guide to learn the full process, avoid common mistakes, and get the best possible results.
This video walks you through:
• The complete repair process step by step
• Key dos and don’ts
• Professional tips for better results
👉 Perfect to watch before starting or if you’re unsure how to proceed.
Troubleshooting Guide
Each topic explains: What you’re seeing • Why it happens • How to fix it
👉 Start with the description that looks closest to your result
Light haze or cloudy finish after polishing
What you’re seeing
A milky or dull area that becomes noticeable in certain lighting conditions.
Why it happens
• The polishing stage has not been completed long enough
• Excess compound or water has reduced friction
• Insufficient pressure was applied to generate light heat
How to fix it
Continue polishing using firm, even pressure with the pad kept flat against the glass.
Work in small sections (approximately half an A4 sheet at a time) using slow, overlapping passes to maintain consistent friction and heat.
The glass should feel warm or slightly hot to the touch, but not uncomfortably hot
Use only a small amount of compound, adding a few drops at a time if needed.
You should feel steady resistance — this indicates the correct level of friction for the polishing compound to work effectively.
Expected result
A clear, optically transparent finish with no milkiness.
➡️ If the haze does not improve
If the area continues to show light sanding patterns or fine marks, the surface likely requires further refinement.
Please continue to:
Light sanding marks visible after polishing for the next corrective step.
Light sanding marks visible after polishing
What you’re seeing
Light, fine marks or faint sanding patterns visible in the repaired area.
Why it happens
Marks from the Green abrasive stage were not fully removed
The surface was not refined long enough with the Blue abrasive before polishing
How to fix it
1️⃣ Repeat the Blue abrasive stage
Repeat the Blue abrasive stage using even, consistent pressure with the pad kept flat against the glass.
Work using slow, overlapping passes, ensuring you fully cover the previously sanded area.
Continue sanding until all Green abrasive marks are completely removed and the surface becomes more transparent and evenly refined.
2️⃣ Proceed to polishing
Polish using firm, even pressure with the pad kept flat against the glass.
Work in small sections (approximately half an A4 sheet at a time) using slow, overlapping passes to maintain consistent friction and heat.
The glass should feel warm or slightly hot to the touch, but not uncomfortably hot.
Use only a small amount of compound, adding a few drops at a time if needed.
You should feel steady resistance — this indicates the correct level of friction for the polishing compound to work effectively.
Expected result
A clear finish with no visible sanding patterns.
📘 Need a visual reference?
For detailed technique and visual examples, see the full 👉step-by-step instructions:
Refer to Blue Abrasive Process (Steps 6–7).
.
➡️ If marks remain visible
If sanding marks are still visible and do not improve with polishing, the surface likely requires further refinement from an earlier stage.
Please continue to:
Sanding marks that won’t polish out for the next corrective step.
Sanding marks that won’t polish out
What you’re seeing
Visible sanding marks, darker patches, or scratch patterns that remain even after extended polishing.
Why it happens
The Green abrasive stage was not completed fully, leaving uneven areas
The surface was not refined to a uniform frosted appearance before moving to the Blue stage
Remaining Green abrasive marks cannot be removed by polishing alone
How to fix it
1️⃣ Return to the Green abrasive stage
Use light, even pressure
Sand until the entire repair area has a uniform, consistent frosted appearance
Use gentle circular motions on darker patches and edges to blend
2️⃣ Repeat the Blue abrasive stage
Overlap the previously sanded area
Continue until all Green abrasive marks are fully removed and the surface becomes more transparent
3️⃣ Proceed to polishing
Apply firm, controlled pressure
Work in small sections (about half an A4 sheet at a time)
Maintain light heat and steady resistance
Expected result
The repair area will appear evenly refined and will polish to full optical clarity with no visible sanding patterns.
📘 Need a visual reference?
For technique guidance and visual examples, see the full step-by-step instructions:
👉 View Instructions
Refer specifically to:
• Green Abrasive Process (Steps 1–5) — achieving a uniform frosted surface
• Blue Abrasive Process (Steps 6–7) — refining before polishing
If your repair area does not match the “even frosted appearance” shown, repeat the Green stage before continuing.
Ripple effect or uneven reflection after polishing
What you’re seeing
A wavy or uneven reflection in the repaired area, sometimes noticeable when viewing the glass at an angle or when light reflects across the surface.
Why it happens
The repair area was sanded unevenly because the abrasive pad was not kept perfectly flat against the glass
One spot was overworked or passes were not overlapped consistently, resulting in an uneven surface
The edges of the repair area were not gradually expanded and blended into the surrounding glass, creating a slight dip where the tool repeatedly stopped
How to fix it
1️⃣ Return to the Green abrasive stage (blending step)
Fit a new Green abrasive and use very light, even pressure.
The goal is not to remove more glass, but to gently smooth and blend the worked area into the surrounding surface.
Work over a slightly larger area than before using slow, overlapping passes to keep the surface even.
Avoid focusing on one spot and keep the tool moving at all times.
2️⃣ Refine with the Blue abrasive
Repeat the Blue abrasive stage using light, even pressure to refine the surface after blending.
Continue until the area appears evenly refined and consistent with the surrounding glass.
3️⃣ Proceed to polishing
Continue polishing using firm, even pressure with the pad kept flat against the glass.
Work in small sections (approximately half an A4 sheet at a time) using slow, overlapping passes to maintain consistent friction and heat.
The glass should feel warm or slightly hot to the touch, but not uncomfortably hot.
Use only a small amount of compound, adding a few drops at a time if needed.
You should feel steady resistance — this indicates the correct level of friction for the polishing compound to work effectively.
Expected result
A smooth, uniform reflection across the repaired area that blends naturally with the surrounding glass.
📘 Need a visual reference?
For technique guidance and visual examples, see the step-by-step instructions:
👉 View Instructions
Refer to:
• Green Abrasive Process (Steps 1–5) — blending and surface levelling
• Blue Abrasive Process (Steps 6–7) — refining before polishing
Scratches still visible or not completely removed
What you’re seeing
Some scratches remain visible, appear sharp, or can still be felt with a fingernail after sanding and polishing.
Why it happens
Some scratches are deeper than initially expected and require more time in the initial sanding stage
The Green abrasive stage was not continued long enough to fully level the scratch
Pressure or consistency during sanding was insufficient to effectively remove material
The scratches were not identified during the Green or Blue abrasive stages, preventing earlier removal
How to fix it
1️⃣ Return to the Green abrasive stage
Use even, controlled pressure with the pad kept flat against the glass.
Work over an area slightly larger than the scratch using slow, overlapping passes.
Continue sanding until the scratch is no longer visible and the surface shows a uniform frosted appearance.
Clean the glass and inspect under sunlight or bright light to confirm the scratch has been removed.
2️⃣ Refine with the Blue abrasive
Repeat the Blue abrasive stage to remove Green abrasive marks and refine the surface.
Continue until the area becomes more transparent and evenly refined.
Clean the glass and inspect under sunlight or bright light to confirm the scratch has been removed.
3️⃣ Proceed to polishing
Continue polishing using firm, even pressure with the pad kept flat against the glass.
Work in small sections (approximately half an A4 sheet at a time) using slow, overlapping passes to maintain consistent friction and heat.
The glass should feel warm or slightly hot to the touch, but not uncomfortably hot.
Use only a small amount of compound, adding a few drops at a time if needed.
You should feel steady resistance — this indicates the correct level of friction for the polishing compound to work effectively.
Expected result
The scratches should no longer be visible, and the repaired area should have full optical clarity.
📘 Need a visual reference?
For technique guidance and visual examples, see the step-by-step instructions:
👉 View Instructions
Refer to:
• Green Abrasive Process (Steps 1–5) — scratch removal
• Blue Abrasive Process (Steps 6–7) — surface refinement
Repair taking longer than expected
What you’re experiencing
The repair process is progressing slowly, or it feels like it is taking a long time to remove the scratch or refine the surface.
Why it happens
Some scratches are deeper and naturally require more time to level
Glass is a hard material, so removal happens gradually rather than quickly
Light pressure, low tool speed, or low torque tools can slow progress
A professional may spend 15–30 minutes repairing an area around the size of an A4 sheet, so DIY or first-time users can expect it to take longer